Guide
Contents
The basics
What is Maplapse?
Maplapse automatically turns your photos into a photo map of your trips. The most important point first: it works retroactively. Maplapse reads the photos that have been sitting on your iPhone all along, so there is nothing to set up in advance and no trip to announce beforehand. Even past trips from ten years ago show up on the map the moment you open the app. It reads where and when a photo was taken and assembles everything into trips with individual stops, including a map and journey. Nothing to label, nothing to sort. The analysis runs entirely on your device: no server of ours holds your data, no ads, no tracking.
First steps
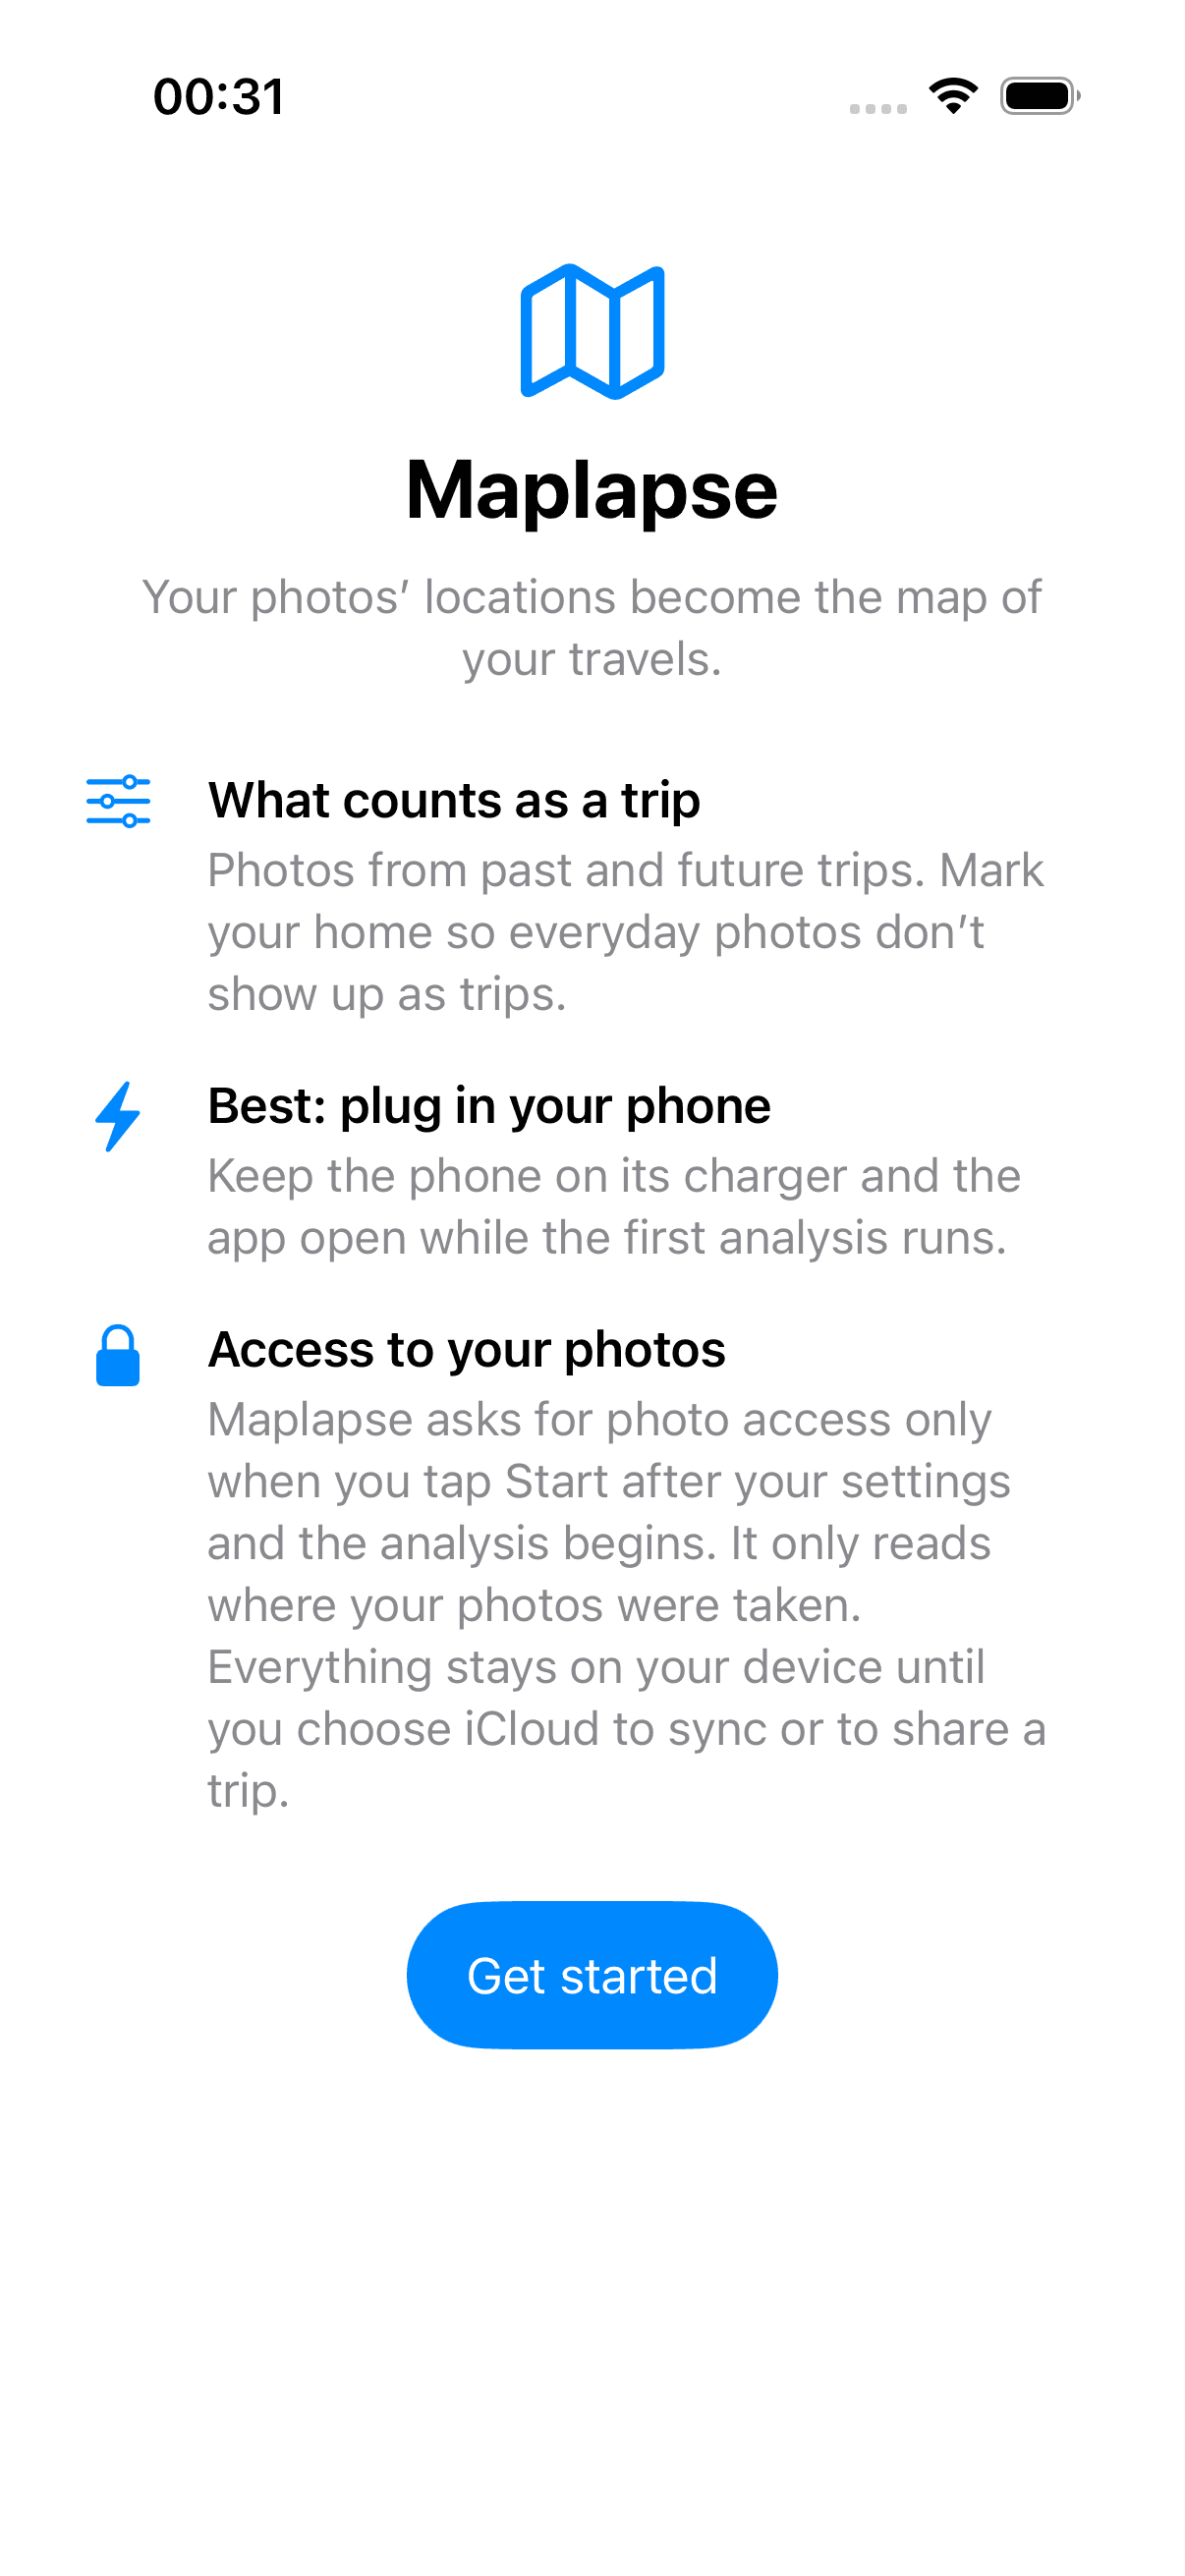
Maplapse greets you on first launch. “Get started” takes you to the setup: you pick the regions you care about and optionally mark your home, so everyday photos stay out of it. Only when the analysis begins does Maplapse ask for access to your photos. Choose “Allow full access” there, because only with all photos do your trips reach the map completely; with limited access the app sees single photos and the map stays empty. Your photos do not leave the device during the analysis. The first run can take a while; on the charger it is quickest. If you have already used Maplapse on another device and synced it into your iCloud there with Maplapse Pro, “Restore from iCloud” brings your state back. Without Pro that button does not appear, and the analysis simply runs again here.
How Maplapse knows the location
Maplapse uses the location your camera saves in each photo. This needs Location Services turned on and the Camera allowed to use them: Settings › Privacy & Security › Location Services › Camera › “While Using the App”. Photos without a location can't be placed on the map. For future trips, just turn this on once.
Map and symbols
The map
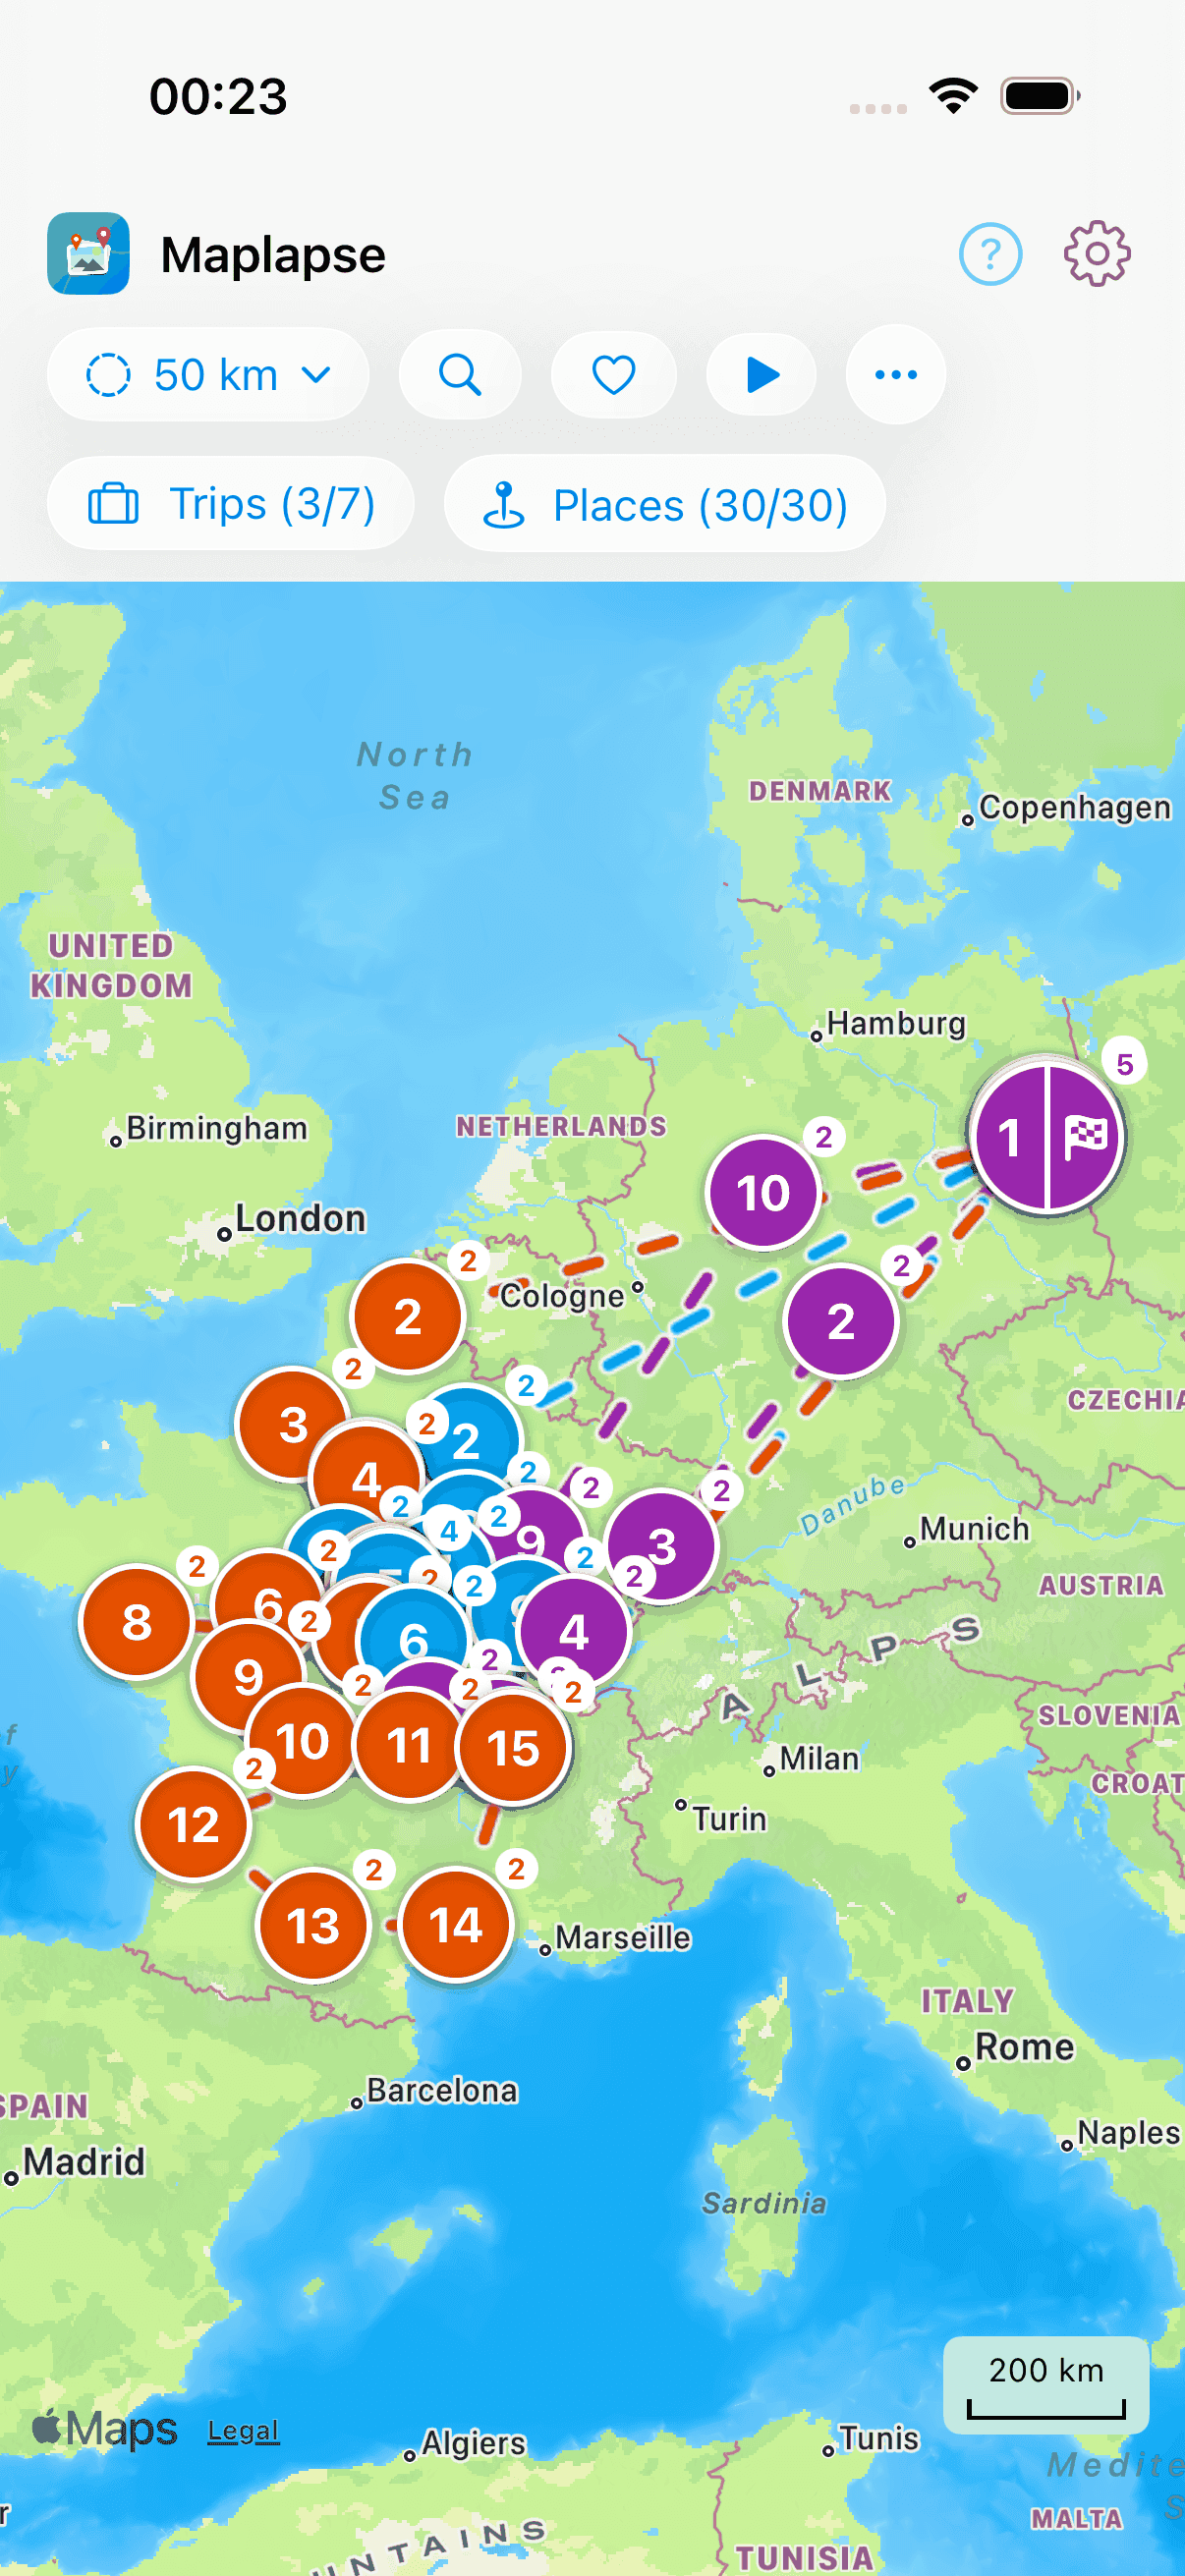
The heart of it: a map with all your stops as numbered, colored points, connected into a journey. A bar at the top shows the key facts of your trips. Tap a point to open its photos; double-tap a point to zoom deeper into the place (see “A place in detail”). A progress bar above the map shows how far along Maplapse is, and when the number is known it appears next to that bar. The same goes for analyzing your photos, syncing with iCloud and loading content someone shares with you. A stop’s dot sits where its photos cluster, not at the arithmetic center.
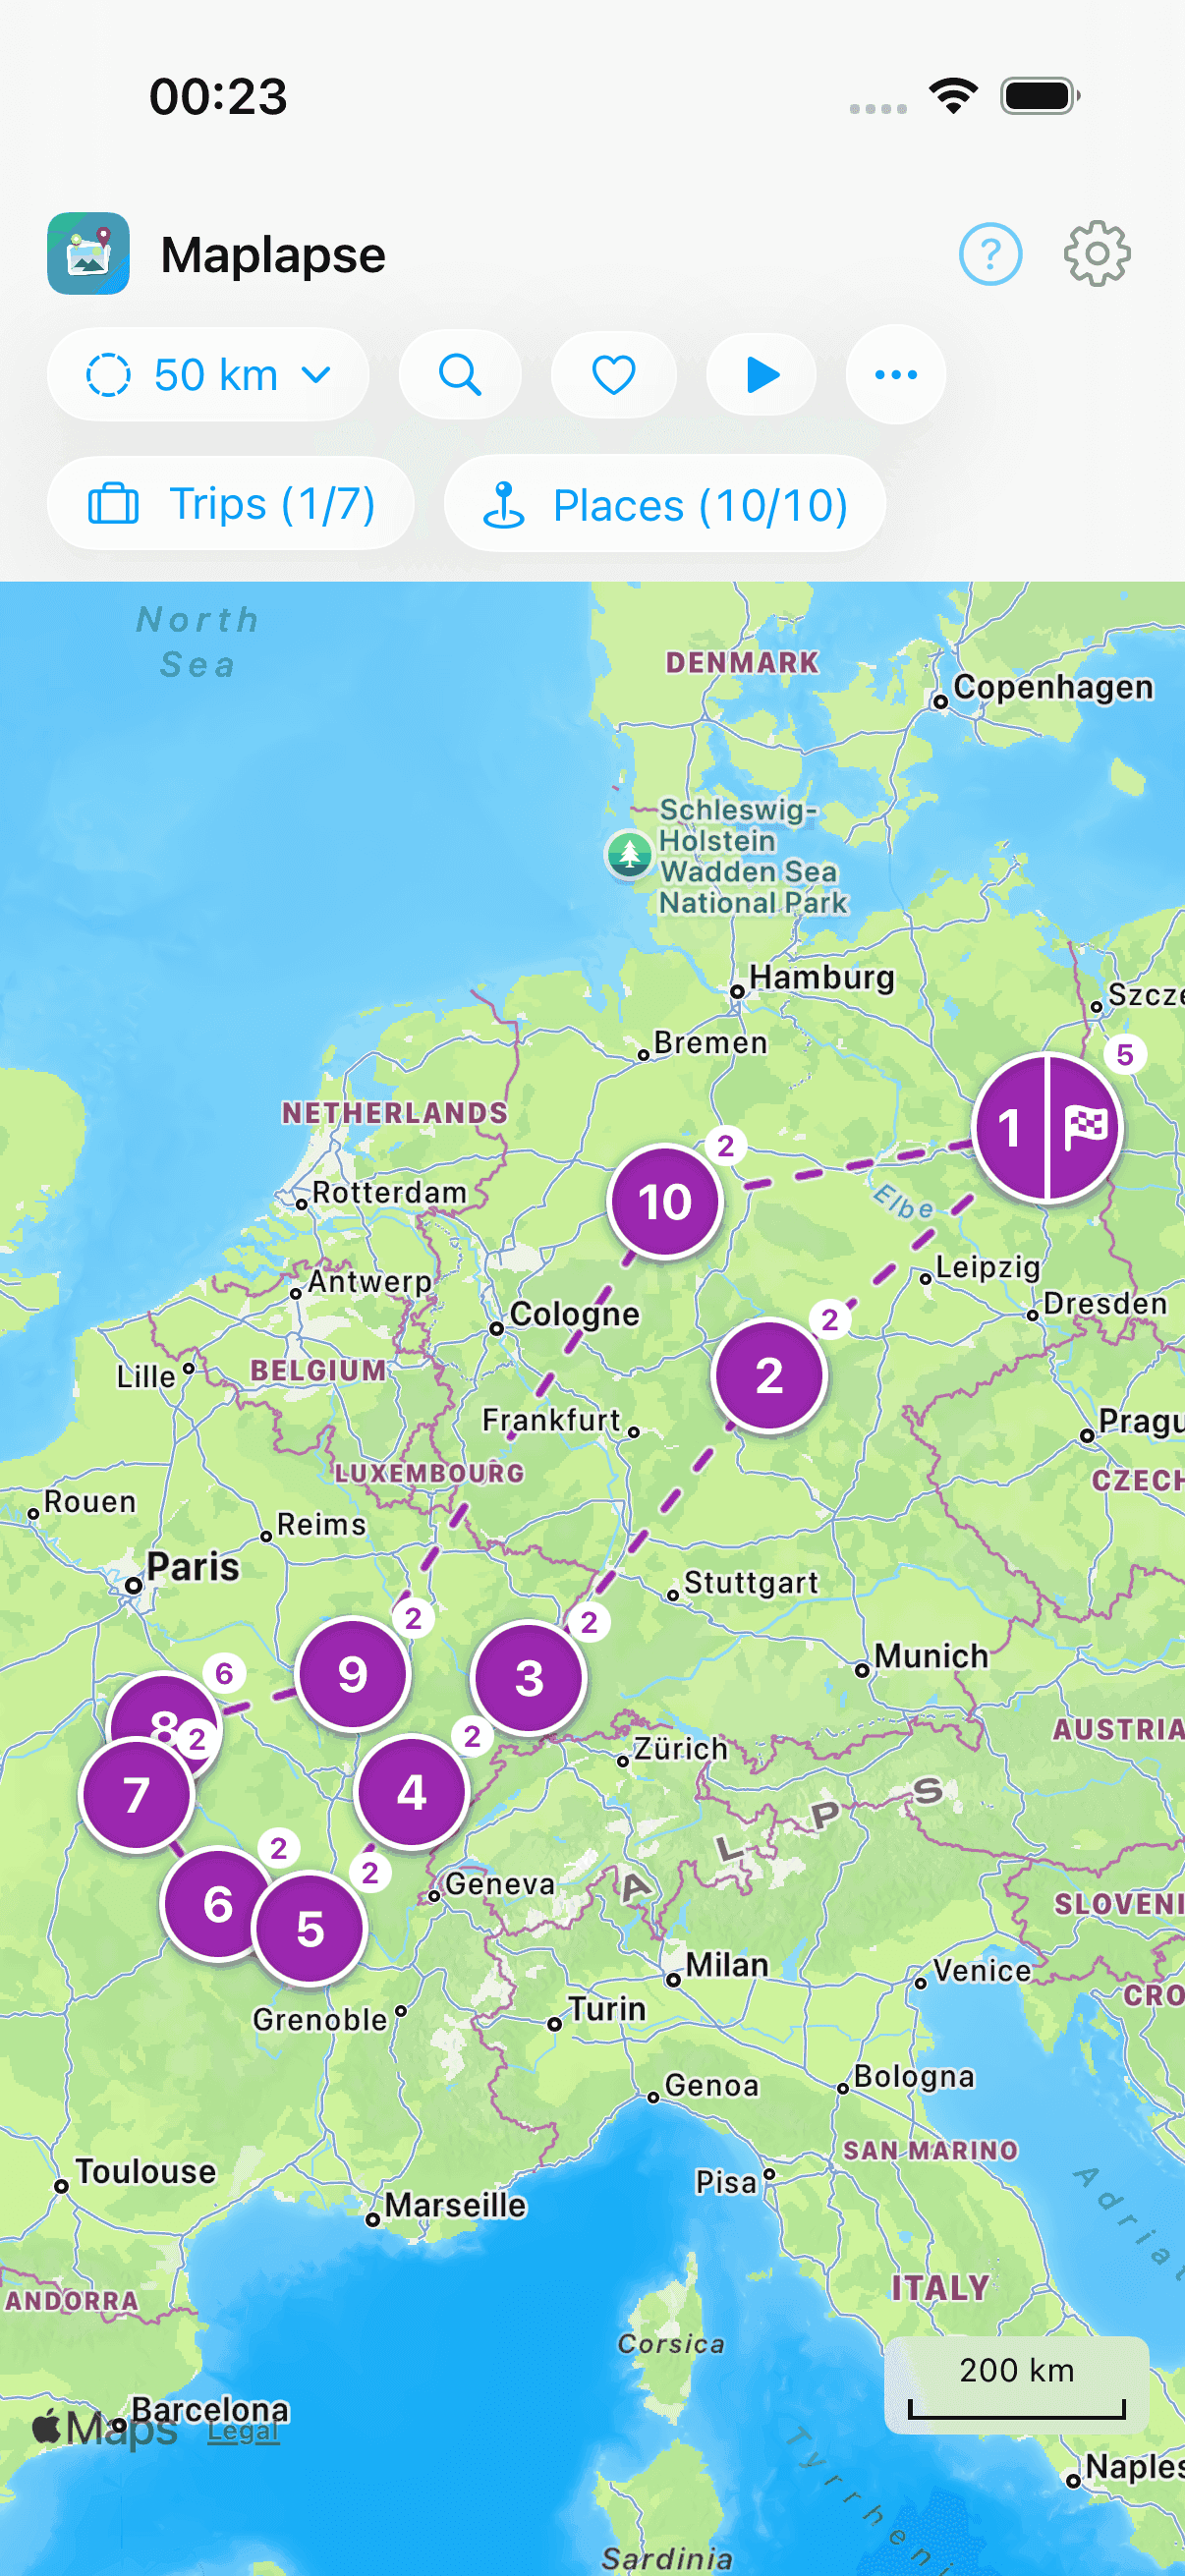
The symbols on the map
The map works with a handful of signs that always mean the same thing. This is the long version of what each one means, how it comes about and what you can do with it. In the app you find the same signs as a short legend behind the question mark at the top right (‘Symbols’). The ‘More about this’ link takes you straight to the matching section here.
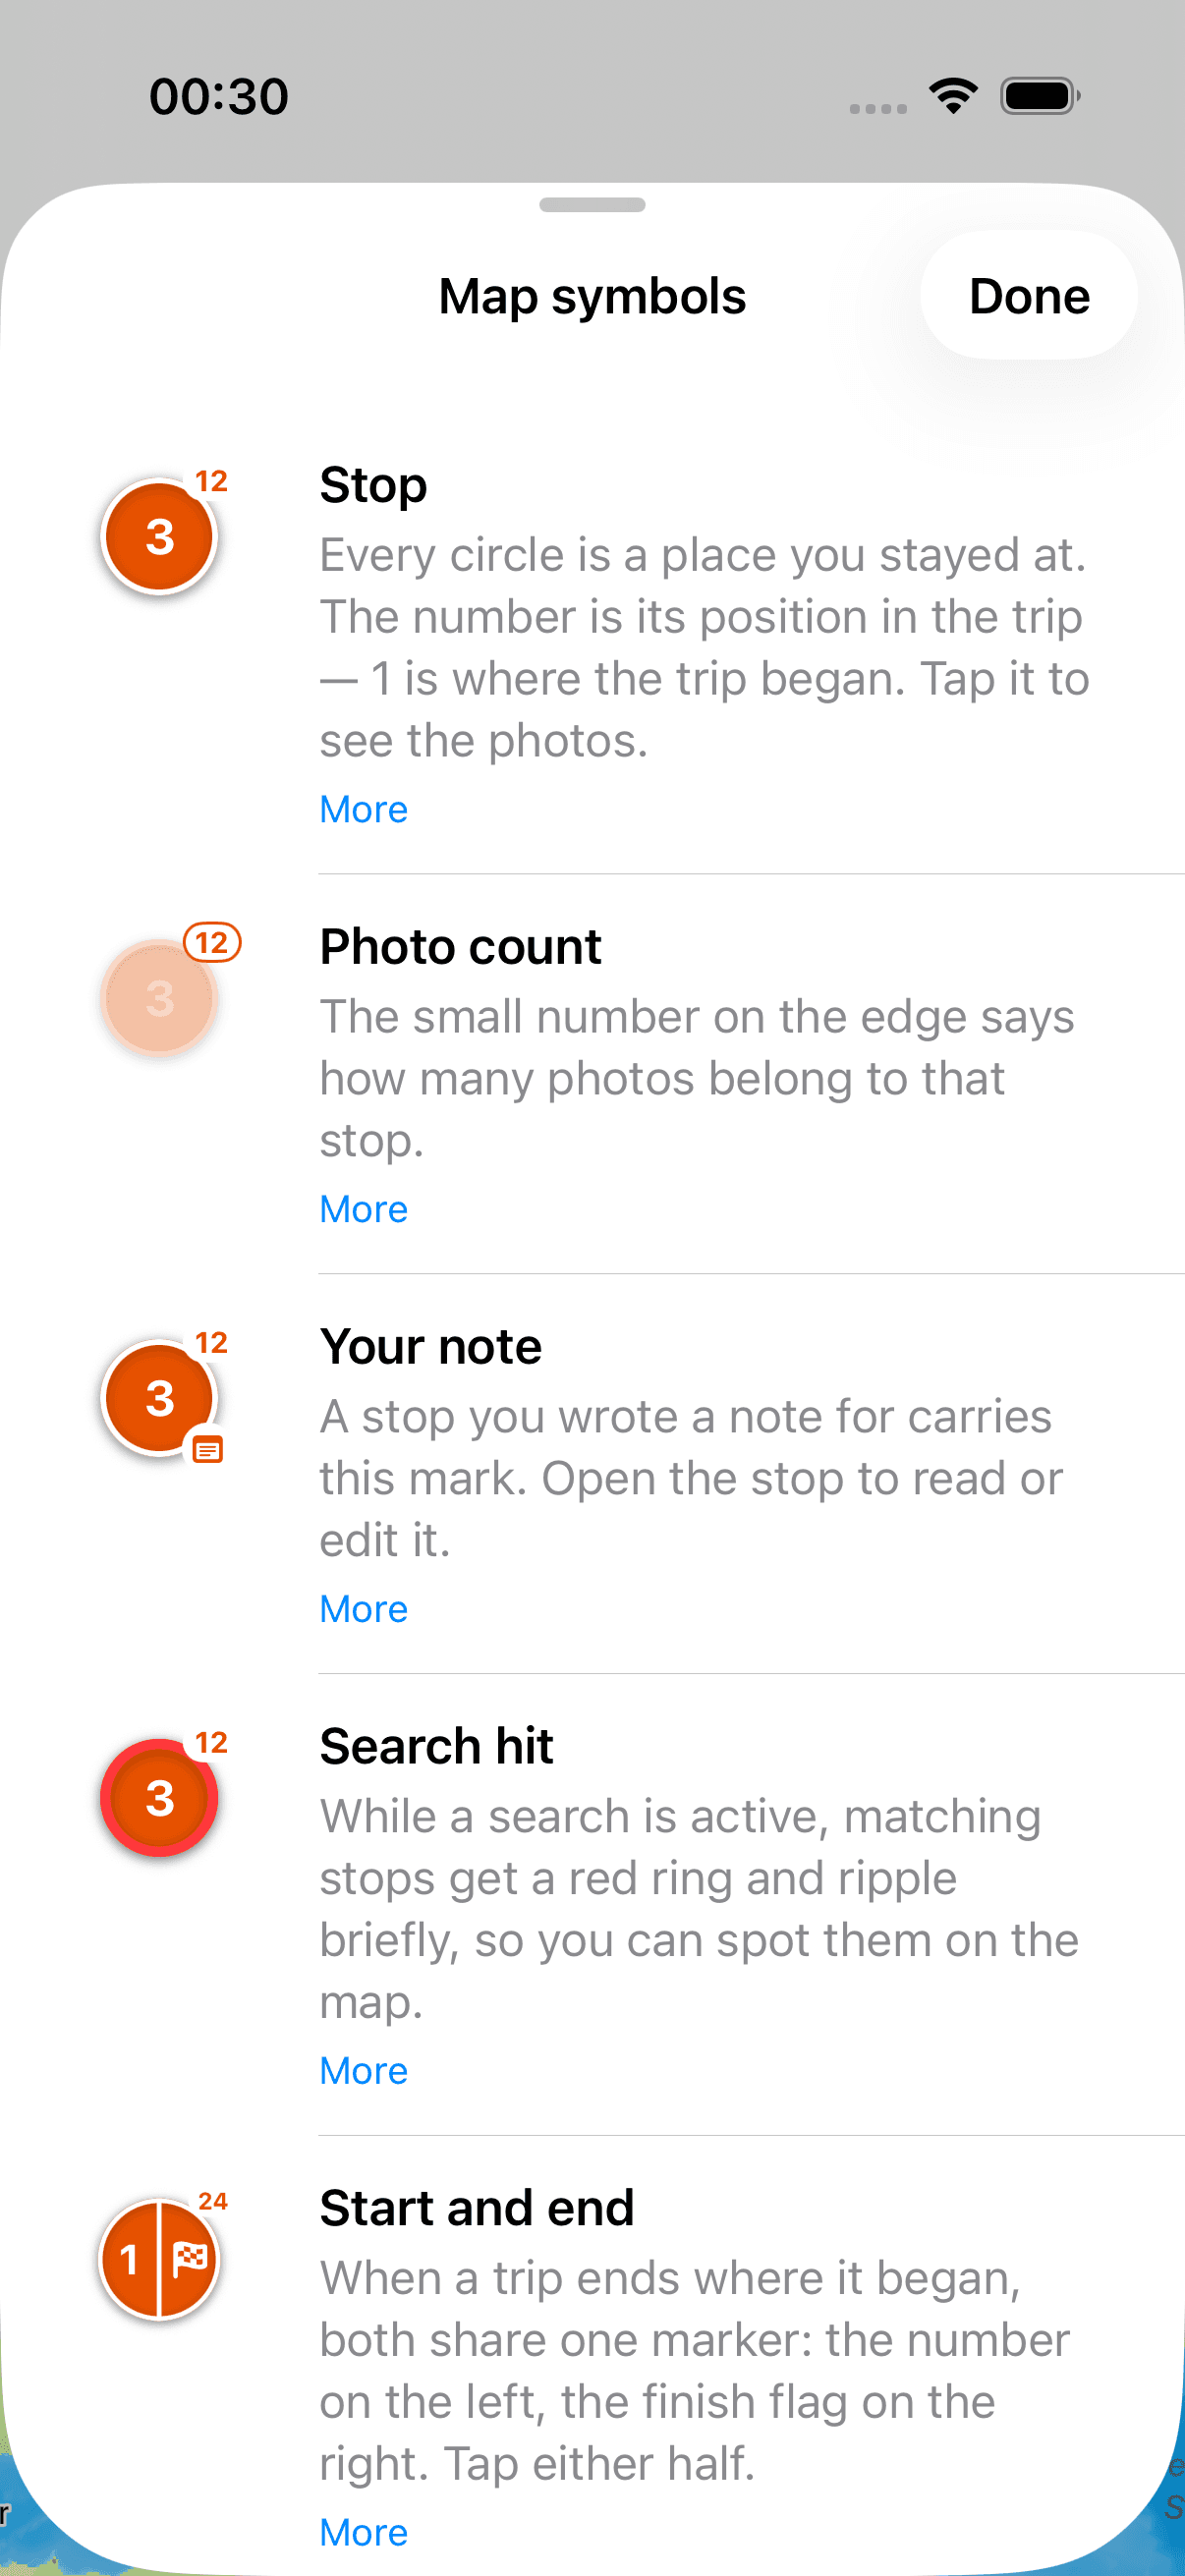
Stop, photo count, start and finish
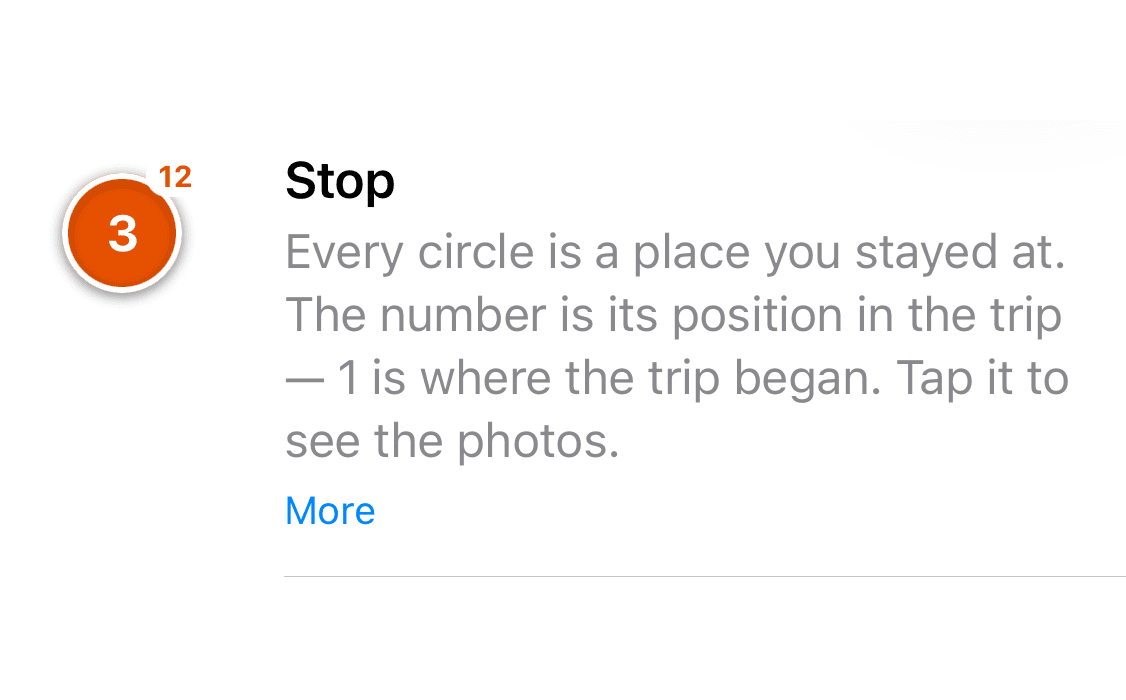
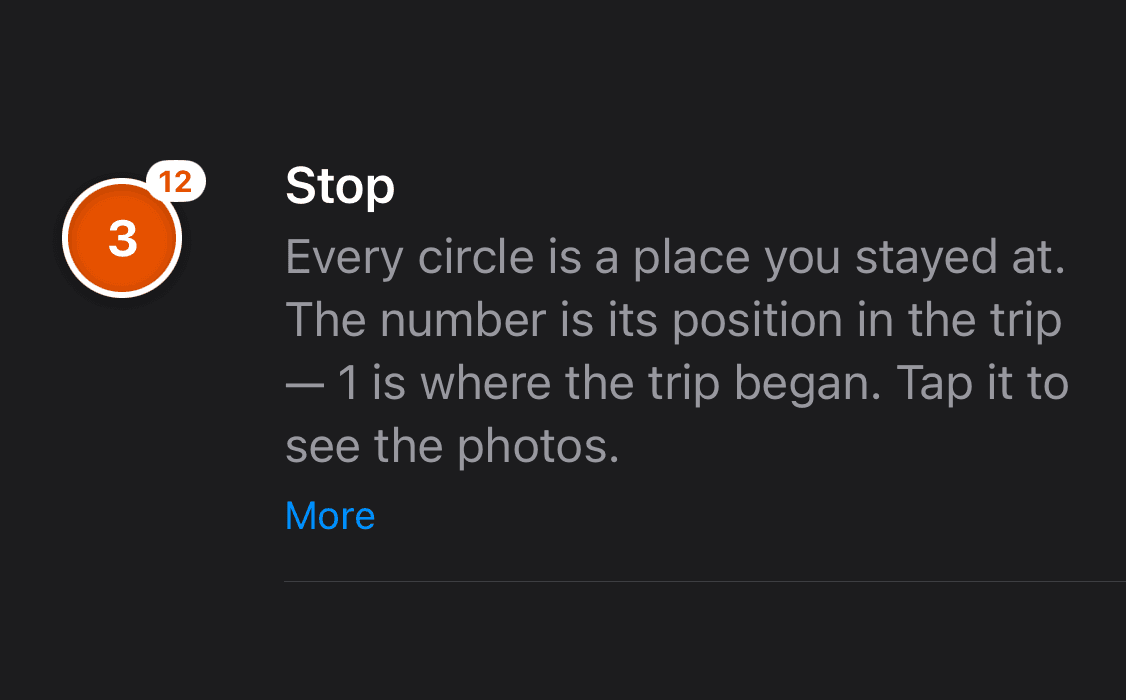
Every stop is a colored circle with a number. The number tells you which stop of the trip it is, so you can read the order straight off the map. A small count sits on the circle: that is how many photos you took at this stop. When the number is large, the detail zoom is worth it (see “Stops inside a stop”). The start and the end of a trip get their own markers, so you can see at a glance where it began and where it ended. Tapping a stop opens its gallery; a double-tap zooms into the place.
The line between the stops
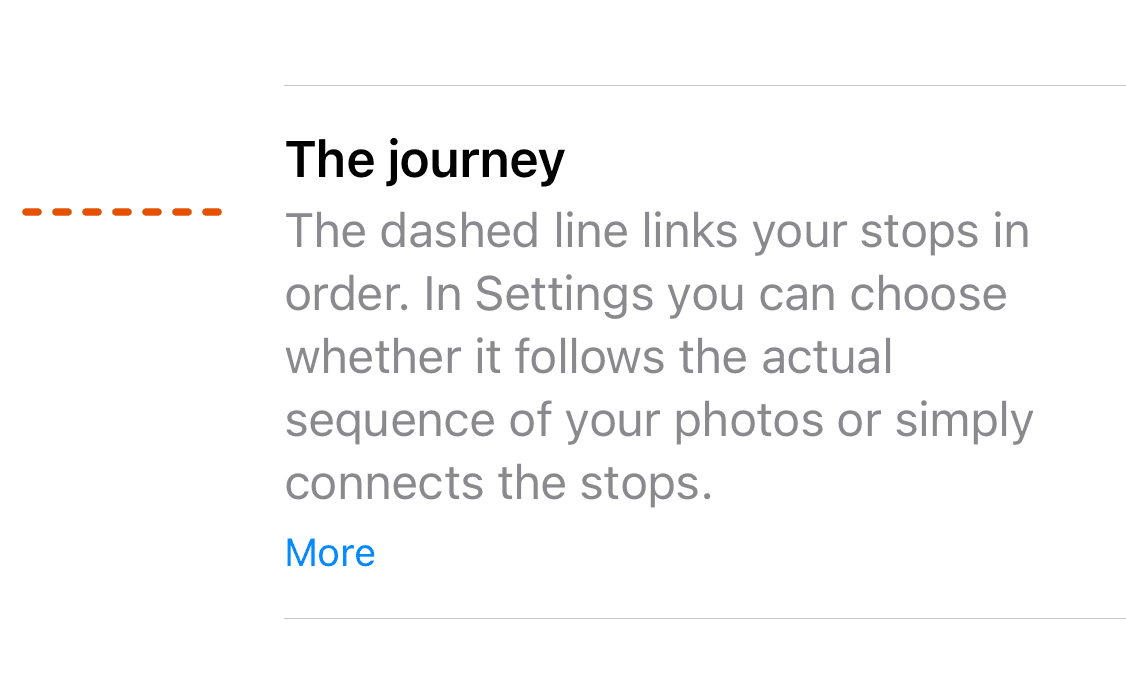
The line connects your stops in the order you visited them, drawing the journey. Worth knowing: it is always a straight connection from place to place, not the route you actually drove or flew. Maplapse only knows where your photos were taken, not the way in between. That line is solid and always connects two stops with each other. Dotted it only gets inside a single stop, namely between its sub-stops; what that dotted line means is under “Stops inside a stop”. The line always follows the time. There is nothing to set.
Stops inside a stop
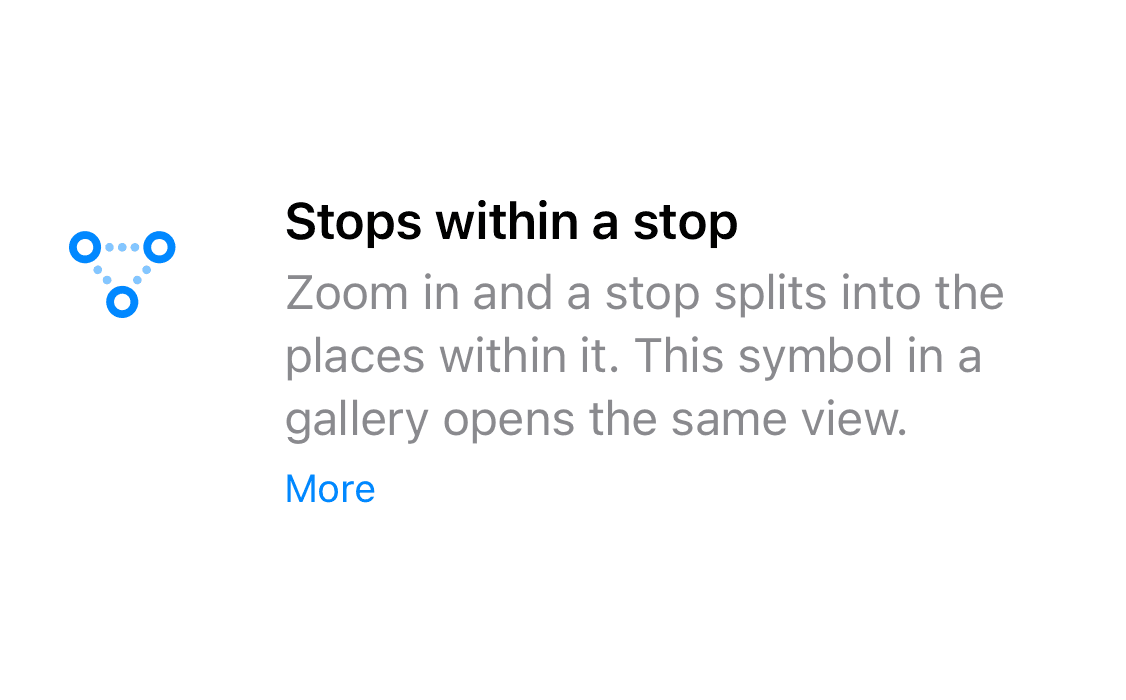
There is almost always more behind a stop than a single place: the harbor, the old town, the viewpoint. So when you zoom into the map, a stop breaks apart into its individual sub-stops, smaller circles showing where exactly you were. You can reach that detail view directly too: double-tap a stop, or tap the sign made of three dots joined by dashed lines at the top left of the gallery. A slider there sets how finely Maplapse groups them. Those sub-stops are joined by a finer dotted line, in the order you were there. So the visit reads as one, not as another journey; the first and the last of them hang on the journey line itself. Such a dotted line always belongs to exactly one trip: where two trips meet at the same place, each keeps its own chain. How finely Maplapse separates them comes down to distance: anything more than 500 m apart becomes a sub-stop of its own, and the slider steps take you down to 250 m.
The note sign
A small notepad sign on a stop means you wrote something down there. A note belongs to that one stop, to that place on that trip. If you have been to the same place twice, those are two stops and so two separate notes: what you wrote in the summer does not suddenly appear on the winter visit. Over time the map becomes a travel diary without you having to keep one. You open and write a note through the same sign in the gallery; while none exists yet it carries a small plus.
The heart on a photo
Photos you marked as favorites in the Apple Photos app carry a small heart in Maplapse. You can set it here too: open a photo and tap the heart at the top. Maplapse writes the mark back into Apple Photos. Through iCloud Photos it then shows on all your devices, whether or not you use Maplapse's own sync. They are two separate paths. In a gallery holding hundreds of shots from one stop it gets you back to the few that actually matter. Handy when sharing: while picking the photos for a shared trip you can filter down to your favorites.
Hidden photos and the eye
Not every photo from a trip is a travel photo: the screenshot of a boarding pass, the snapshot of a parking ticket, a chat log. You can hide photos like these. They then carry their own mark and disappear from the gallery. Hiding is never deleting: the photo stays untouched in your photo library and only disappears from the map. In Settings you can bring hidden photos back at any time, so no decision is final.
The red ring around a search hit
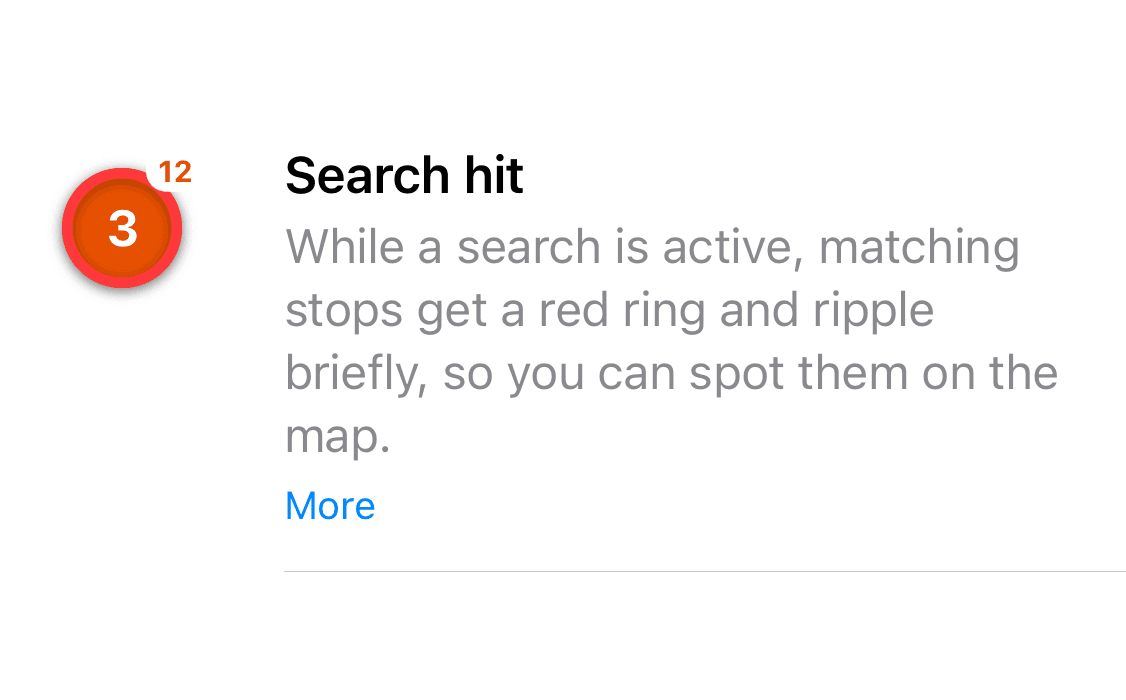
When you search for a place, a country or a year, Maplapse highlights the hits on the map with a red ring that briefly pulses. That is needed because a hit would otherwise be lost among many other stops. The ring pulls your eye exactly there. If the place you found happens to be hidden, the app offers to show it again rather than leaving you in front of an empty map.
Placeholder: “Photo not on this device”
In a map someone shares with you, a tile may appear that shows no photo but the note “Photo not on this device”. It tells you exactly what it says: this photo is not in your photo library. Sharing itself carries places, times, notes, trip names and which photos you hid. The photos come together through your photo library, not through Maplapse. That is why Apple's Shared Photo Library is the path along which everything ends up matching. If you both use the same one, the photo is already with you, and Maplapse shows it at that stop, and nobody has to send anything. If you don't, the placeholder stays. And it stays for good: it is not a loading state. Waiting does not help, a better connection does not help, and nothing is downloading in the background. Everything else is there in full: places, times, notes and the journey. The photo really is the only thing missing. How the two sharing paths differ, and why the photos do arrive with “Trip as a link”, is further down under “Trip as a link, or your whole map?”.
The “Find photos” symbol
ProThis symbol appears at the top right of a gallery as soon as photos without a location fit this stop in time. Before that it is not there at all. In its own dialog you give those photos the place of other photos from the same stop, and they make it onto the map after all. Photos from a camera without positioning, from a messenger or taken with location switched off would never get there otherwise. The full description is further down under “Place photos that have no location”. The placing itself is part of Maplapse Pro.
The scale bar
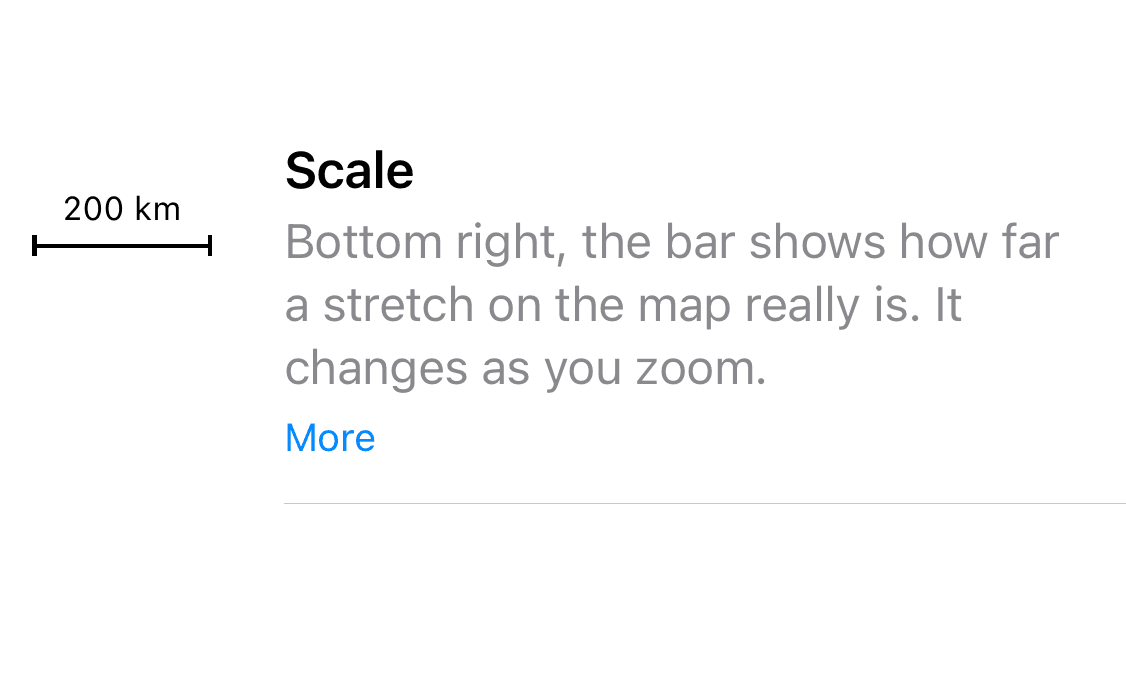
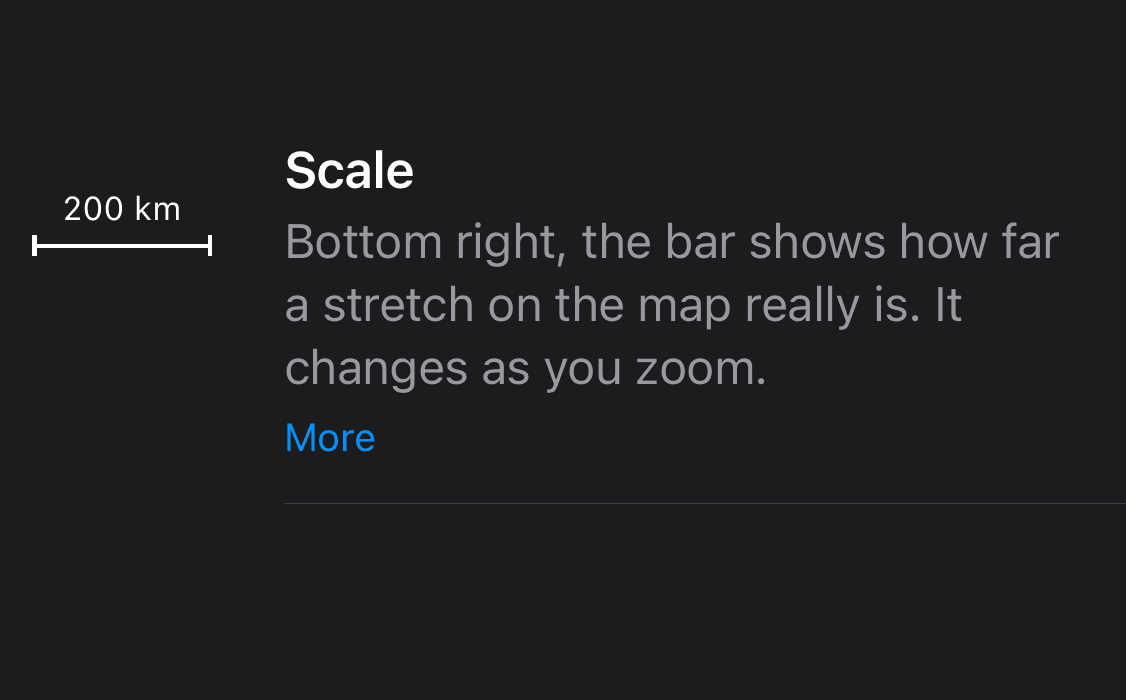
Bottom right on the map sits a small bar with a distance on it. It tells you what real distance the current zoom level corresponds to, whether two stops are 500 meters or 500 kilometers apart. Without it a city trip looks exactly like a trip around the world on screen. The bar adjusts itself as soon as you zoom in or out.
How you spot a Pro feature
You don't, and that is deliberate. Maplapse marks no Pro feature on the map with a sign of its own: no lock, no star, no little badge. A Pro feature looks like any other and only tells you what Pro adds once you tap it. That keeps the map calm, and you don't trip over something you haven't bought every time you look at it. Maplapse works fully without Pro; everything you have read up to this section is free.
Trips and stops
How trips and stops form
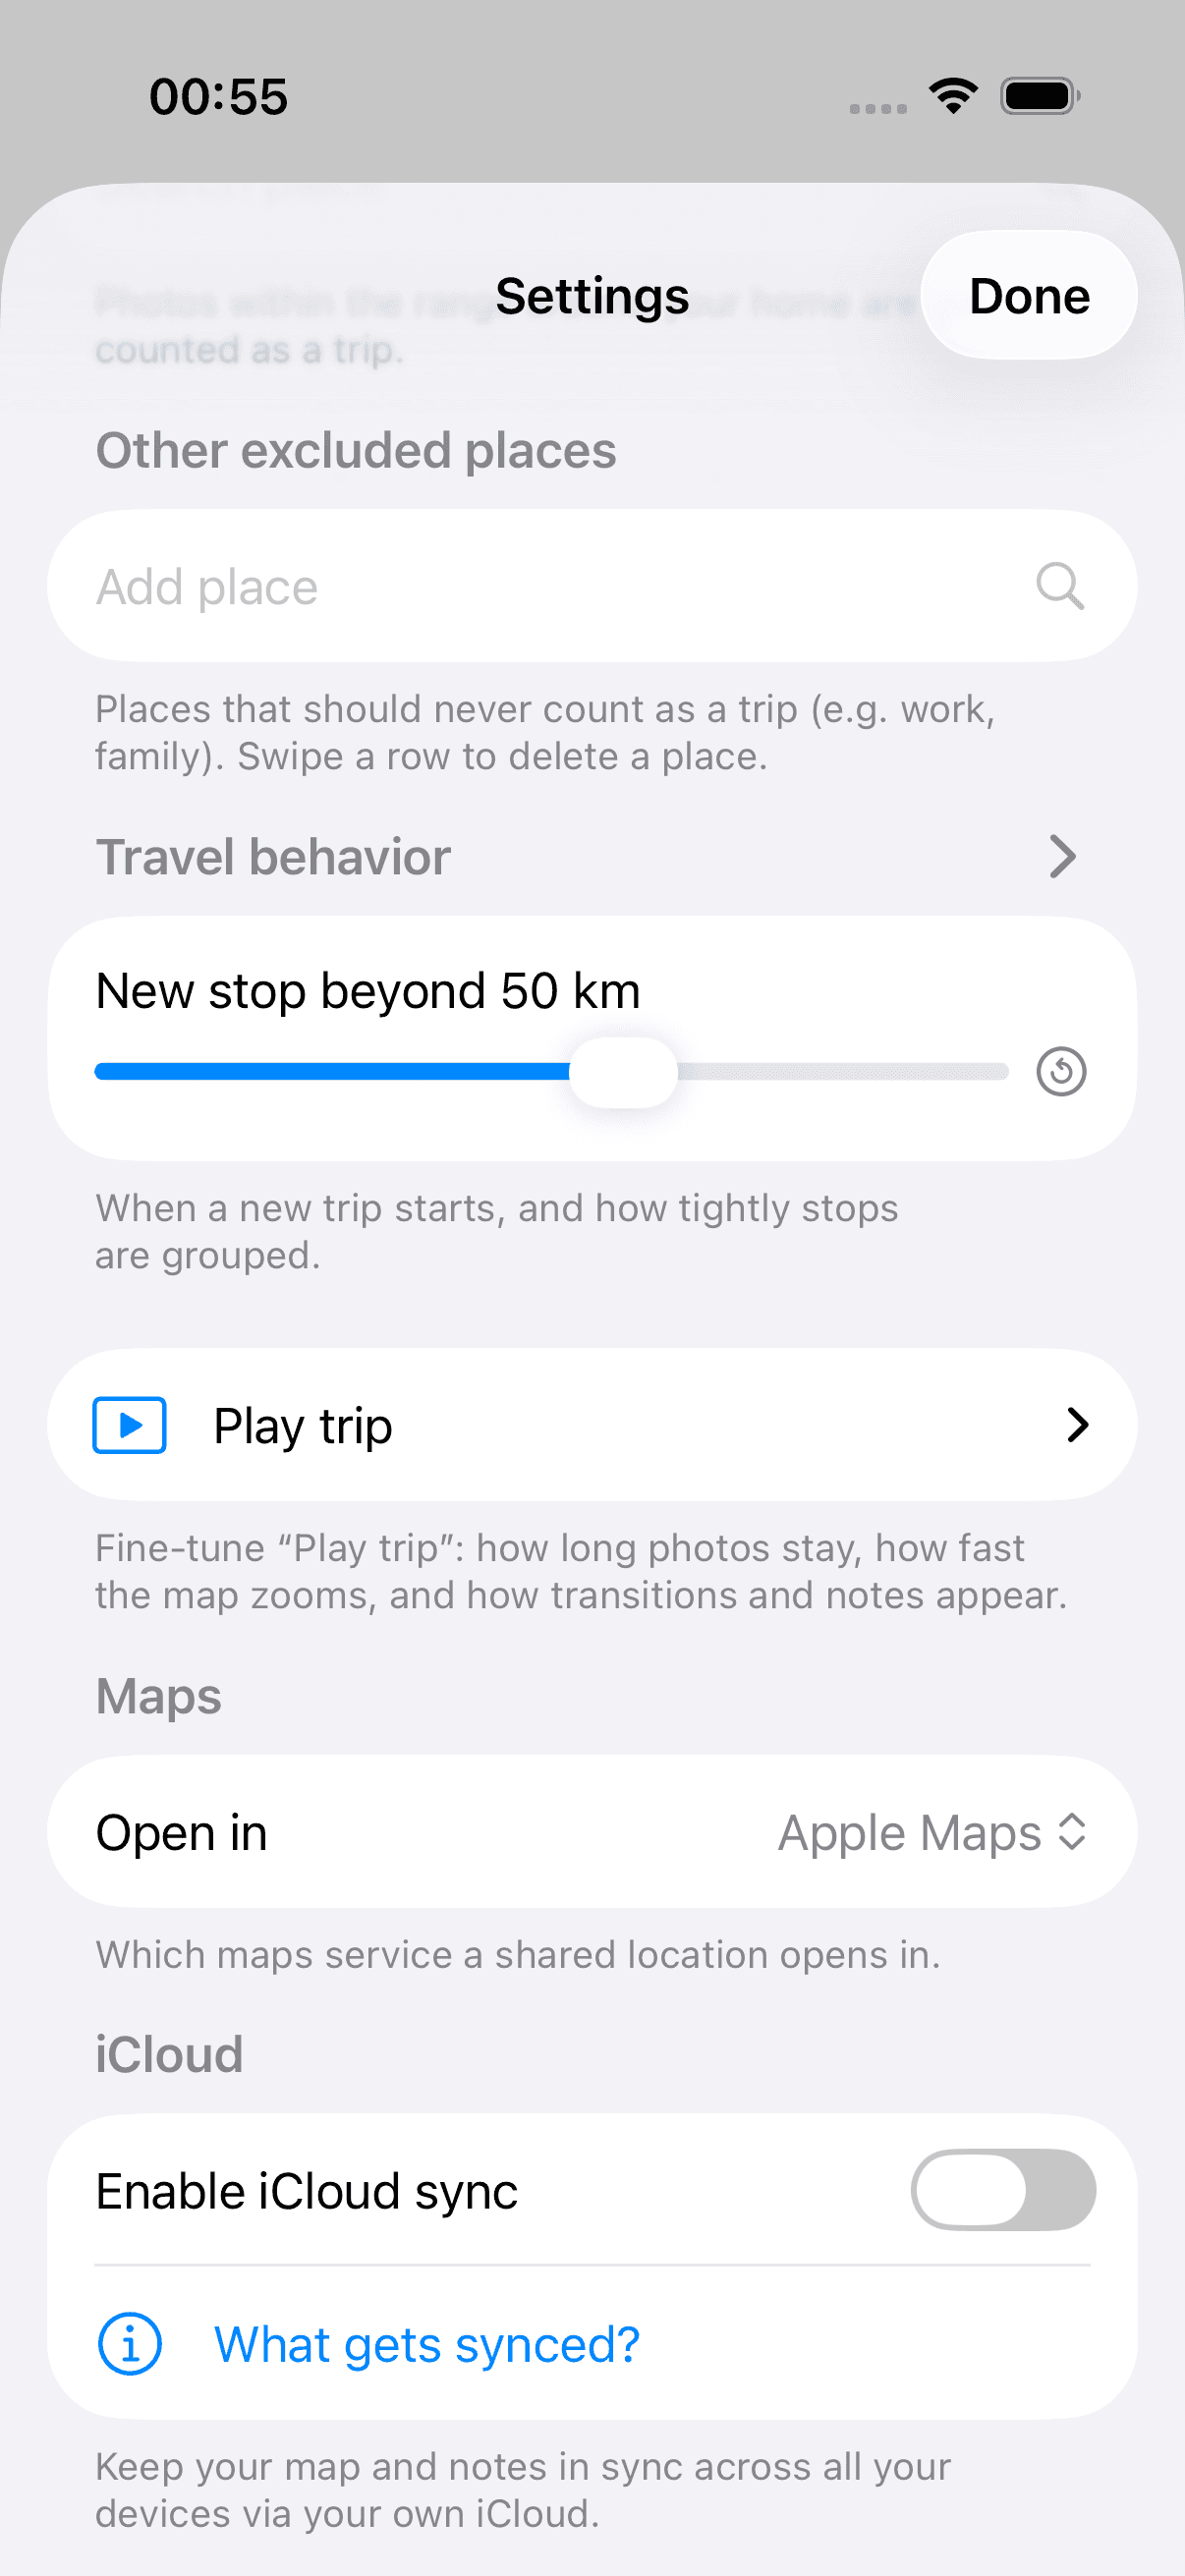
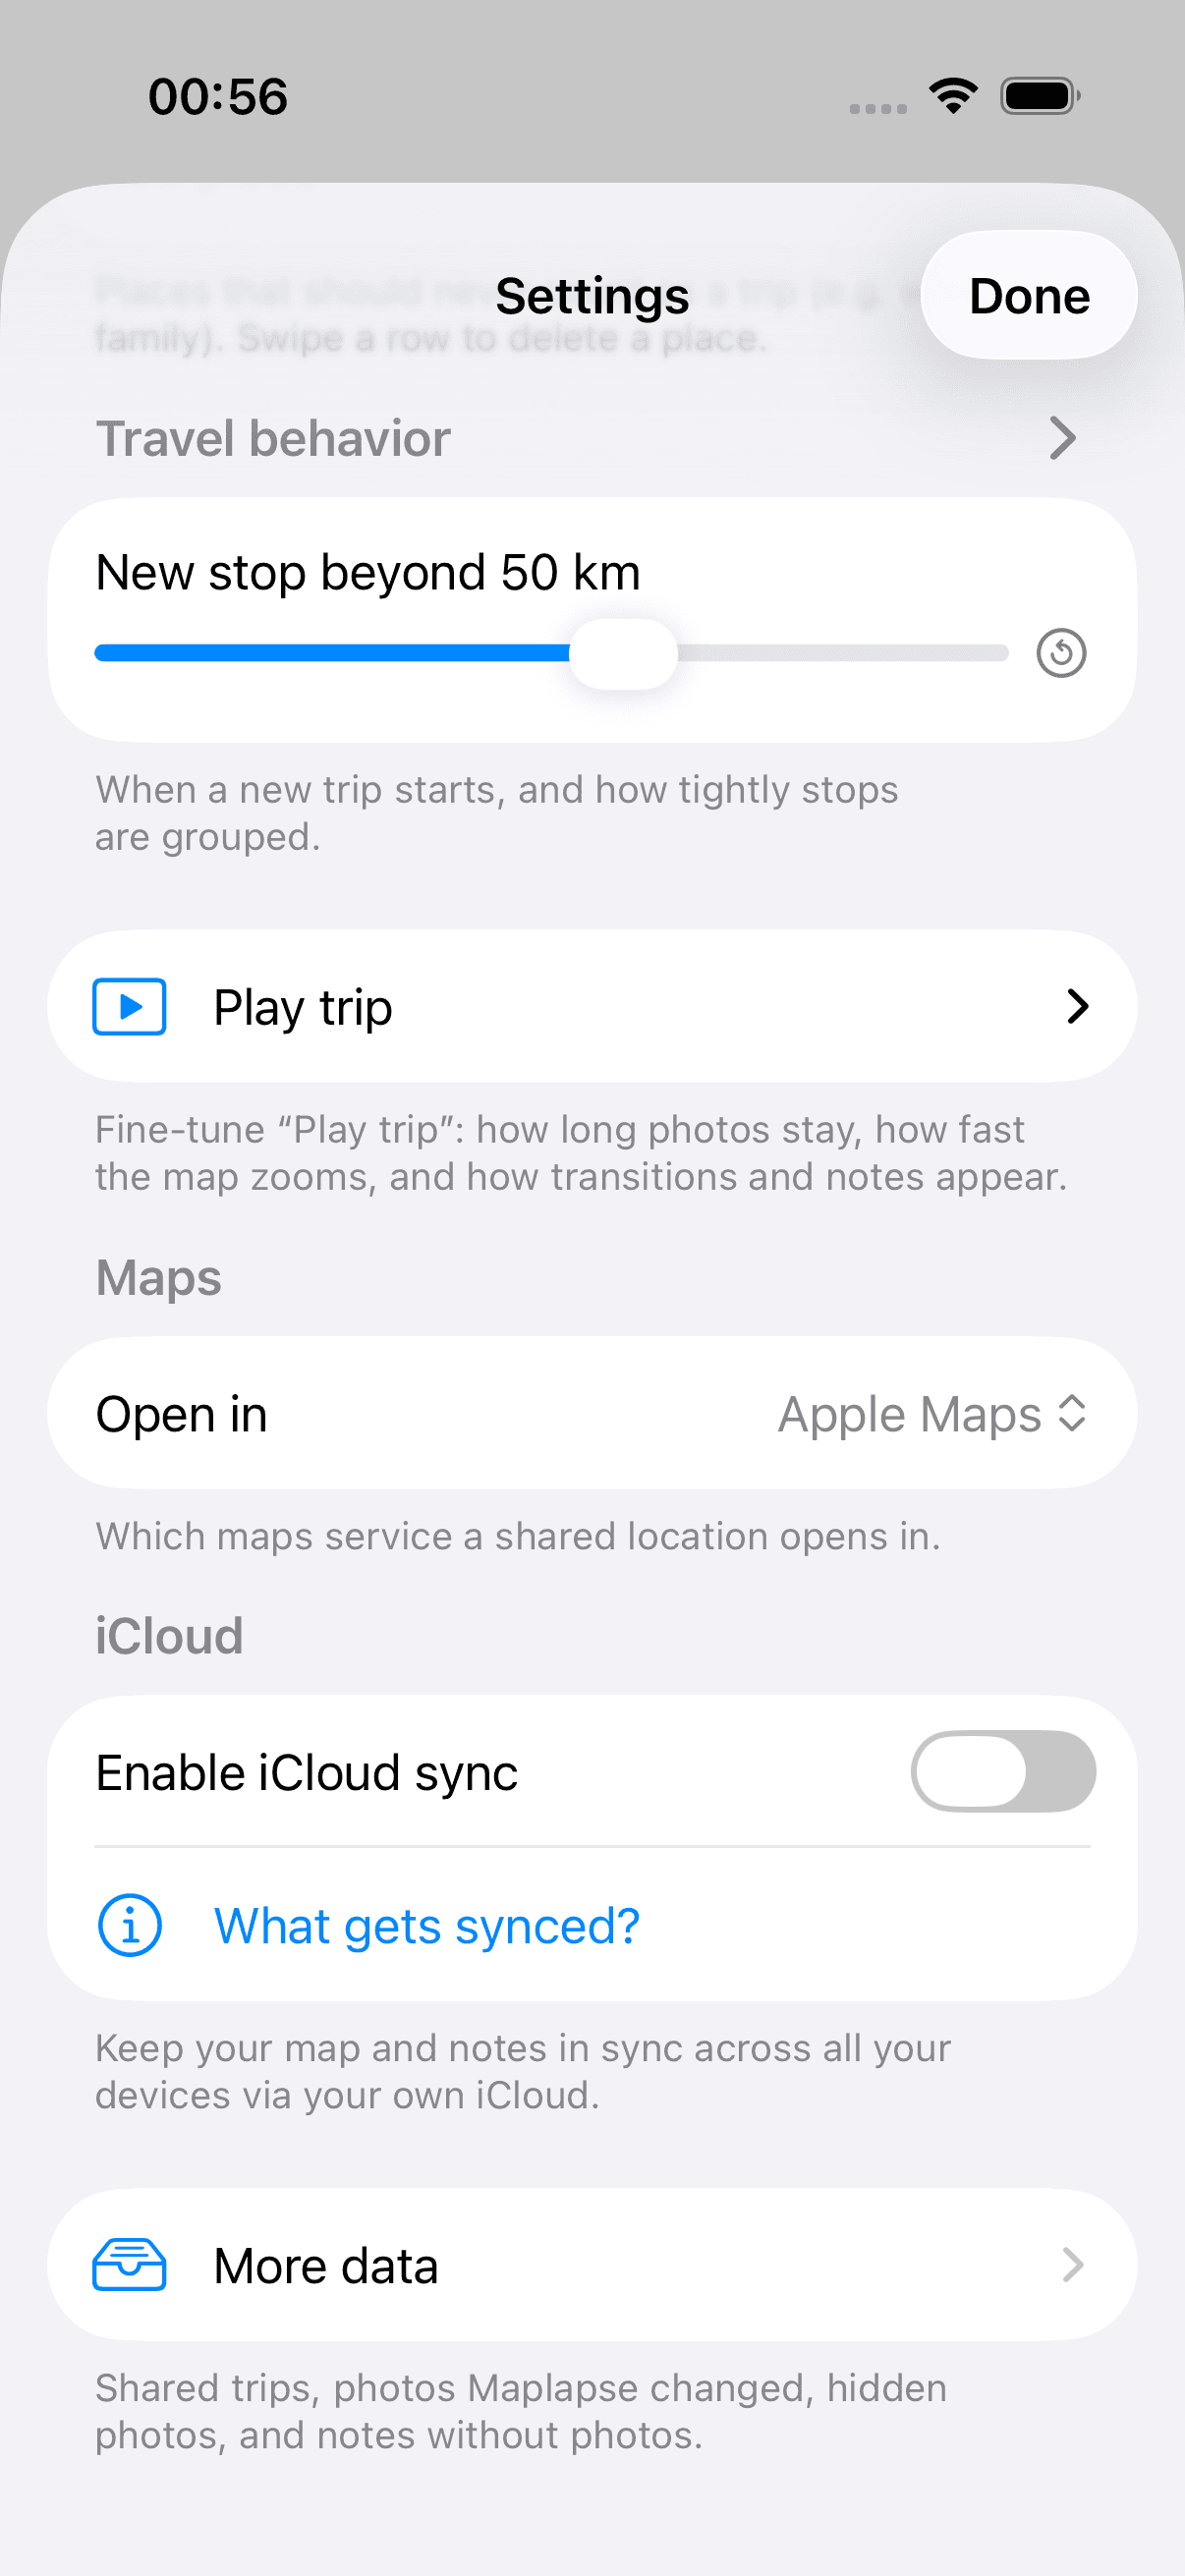
Under Settings › “Travel behavior” you set how your photos are grouped into trips and stops. Your photos themselves stay untouched. At the top of the map only the radius slider unfolds; everything else lives in Settings. “New stop beyond X km” sets how far apart two photos must be to count as two places (50 km by default). That value is a promise: two stops are never closer together than the radius you set. Dial in 200 km and you will not get stops 50 km apart any more; the photos from the road then belong to the next stop. There is one exception: if you slept at two places, they stay two stops even when they sit closer together. A larger value groups what belongs together and keeps the map calm and is usually the better choice; you don’t lose the detail of a place for it, that’s what the detail zoom at each stop is for (see “A place in detail”). “New trip after X mo” sets the break after which a new trip begins (2 months by default). What that slider really does day to day is the subject of the next section. And the nights: come back to a place after a night elsewhere and it is always a stop of its own. Only the same-day there and back, the day trip, stays in one stop. That holds without you doing anything. The switch “Overnight stops” is off by default; turn it on and Maplapse additionally reads every overnight stay out of your photo times and gives each one its own stop, even inside the radius.
How Maplapse spots a new trip
Mostly by you coming home. Once you have set a home address in Settings, the rule is: as soon as photos from home appear again, the trip is over. Whatever comes next counts as the next trip. That matches real life better than any time rule. Two weekend trips in the same month stay two trips, even if only a few days lie between them. This is why you often notice nothing from the “New trip after X” slider. It is the fallback for exactly three cases: 1. You have set no home address. Then there is no homecoming rule, and the time gap is the only thing separating two trips. 2. You took no photos at home between two trips. Without a photo from home Maplapse cannot notice the homecoming. The time gap is all that separates them. 3. You want to hold a multi-leg trip together. A long round trip with a three-week stopover that is not at home stays one single trip if you set a generous value. The homecoming rule cannot do that, because you were never home in between. There is also “Photo break up to X days”: breaks up to that length do not split a trip, even when photos are taken at home meanwhile, by family in a shared library for instance.
The bar above the map
Above the map sits a bar with seven controls: the radius, “Trips”, “Places”, search, the heart filter for favorites, the ▶ play button and the three-dot menu. On the iPhone it wraps: the radius and search on top, then heart, ▶ and the menu, and “Trips” and “Places” on a row of their own. Where there is room, as on the iPad, everything sits side by side. On the iPad you also keep the bar in landscape; a button at the top right hides it and brings it back. While it is hidden, a small indicator at the top left shows that Maplapse is still working. On the iPhone, landscape hands the whole screen to the map. The next sections walk through the controls in the order you see them on an iPhone.
Radius: when a second place begins
On the far left sits a chip with a dashed circle and a distance, “50 km” for example. It says how far apart two shooting locations must be for Maplapse to count them as two stops. That value is a promise: two stops are never closer together than this radius. With one exception: two places where you stayed overnight remain separate, even when they sit closer together. Tap the chip and the slider “New stop beyond X km” unfolds below; drag it and the map rearranges straight away. Nothing else unfolds up here. “New trip after X mo”, “Photo break up to X days” and the switch “Overnight stops” live in Settings › Travel behavior. Up here is only the value you genuinely re-adjust while looking at a map.
Search and filter
Search
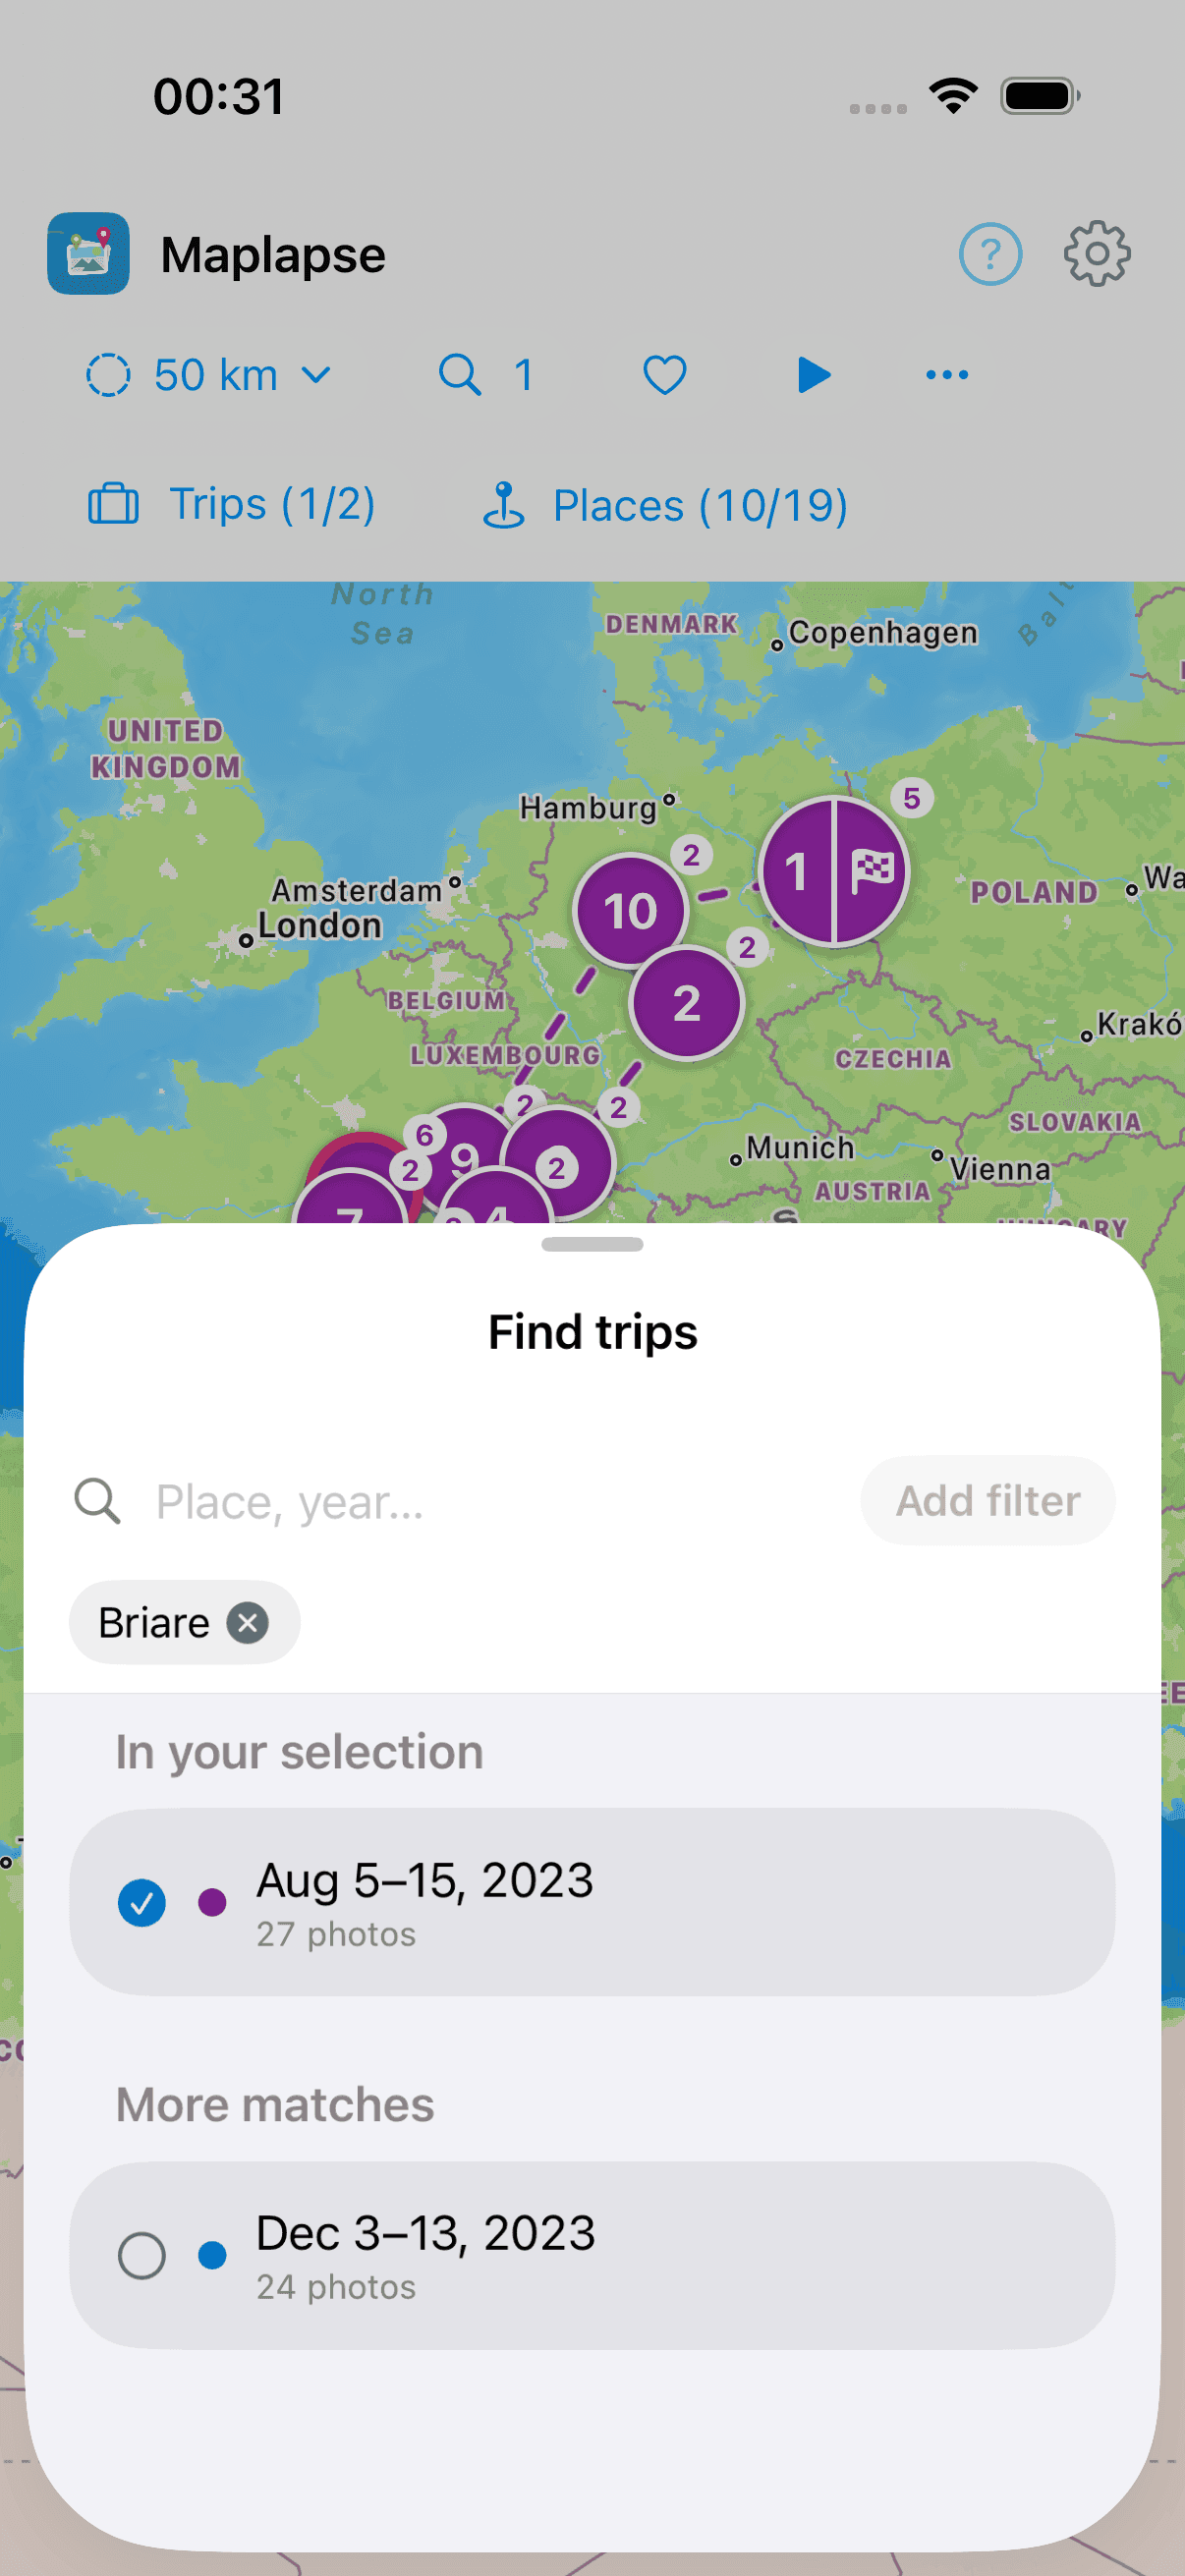
Tap the magnifying glass at the top to open search. Type a place, a country, a date or the name of a trip, and Maplapse suggests matching hits and highlights them on the map. If a hit is currently hidden, the app offers to show it again. While a search is active, the number of filters you set sits next to the magnifier. That is how you can tell, even with the search field closed, that the lists are following a filter and the map is highlighting hits. What sets such a filter apart from the search in “Trips” and “Places” is further down under “Magnifier or search field? The difference”.
Filter trips
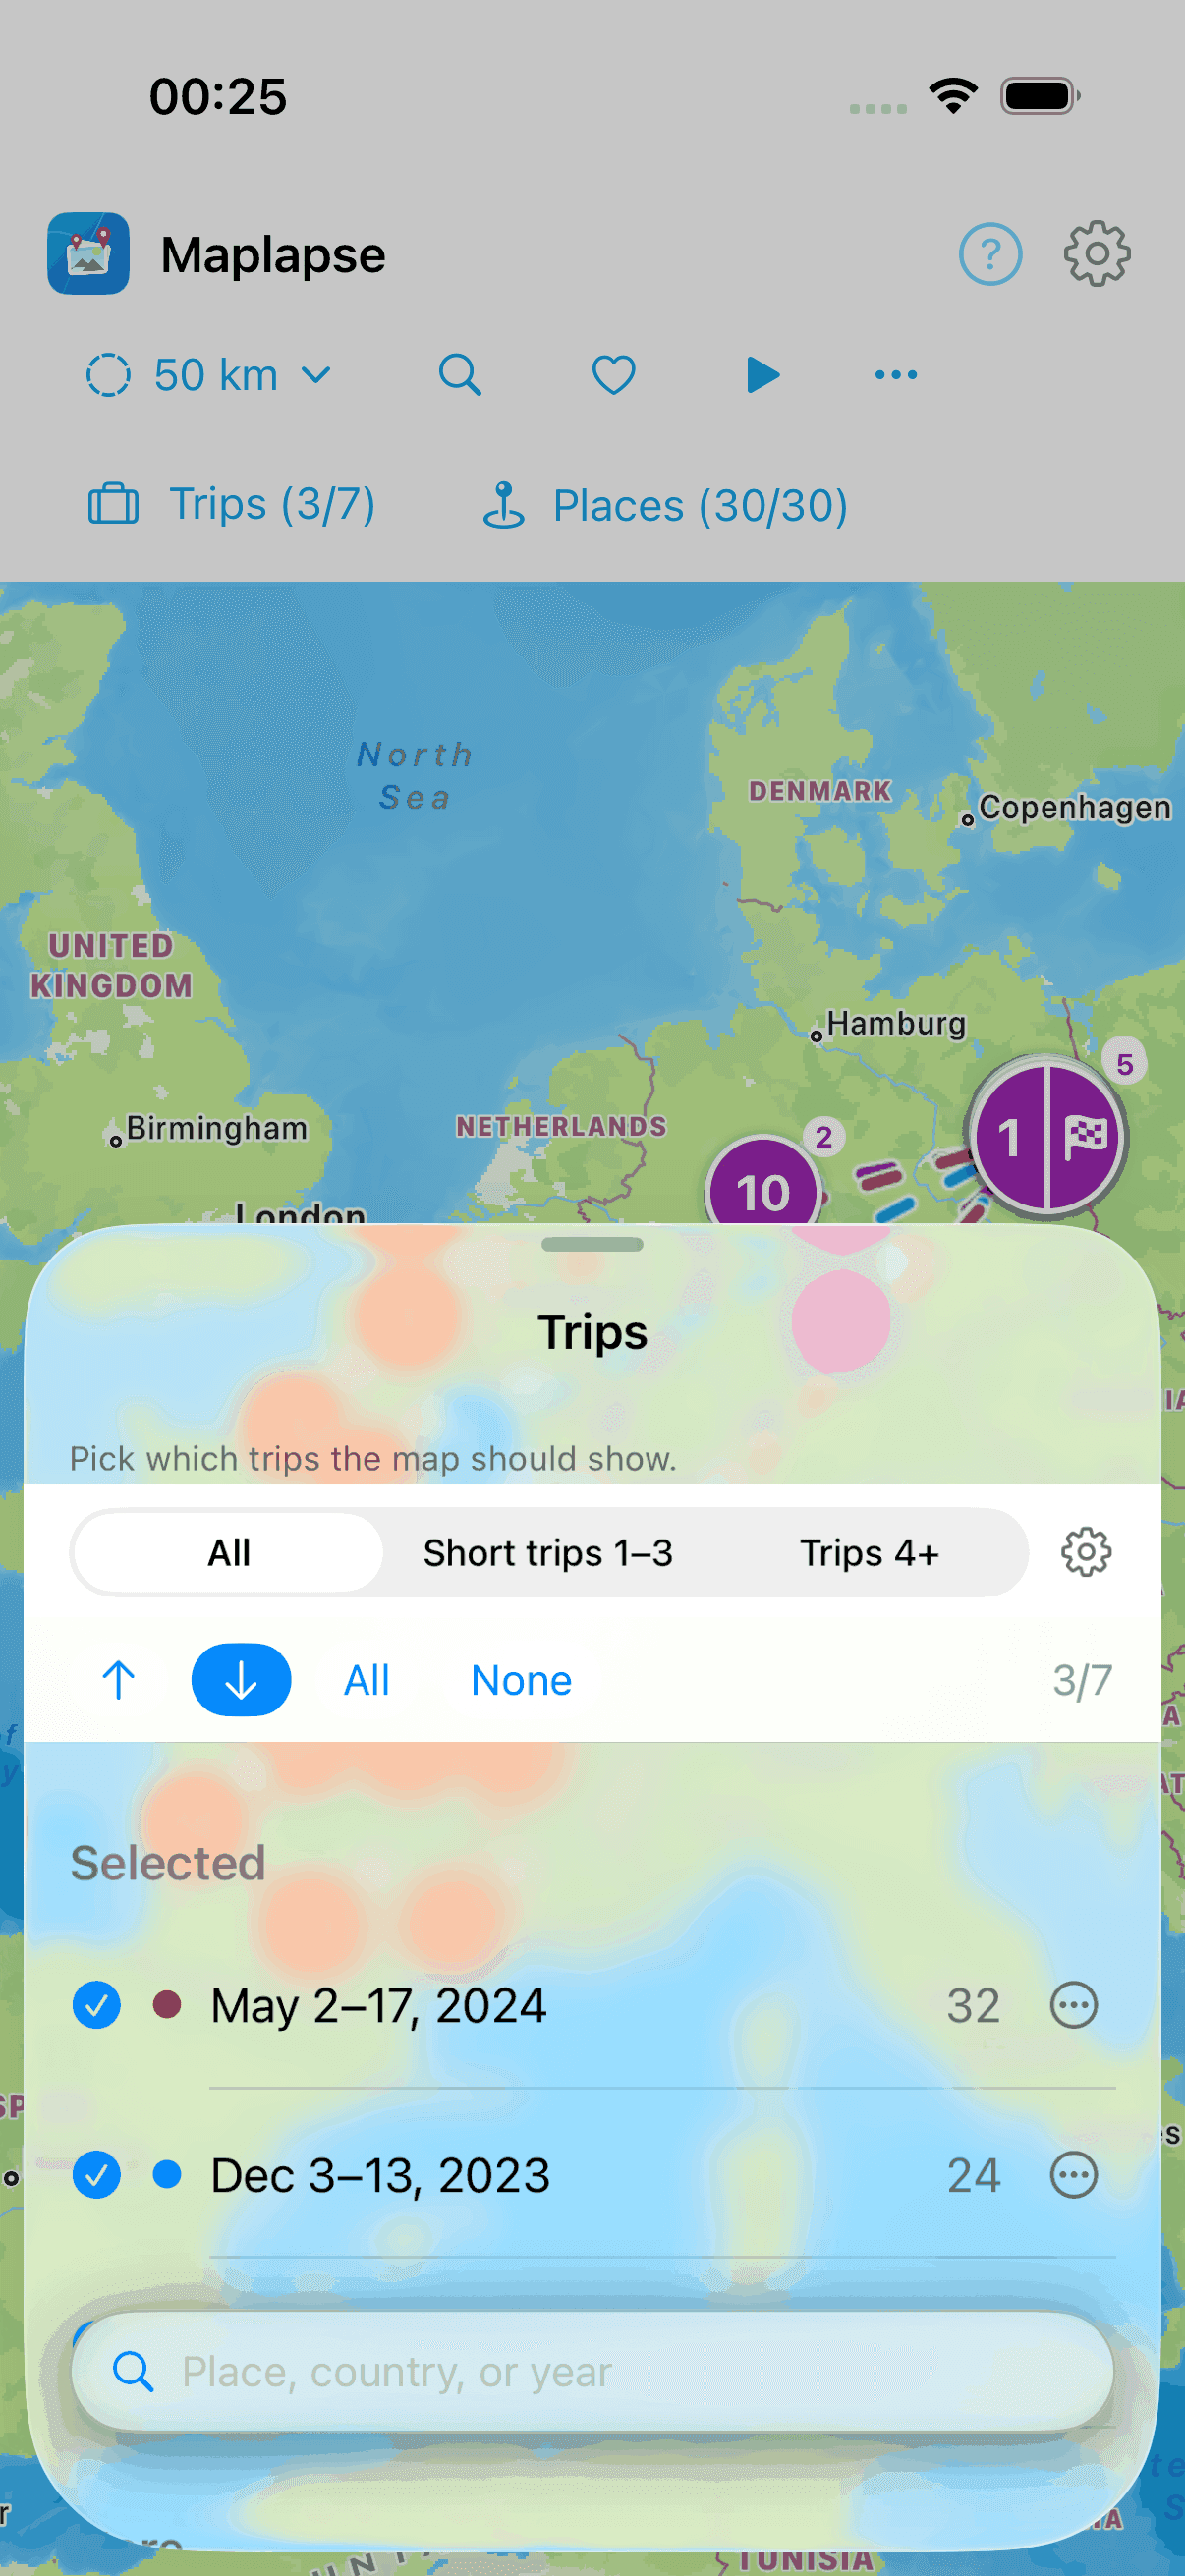
Tap “Trips” in the top bar (suitcase icon) to show or hide individual trips. Use “All” and “None” to switch quickly. Via the search field you can also filter by year: type “2023”, for example, and you'll see only the trips from that year. A filter from the magnifier applies here as well: it narrows the list on top of that, and sits visibly at the top of the view.
Filter places
Tap “Places” at the top (map-pin icon) to show or hide individual places. Worth knowing: without a filter from the magnifier, the list only holds the places of the trips currently selected. The places filter then narrows down your trip selection, it is not a directory of every place. If a place is missing, bring its trip back in the Trips filter first. The search field at the bottom finds places by name, country or date, which is handy when you only remember a place. With a filter from the magnifier set, the list shows all the places of the trips that match it instead, including those of trips you have not currently selected. Those places appear grayed out. The filter then sits at the top of the view, where you can also lift it again. More on that under “The same filter in Places”.
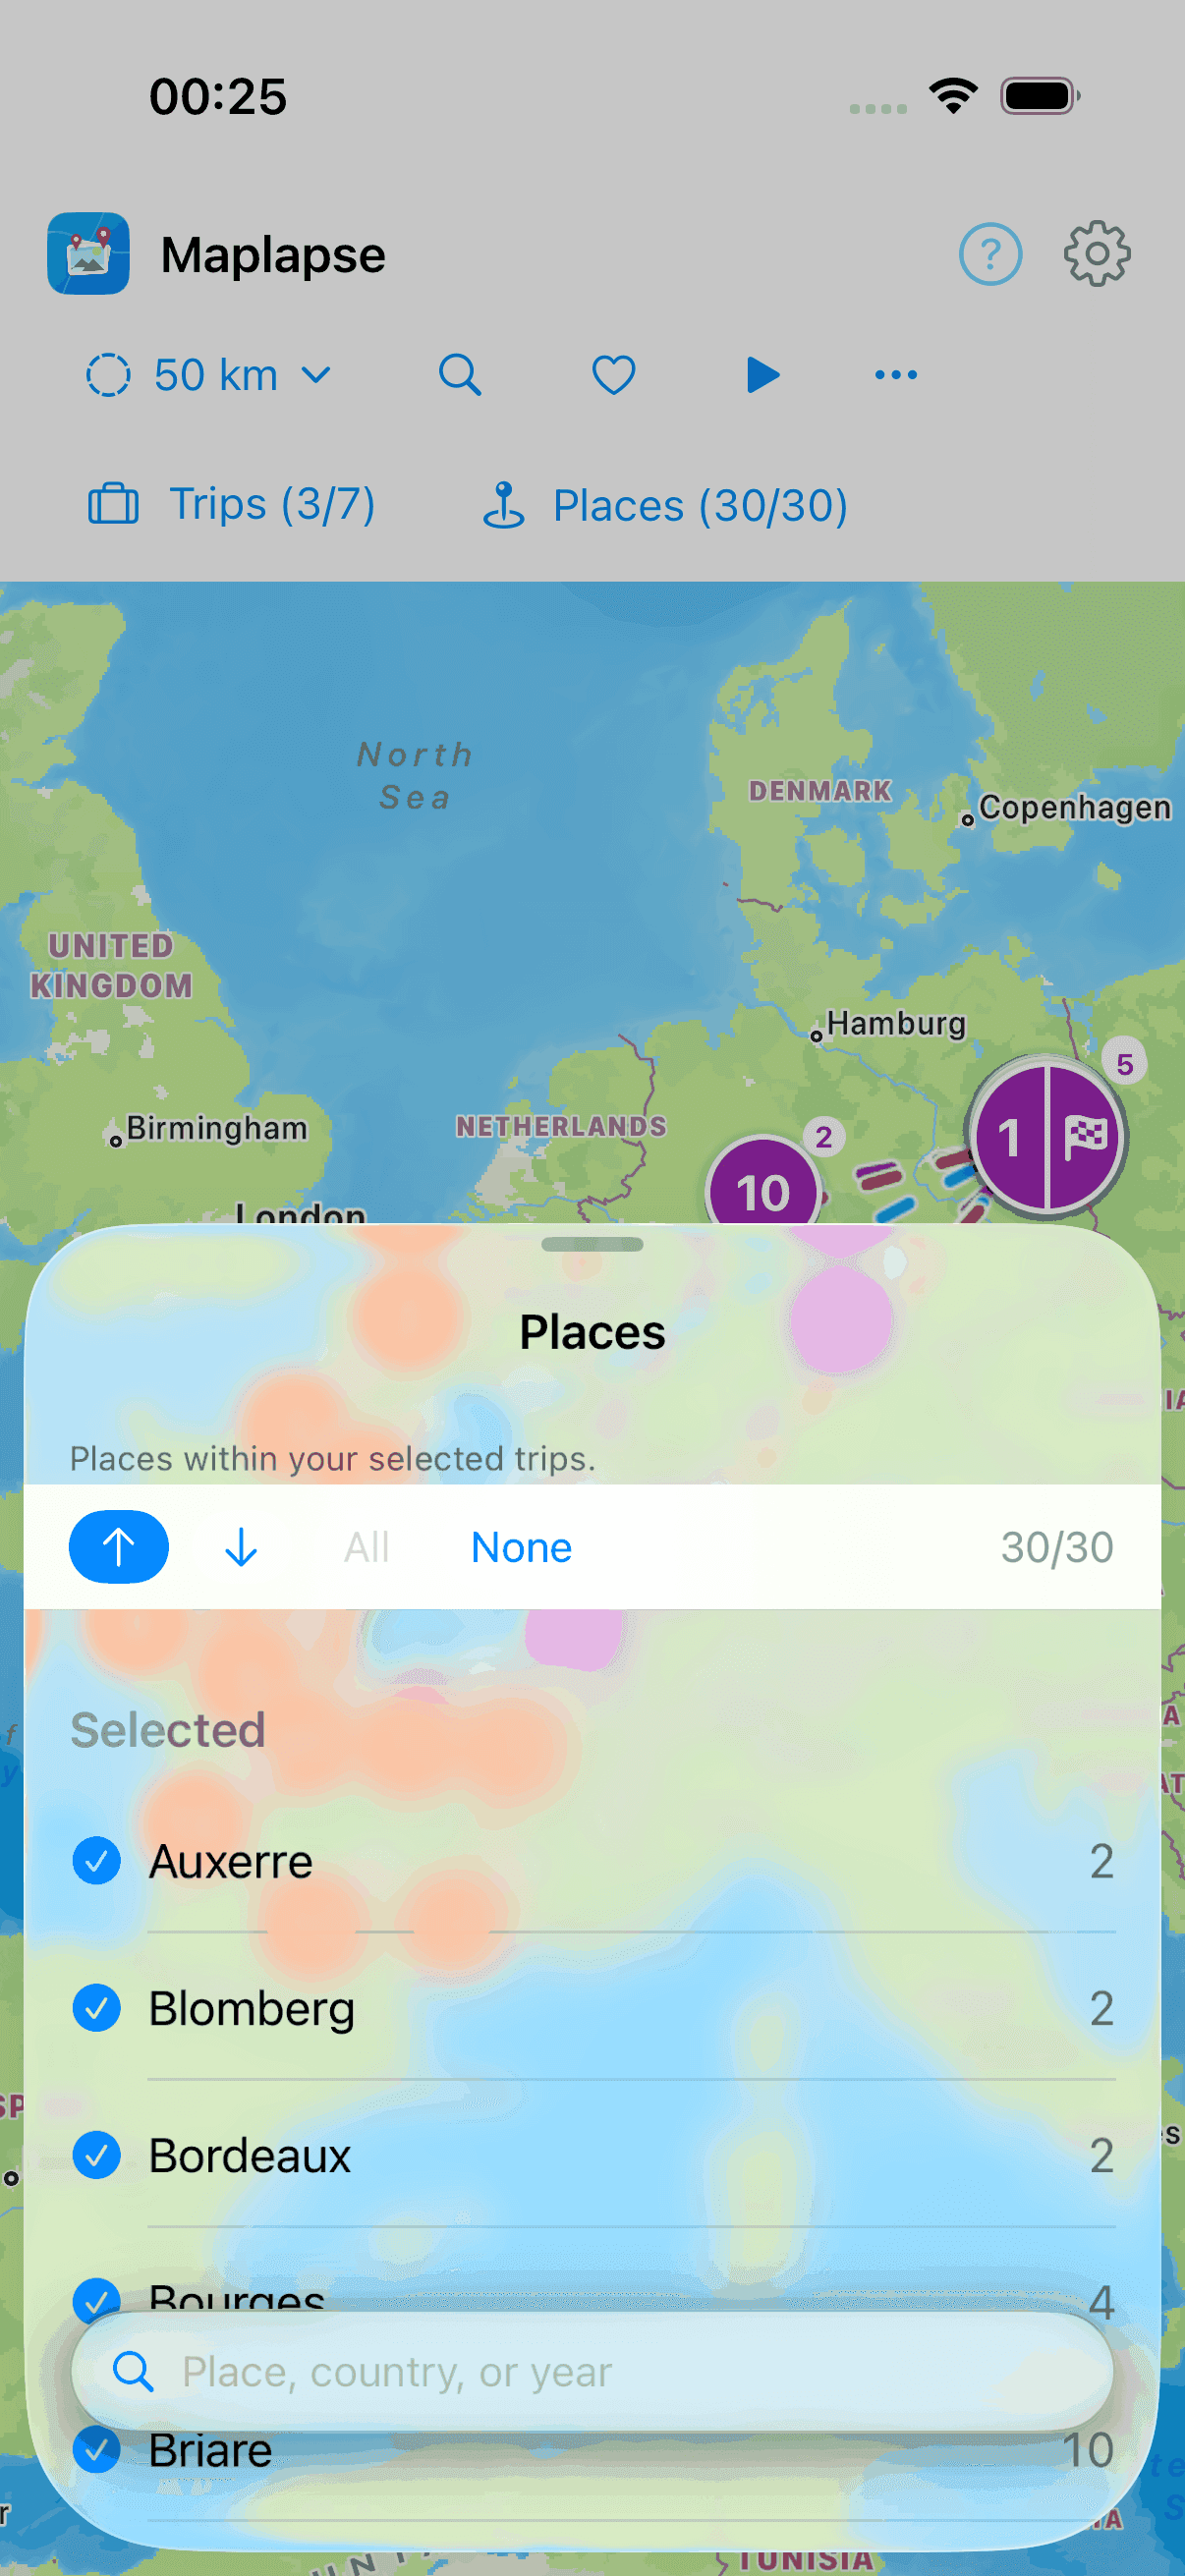
Magnifier or search field? The difference
Maplapse has three search inputs: the magnifier in the bar at the top, and a search field at the bottom of “Trips” and of “Places”. They look alike, but they are two different tools, and the whole point of the magnifier hangs on that. The magnifier sets a filter. Take a suggestion there and the term stays put and keeps working until you remove it: the map highlights the hits, and the trips list and the places list follow the filter. The field in “Trips” or “Places” only looks something up: it narrows just the list that is open right now, and it is forgotten as soon as you pull that view back down. The two work together. The filter from the magnifier frames what you see, the search field searches inside that frame. Set several filters and they are OR-linked. A second filter widens the view instead of emptying it.
An example: everything from France
Tap the magnifier and type “France”. Maplapse offers France as a country. Your photos only carry the country code inside, so that suggestion is the way there. Take it and the filter “France” is set: the map still shows the trips you have selected and highlights the stops in France among them with a red ring. It hides nothing. Open “Trips” and the filter sits at the top, with the list holding only the French trips. The number next to “Trips” in the bar counts within the filter from then on, too. The search field at the bottom still works, just inside France now.
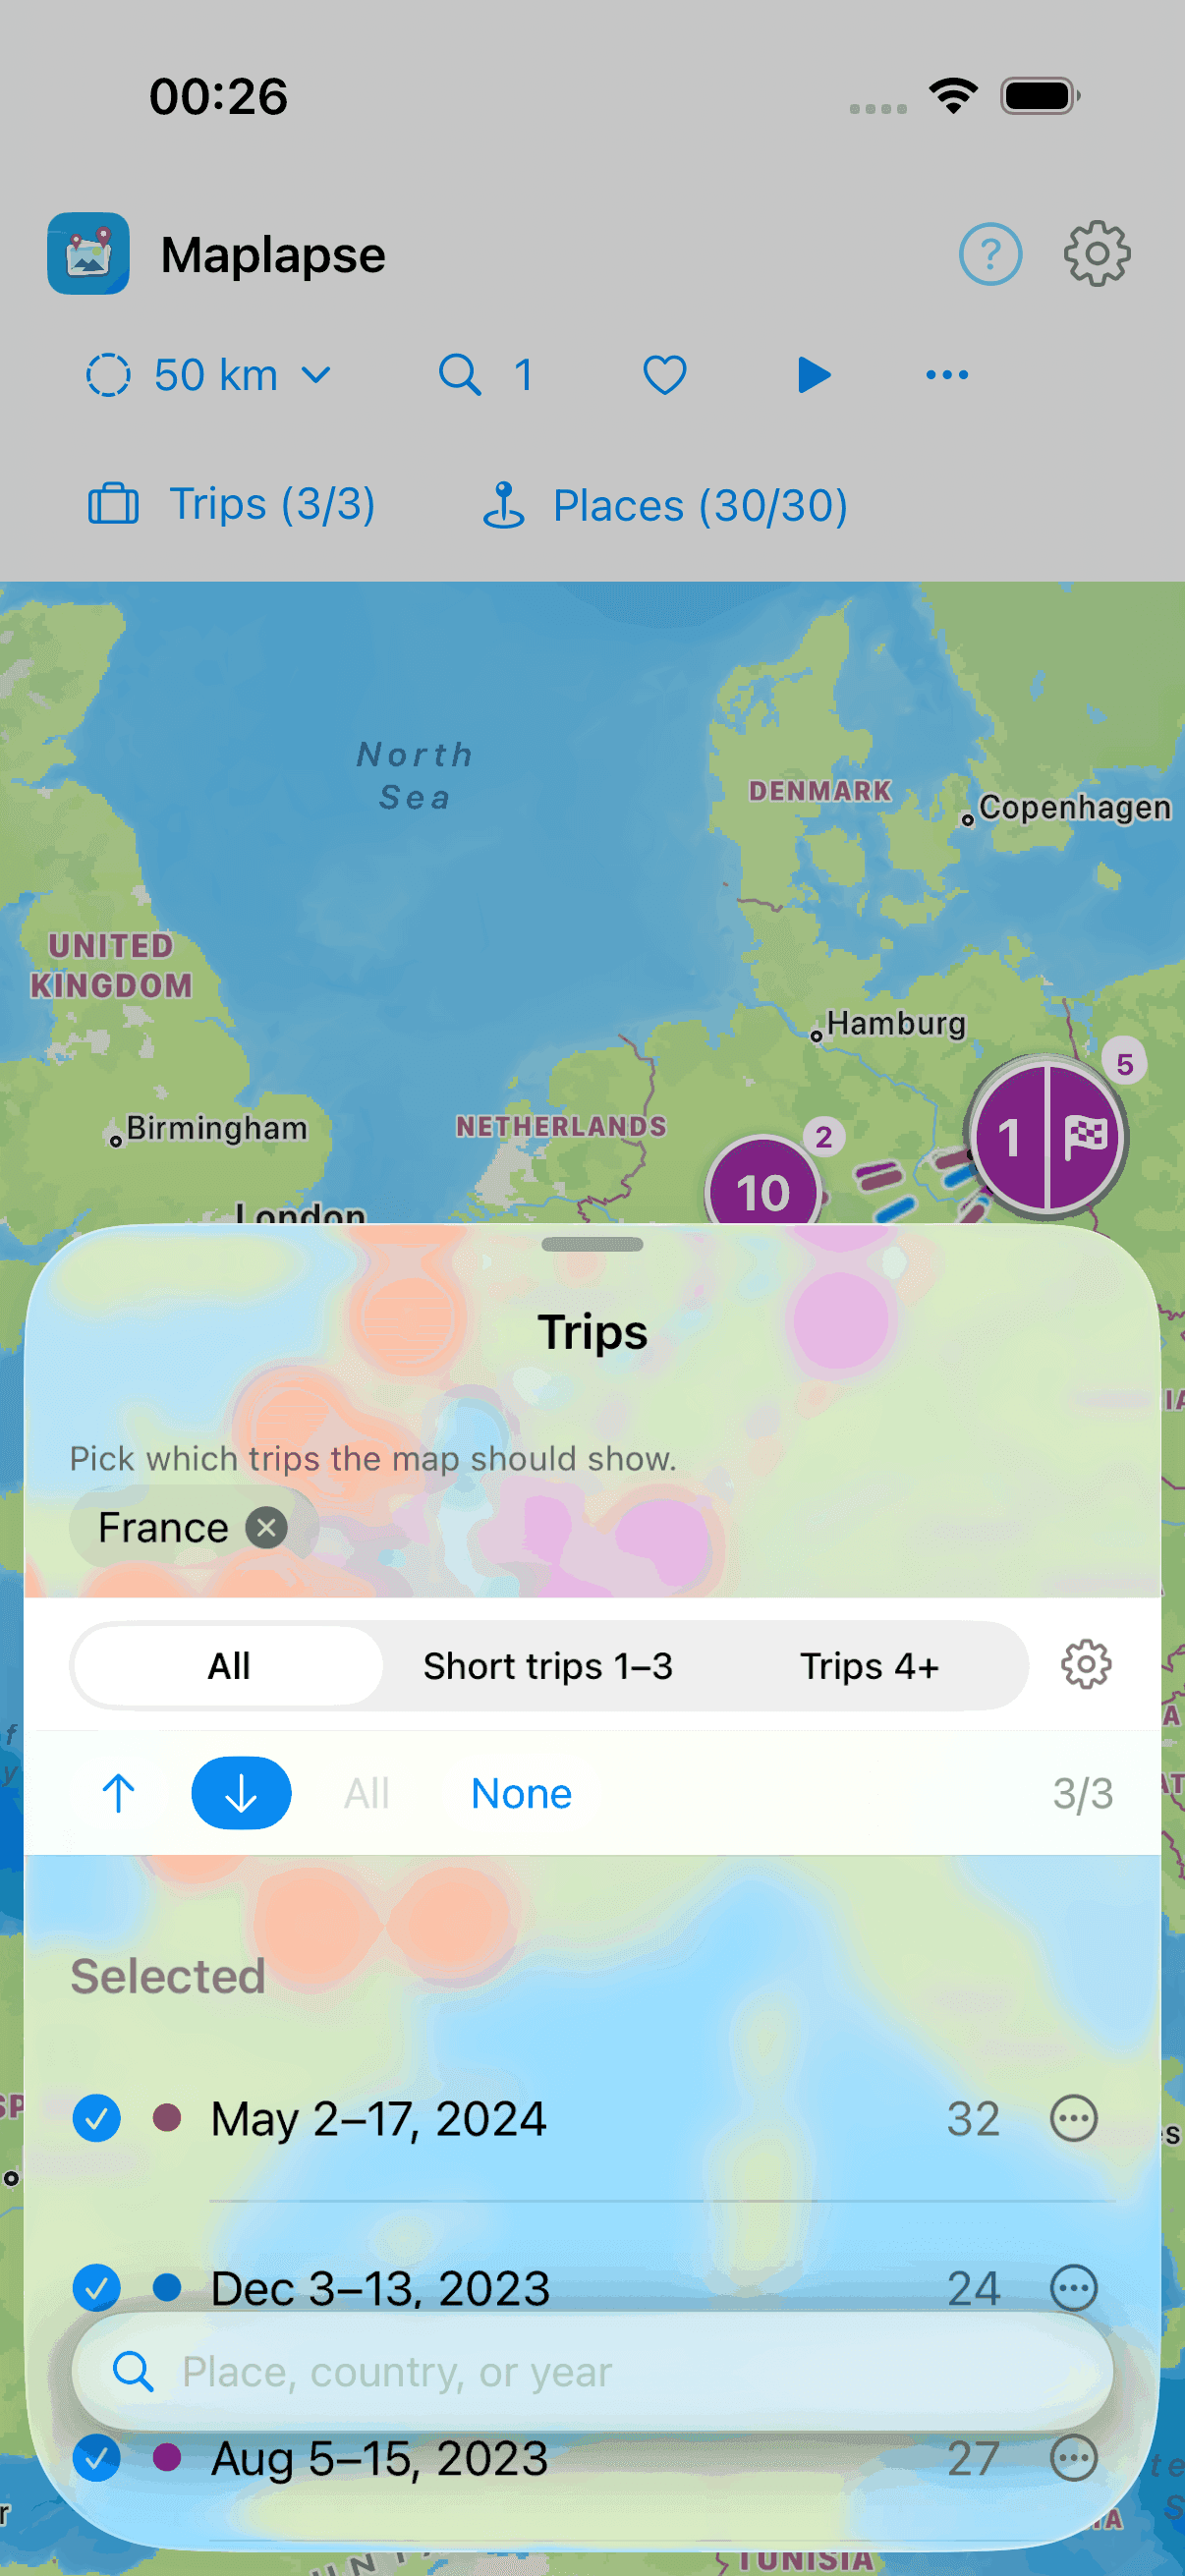
The same filter in Places
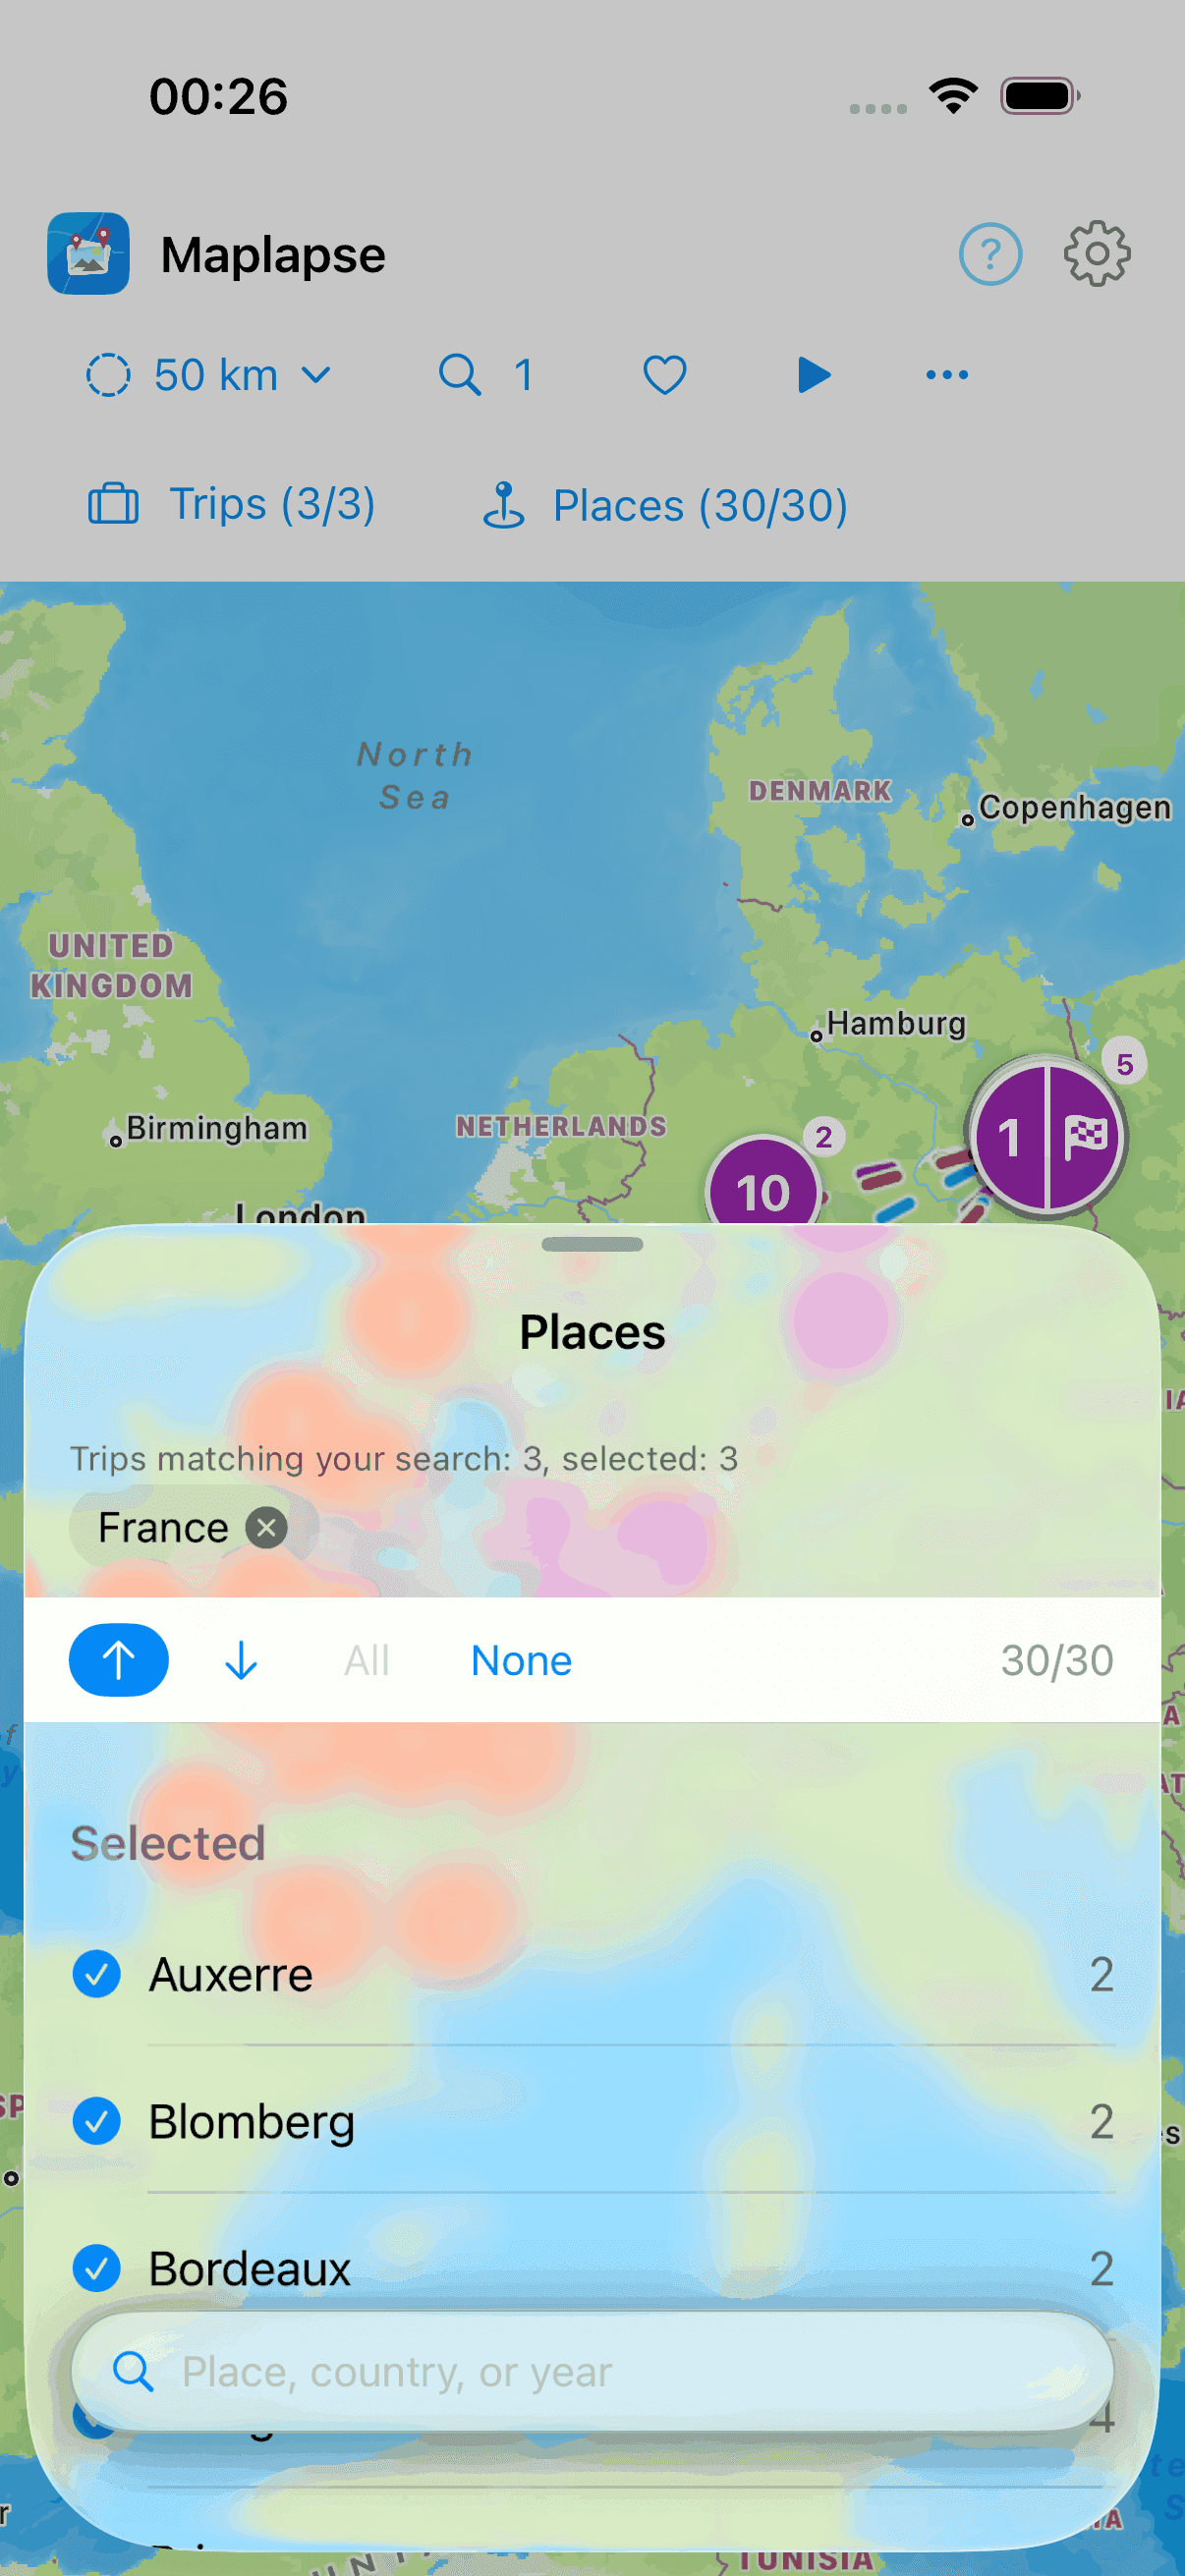
In “Places” the filter sits at the top too, but the list behaves differently from “Trips”: it shows all the places of the trips that match France. That includes the stops of those trips that are not in France themselves, such as a stop on the way there. Above the list you can read how many trips match your search and how many of them are selected. You can tick the places of your selected trips. Places from other trips are grayed out until you select their trip under “Trips”, and a note above the list points this out. A tick selects exactly that place and never adds a trip. Even removing the last tick of a trip leaves that trip selected. “All” selects the visible places of your selected trips, and “None” only removes the ticks. You can only deselect a trip under “Trips”. You can lift the filter anywhere, not only in the magnifier: tap the ⊗ next to the word. Your selection stays as it is, and “Places” goes back to the places of the selected trips.
Advanced search
ProThe search behind the magnifier is free: it finds places, countries, dates and the names of your trips, spelled the way they are written. Maplapse Pro extends it in two ways. First, it forgives typos: type “Marseile” and it still suggests Marseille. There is no need to guess how a place is spelled that you visited six years ago. Second, it searches your notes as well, not just places and dates: if you remember the restaurant but not the town, you reach the trip through what you wrote down back then, and the map highlights the stop that carries the note. The exact search stays exactly as it is. Pro takes nothing away, it simply finds more.
Photos and notes
Gallery
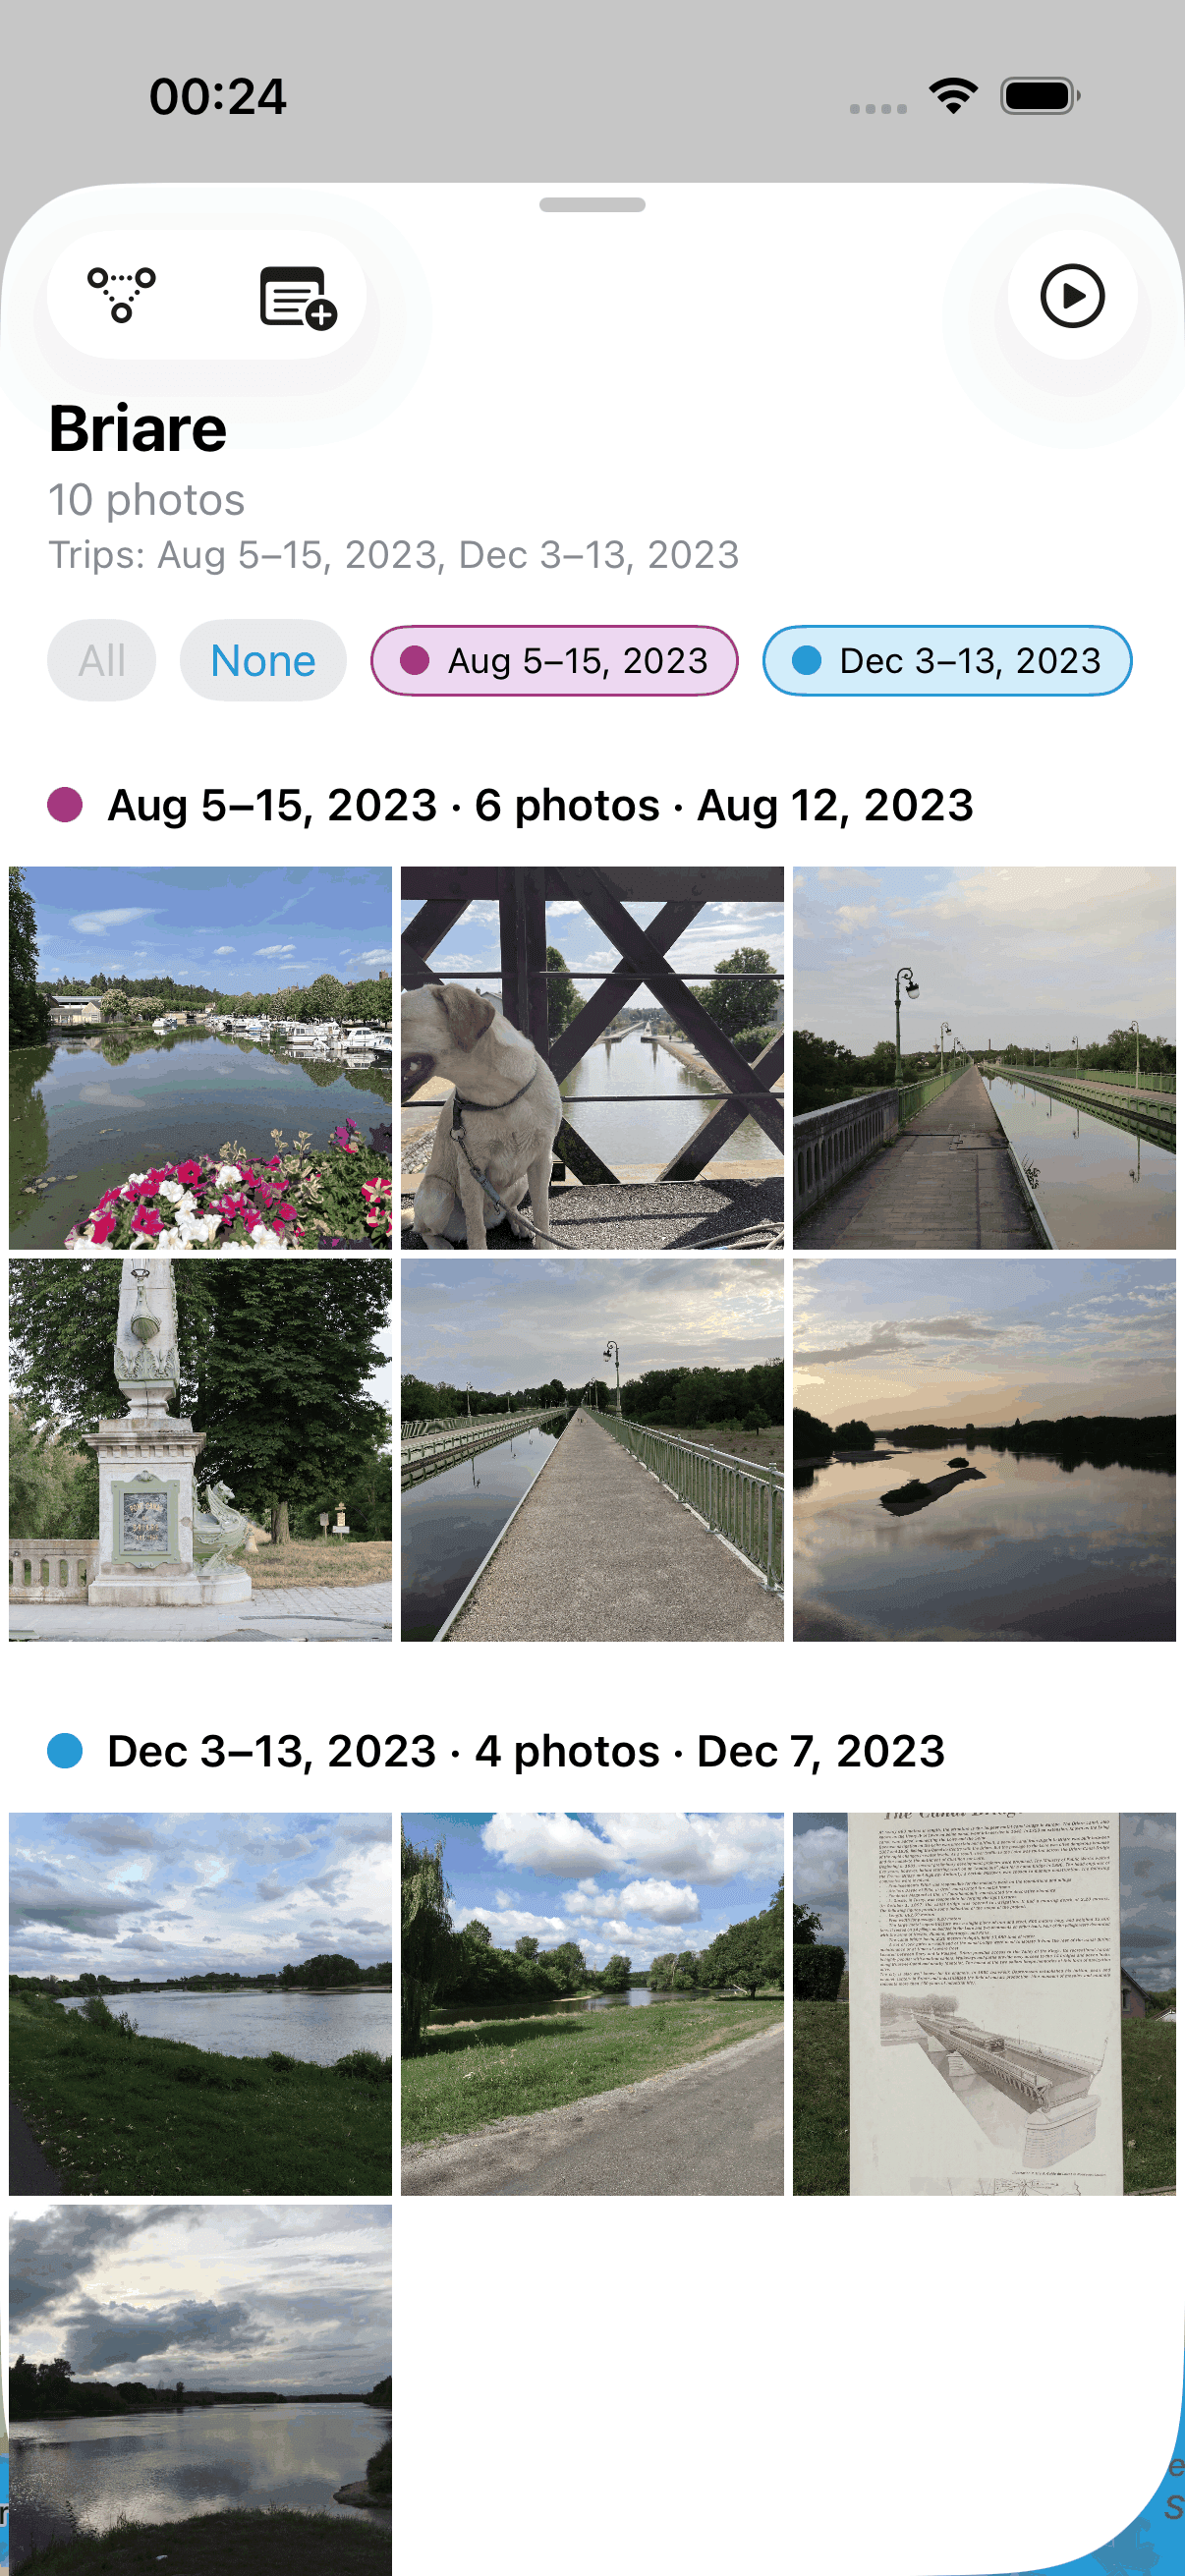
Tap a dot on the map and its gallery opens with exactly the photos of that stop. Where one place brings several trips together, the gallery splits them into colored sections per trip, which you can hide individually via the trip chips; within a trip it groups by the actual places. If the place belongs to a single trip, there is no trip header. From here you open photos large, write notes or hide photos that do not belong to the trip.
A photo full-screen
In the gallery, tap a photo to see it full-screen. Page through with the arrows left and right, or by swiping. To close it, just pull the view down and away. That is how every view laid over the map closes in Maplapse. Press and hold a photo for a menu with Photo info, Hide and Delete.
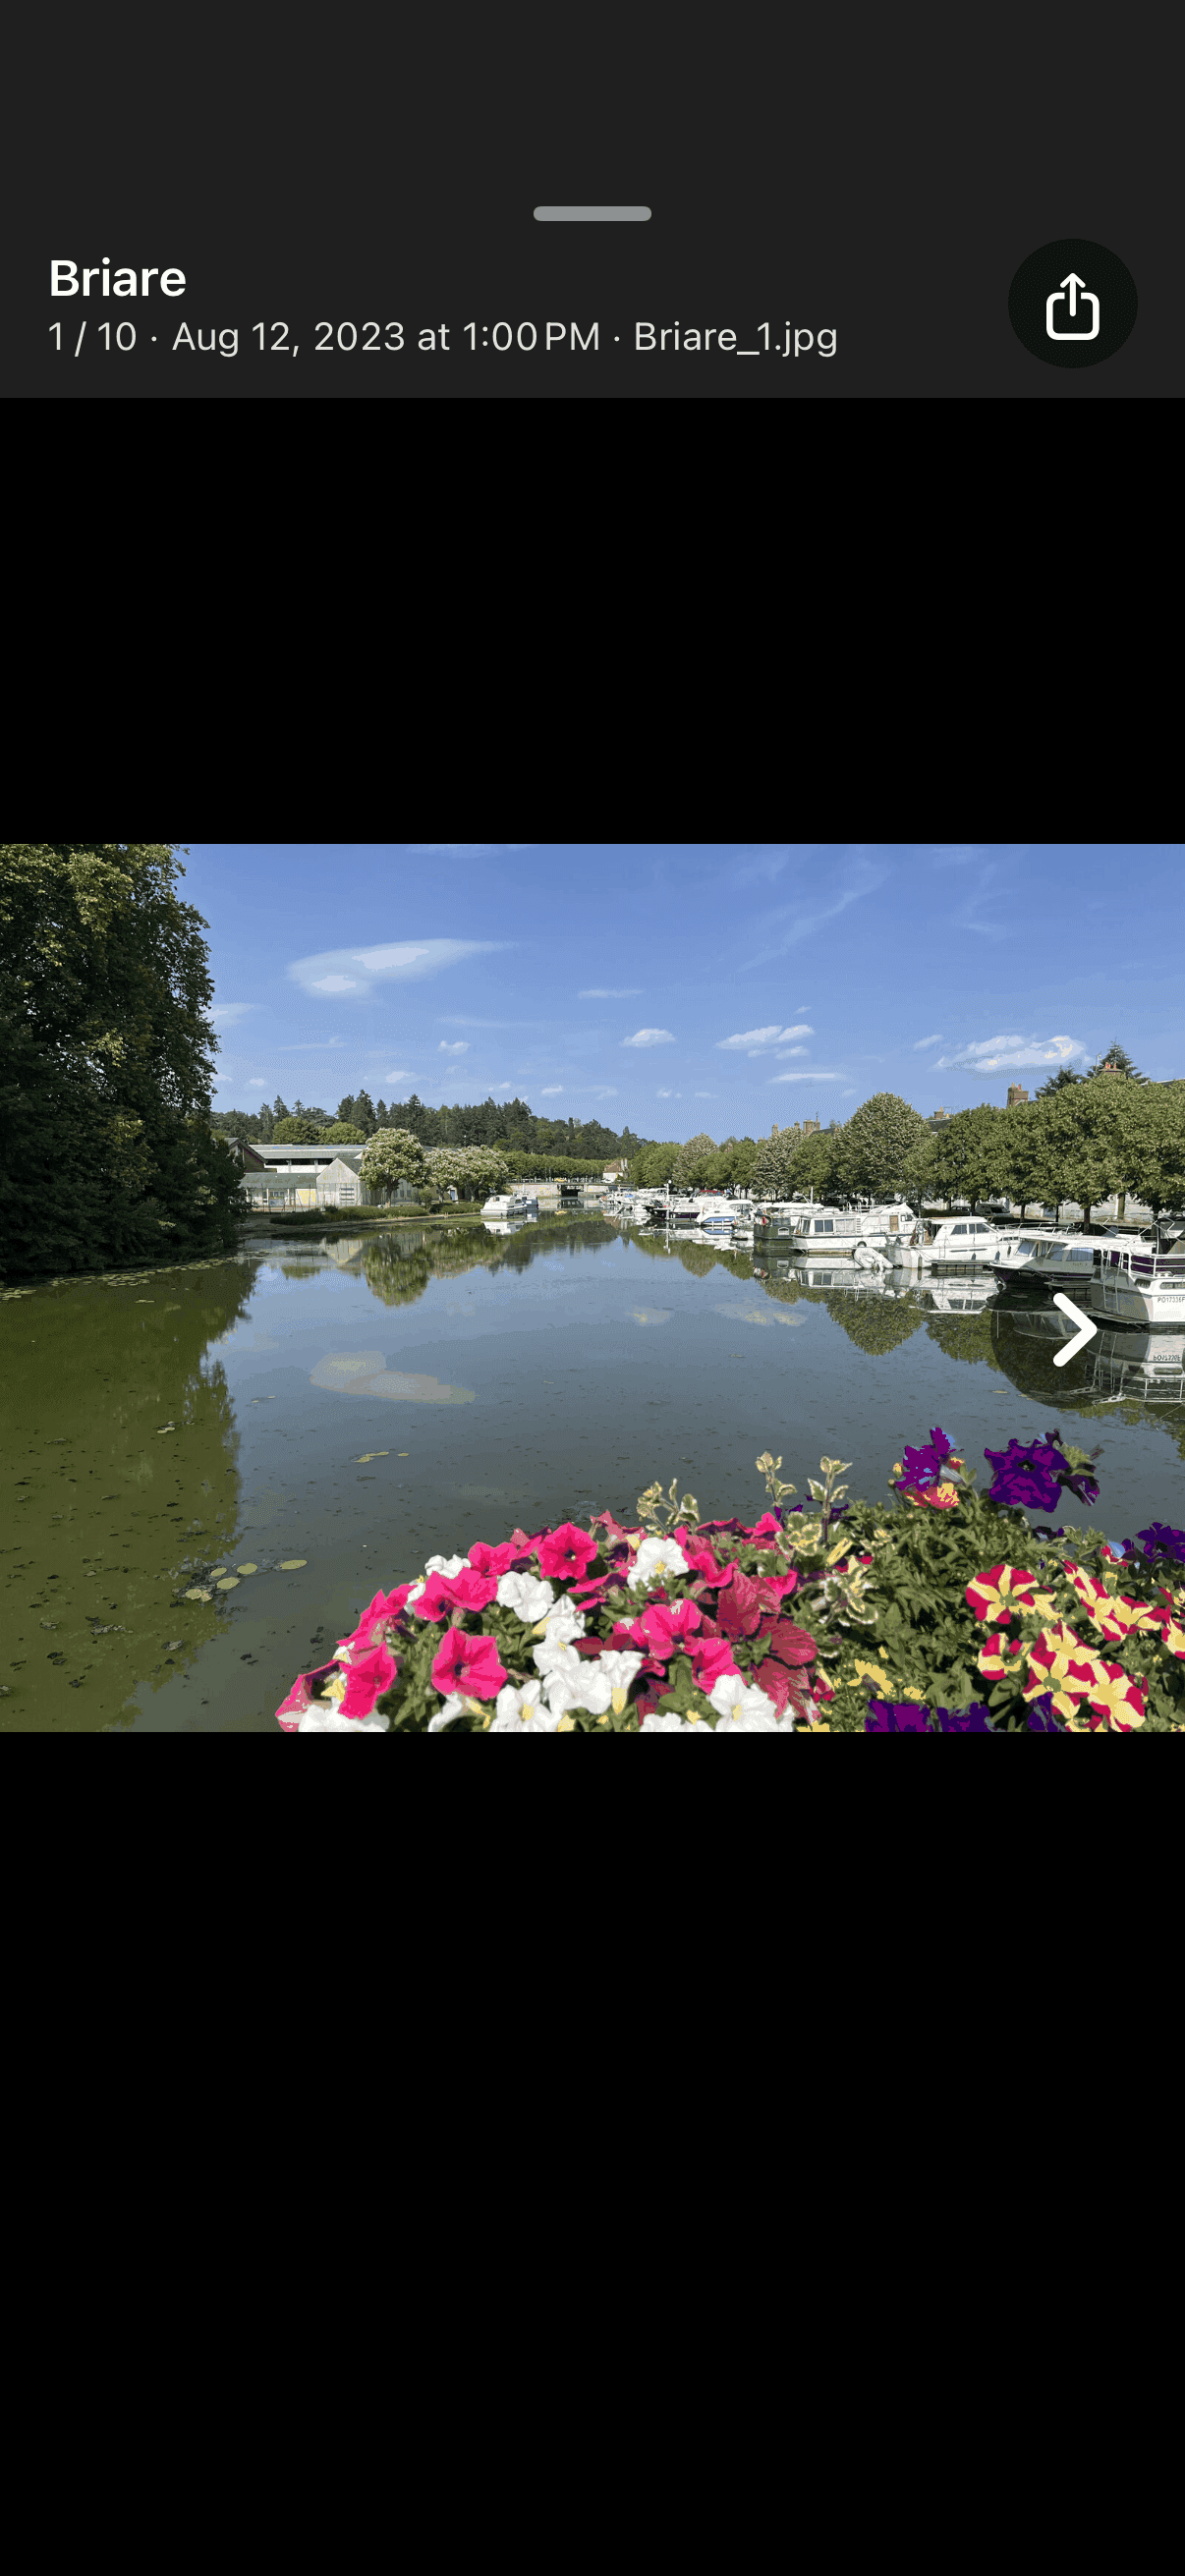
Rotate a photo
A photo lying on its side because you turned the camera? Open it full screen and tap the rotate sign. Each tap turns the photo another 90 degrees. Tap until it is the right way up. This is part of the free set, you need no Pro for it. Tapped once too often or changed your mind? Under “Edited photos” you find everything you have rotated, and you can take the rotation back there.
A place in detail
There's often more behind a place: harbor, old town, viewpoint. You can reach the detail map two ways: double-tap a map point, or open the place and tap “Sub-stops” at the top left (the icon of three points connected by dashed lines). Maplapse then shows the individual spots of the place; a slider lets you set how finely they're grouped.
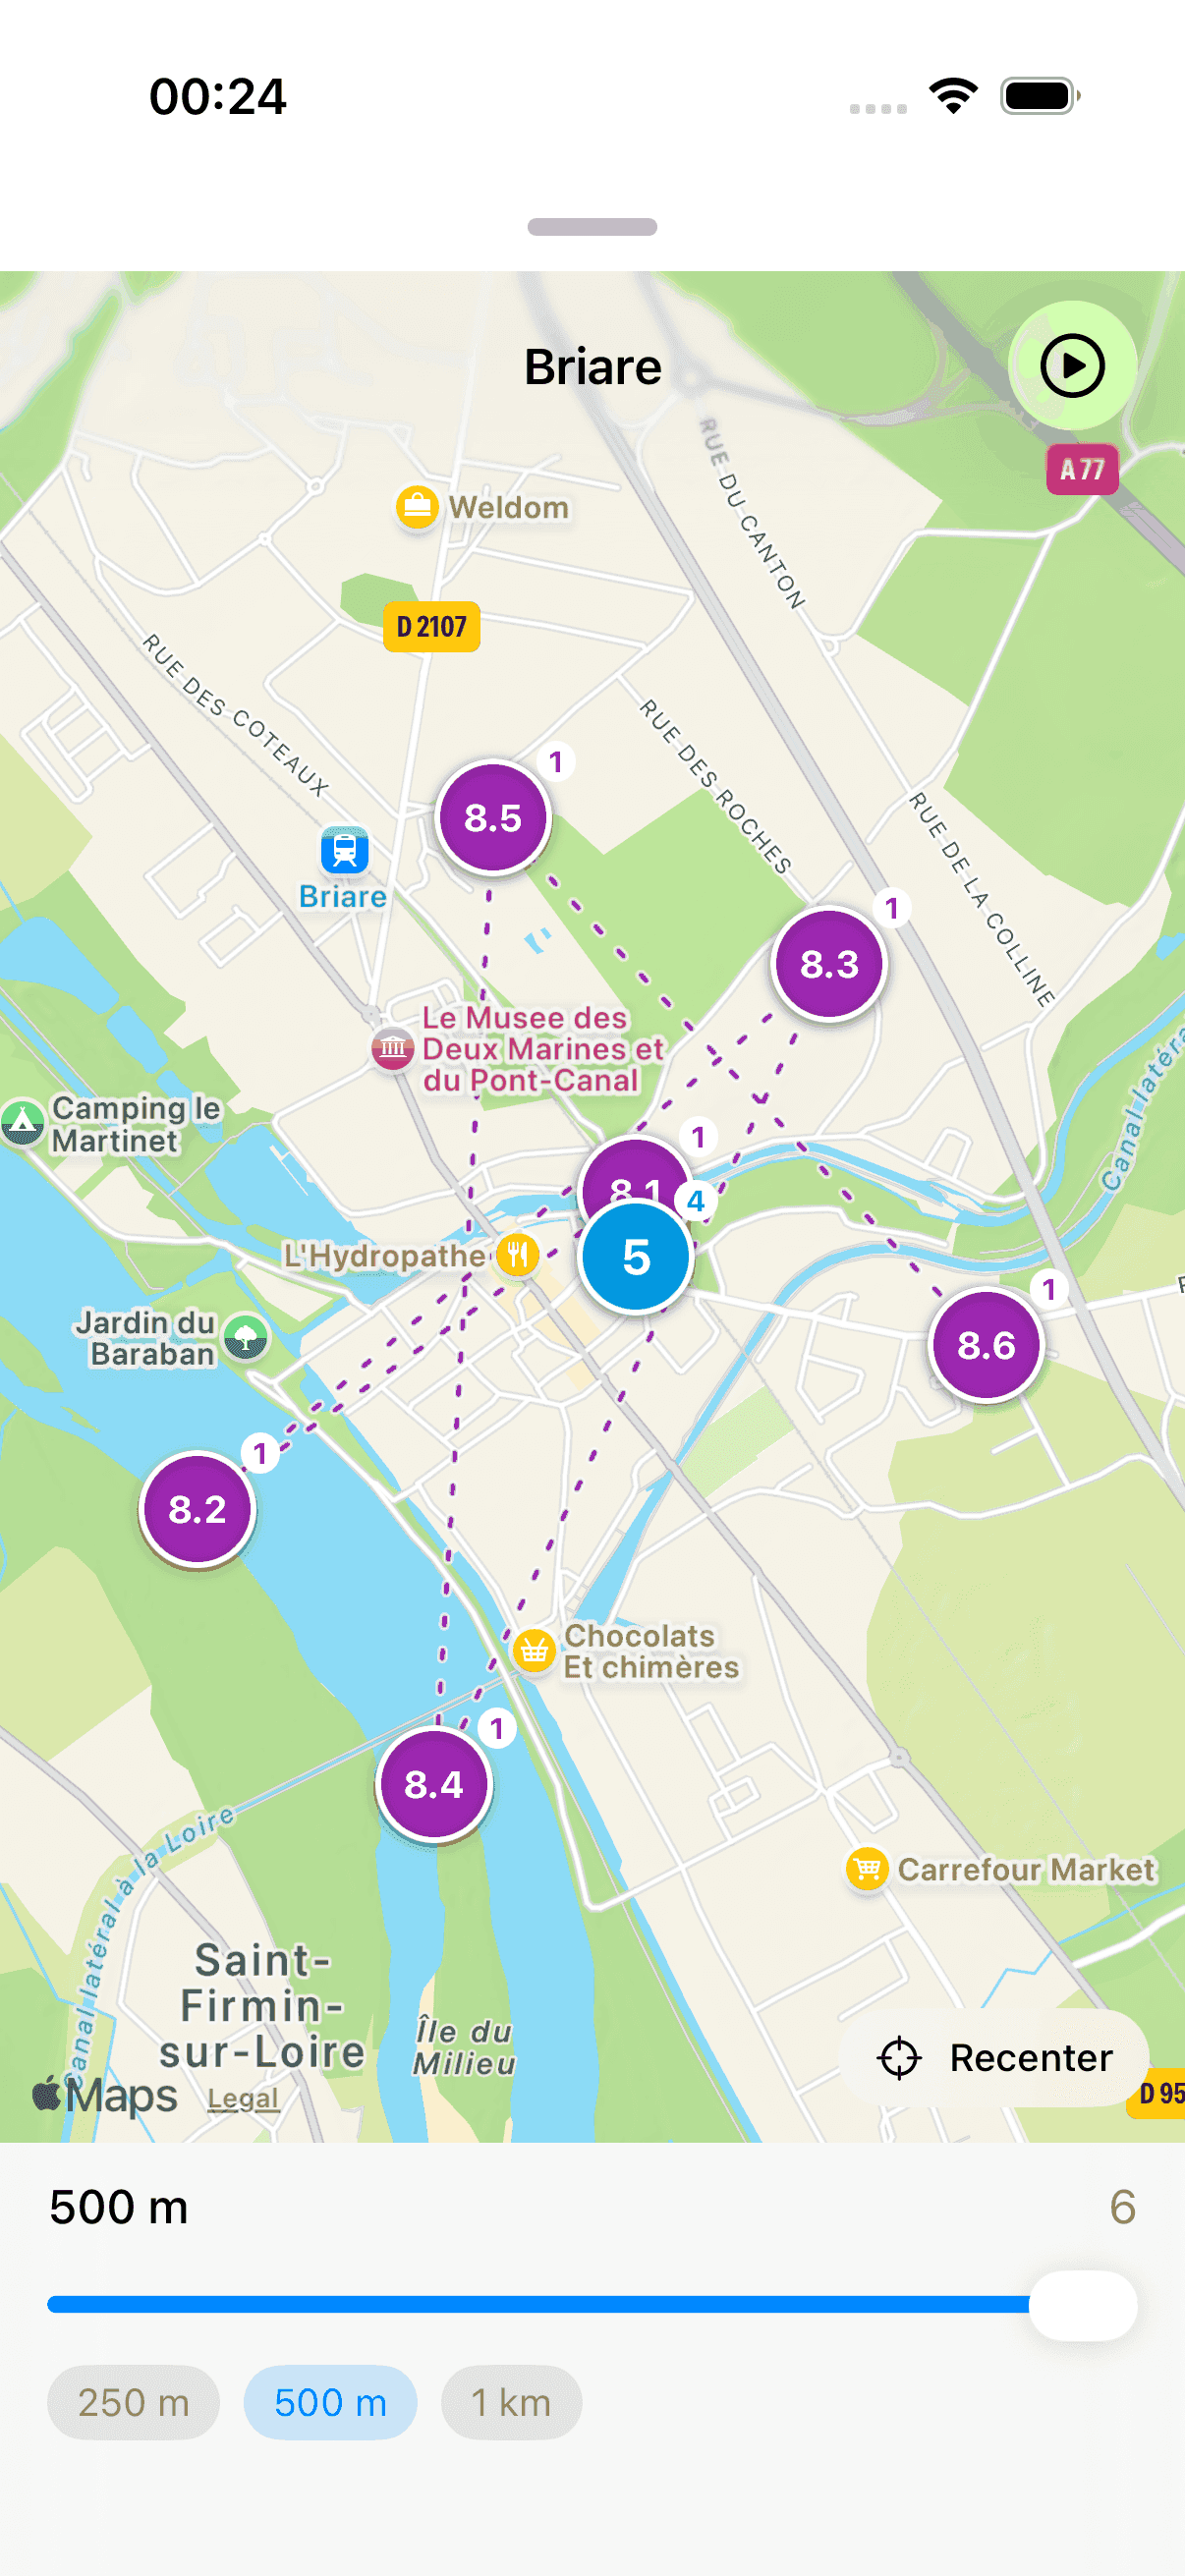
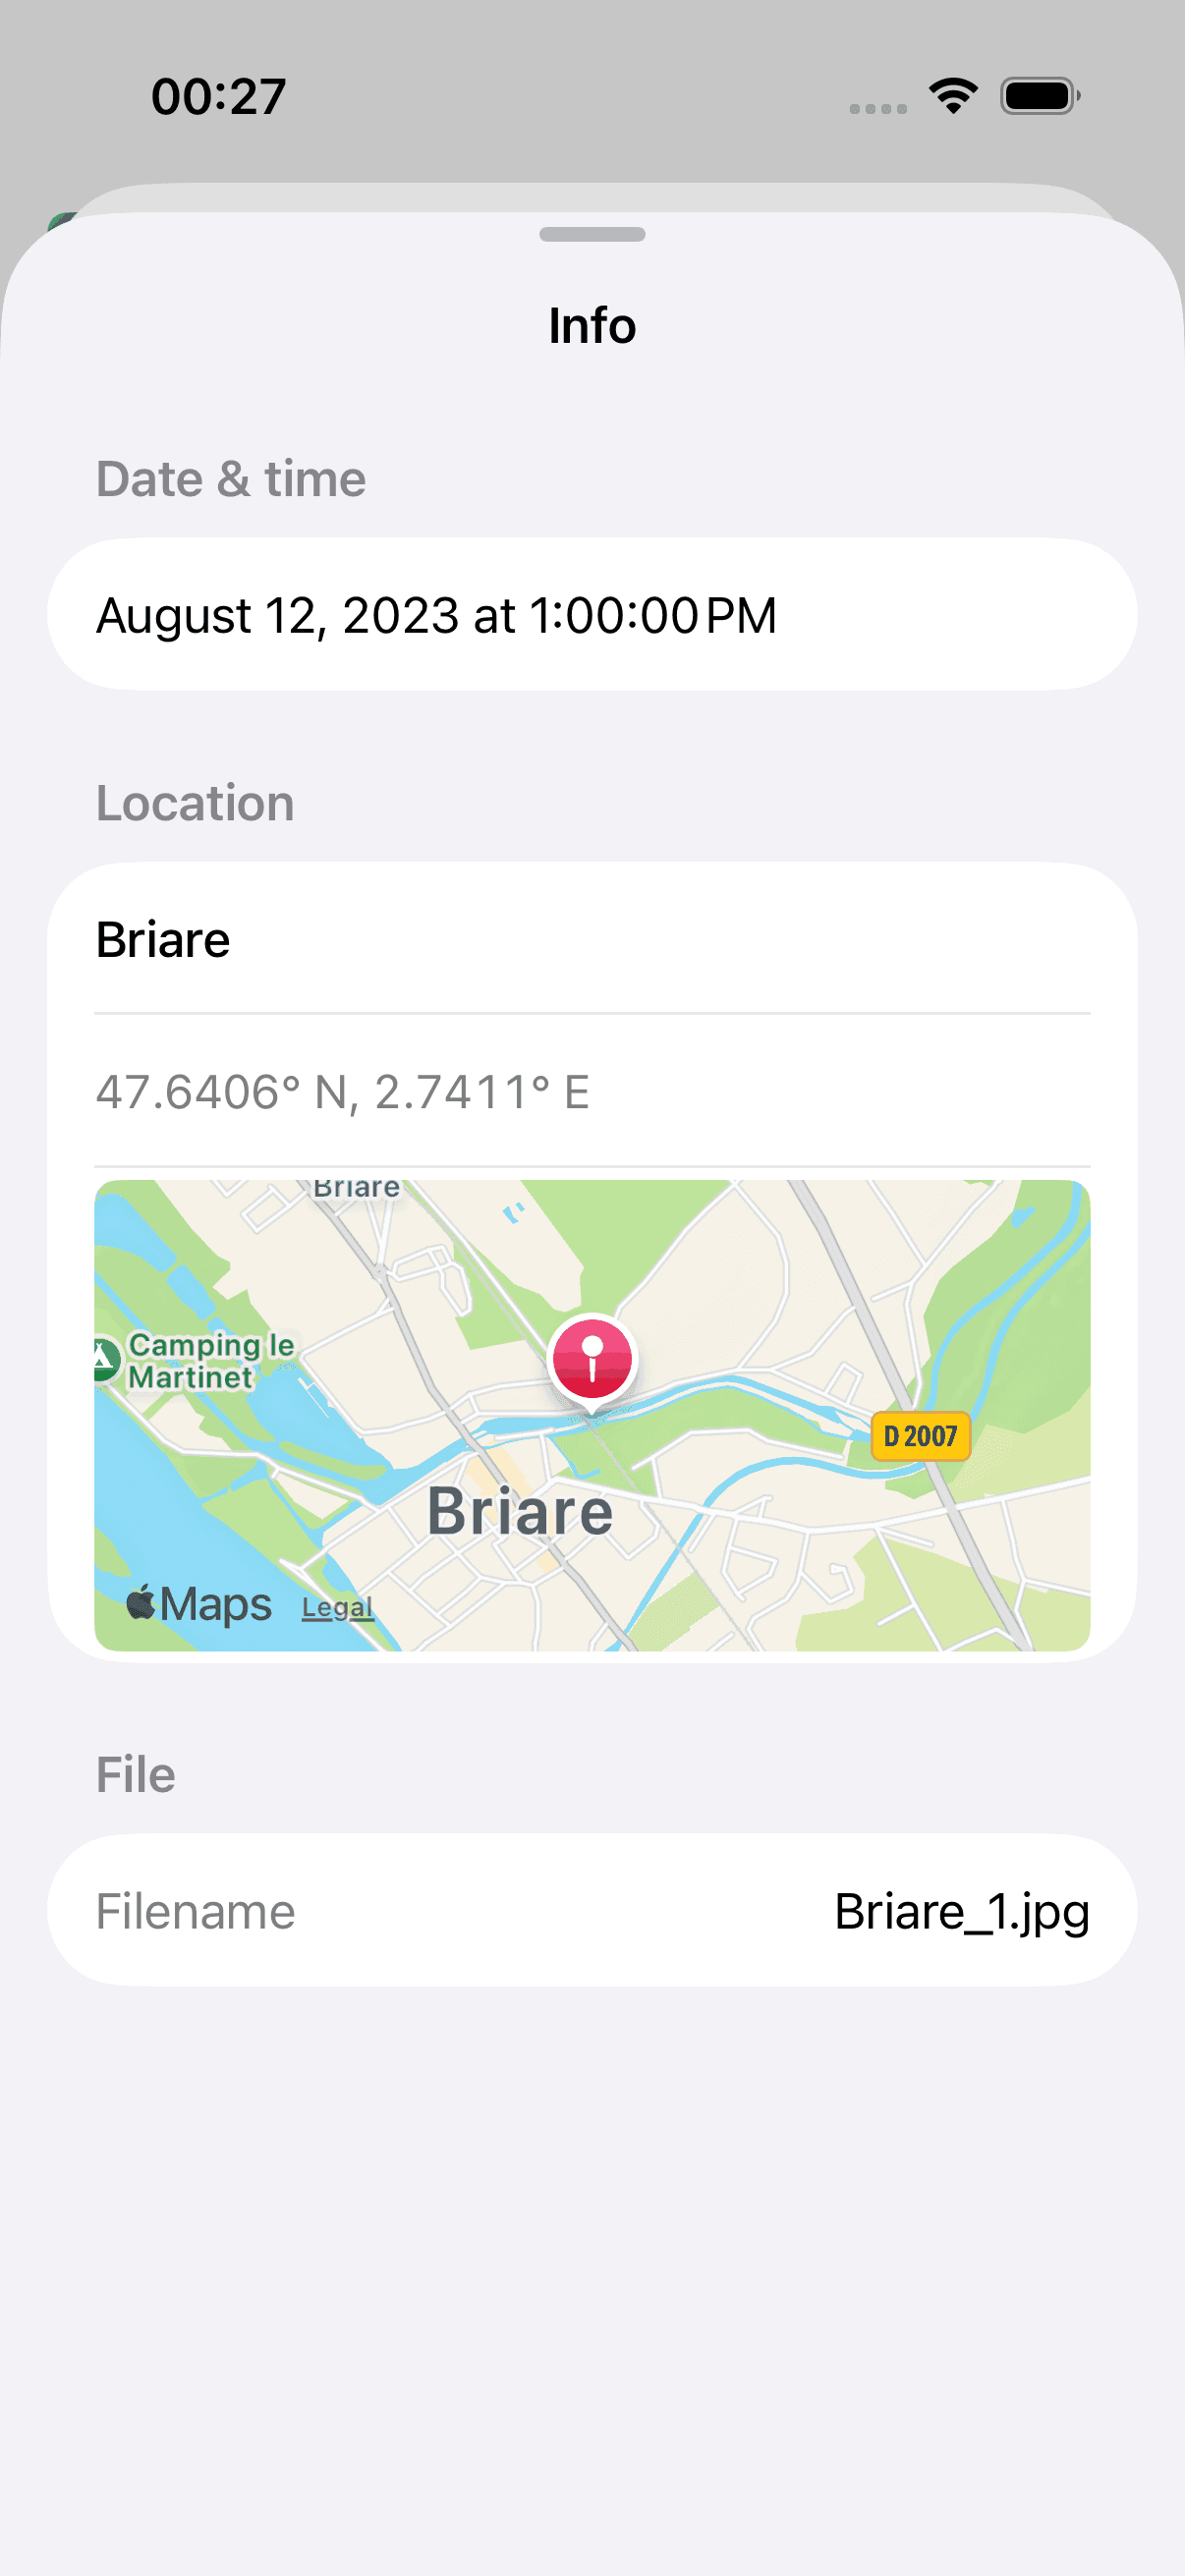
Photo info
Press and hold a photo (in the gallery or full-screen) and choose “Photo info” (i in a circle). You'll then see the date and time, the location on the map and the file name, plus camera details like model, aperture and ISO for your own photos.
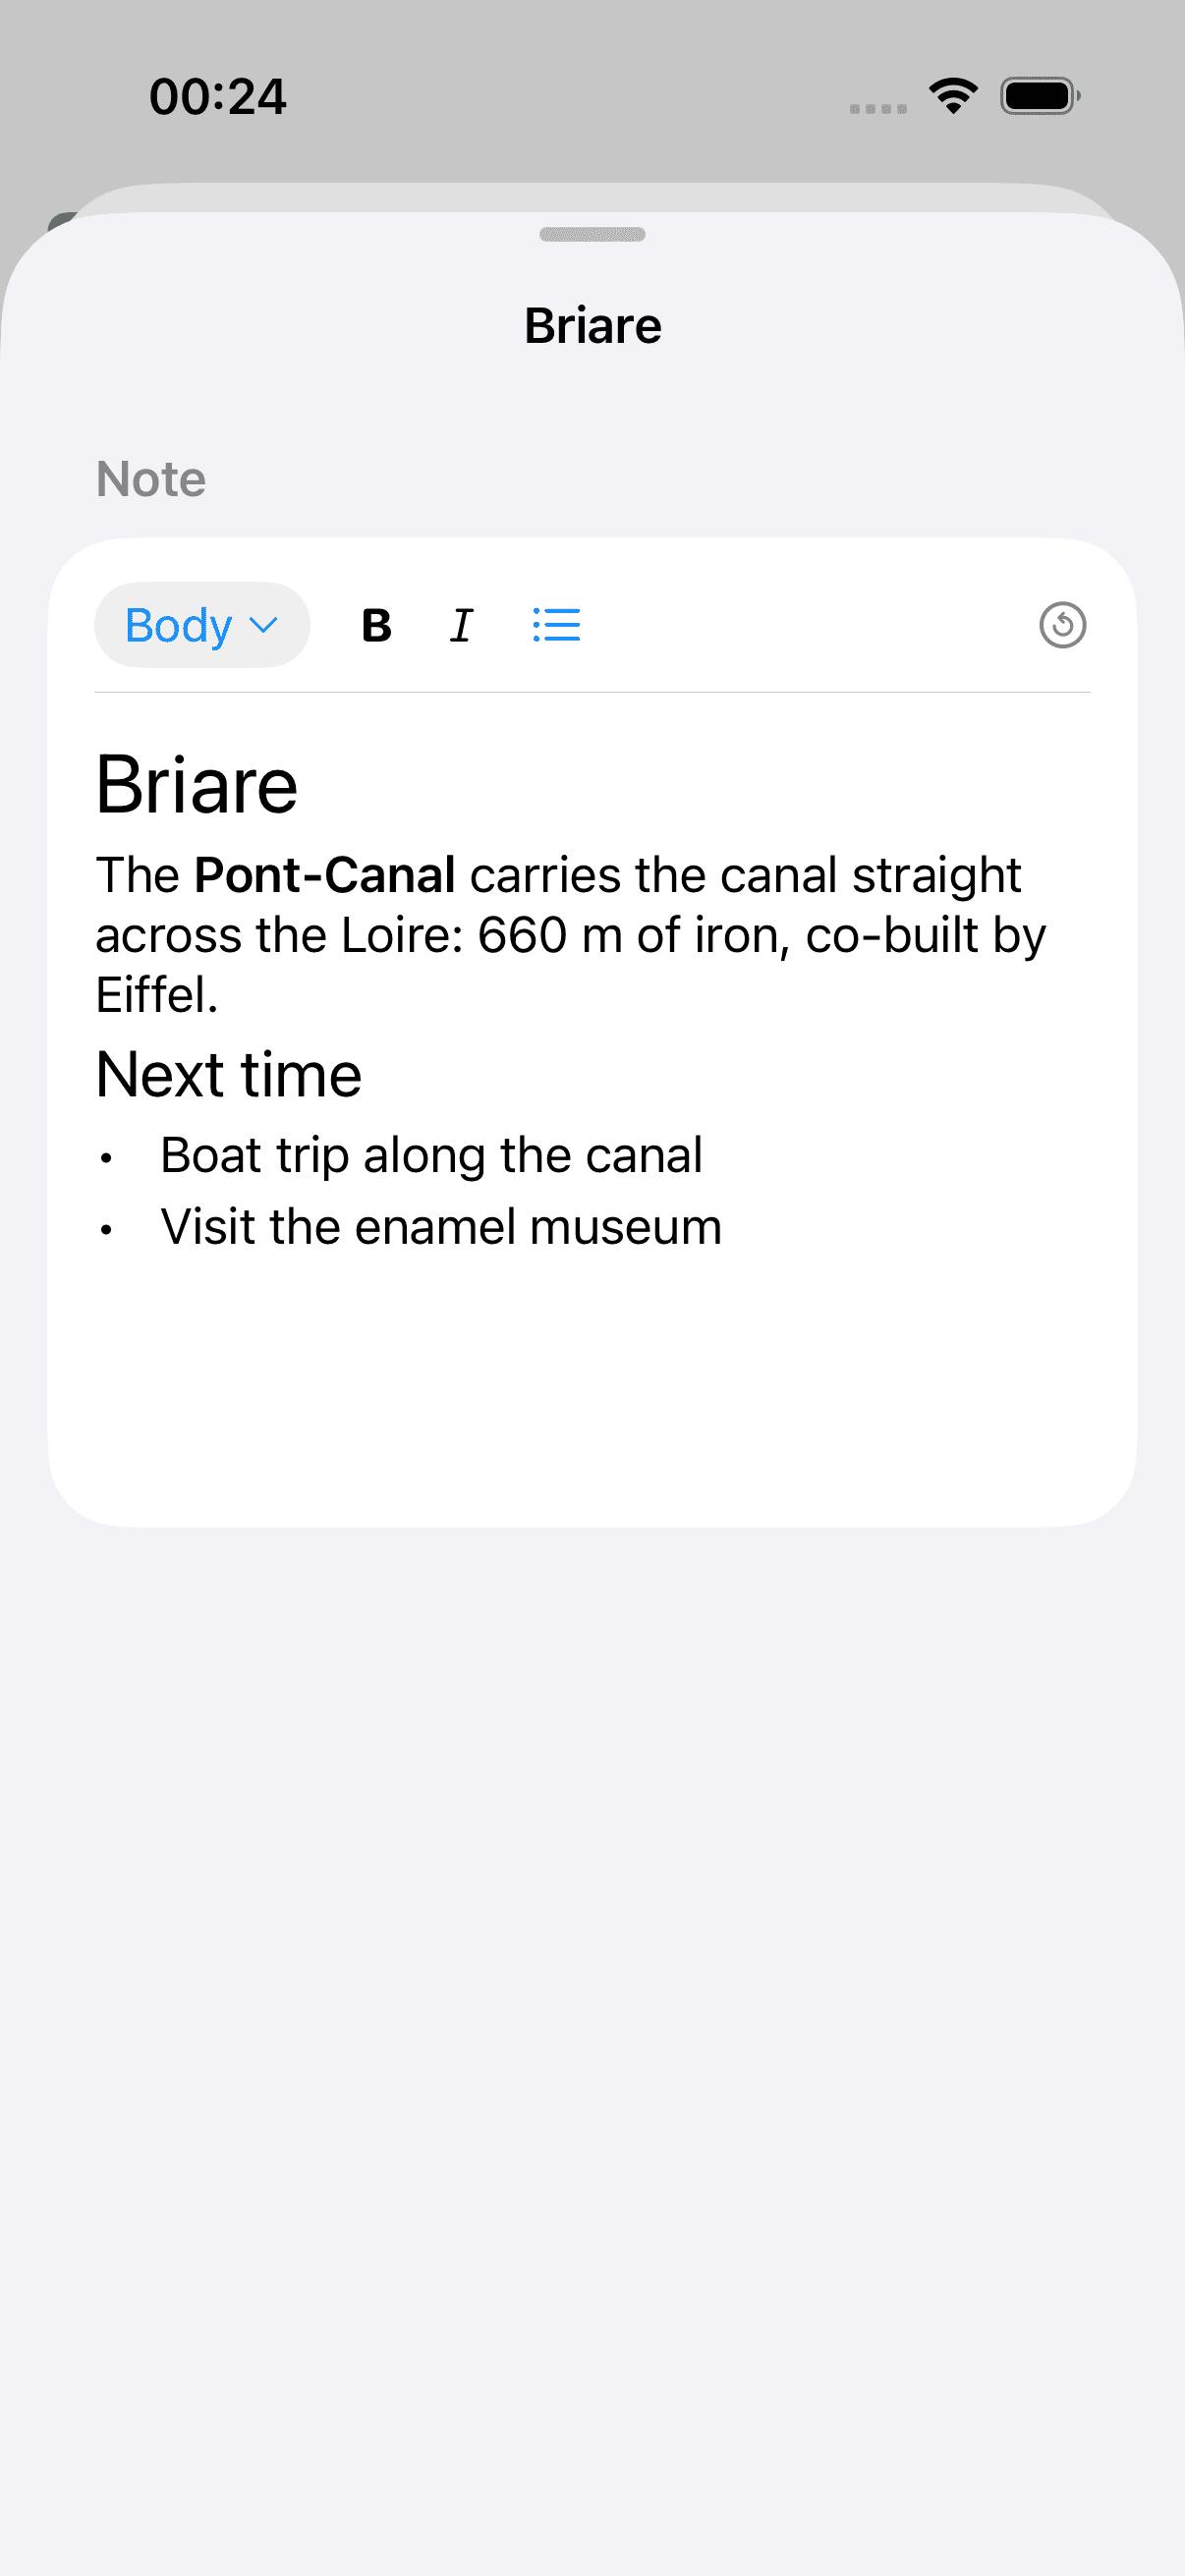
Notes
Open a place and tap the notepad icon at the top left (with a small plus while no note exists yet). Write a note, with bold, italic and lists. The note stays with that stop, that is, with that place on that trip. Come past again on a later trip and you write a note of its own there.
Help
See the intro again
Tap the question mark at the top. It opens a menu with “Show guide” (the short introduction), “Symbols” (the legend of the map signs), “Full guide (web)”, meaning this page here, “Photo library details” with numbers on the photo analysis, plus the imprint, the privacy policy and the version.
When nothing shows up
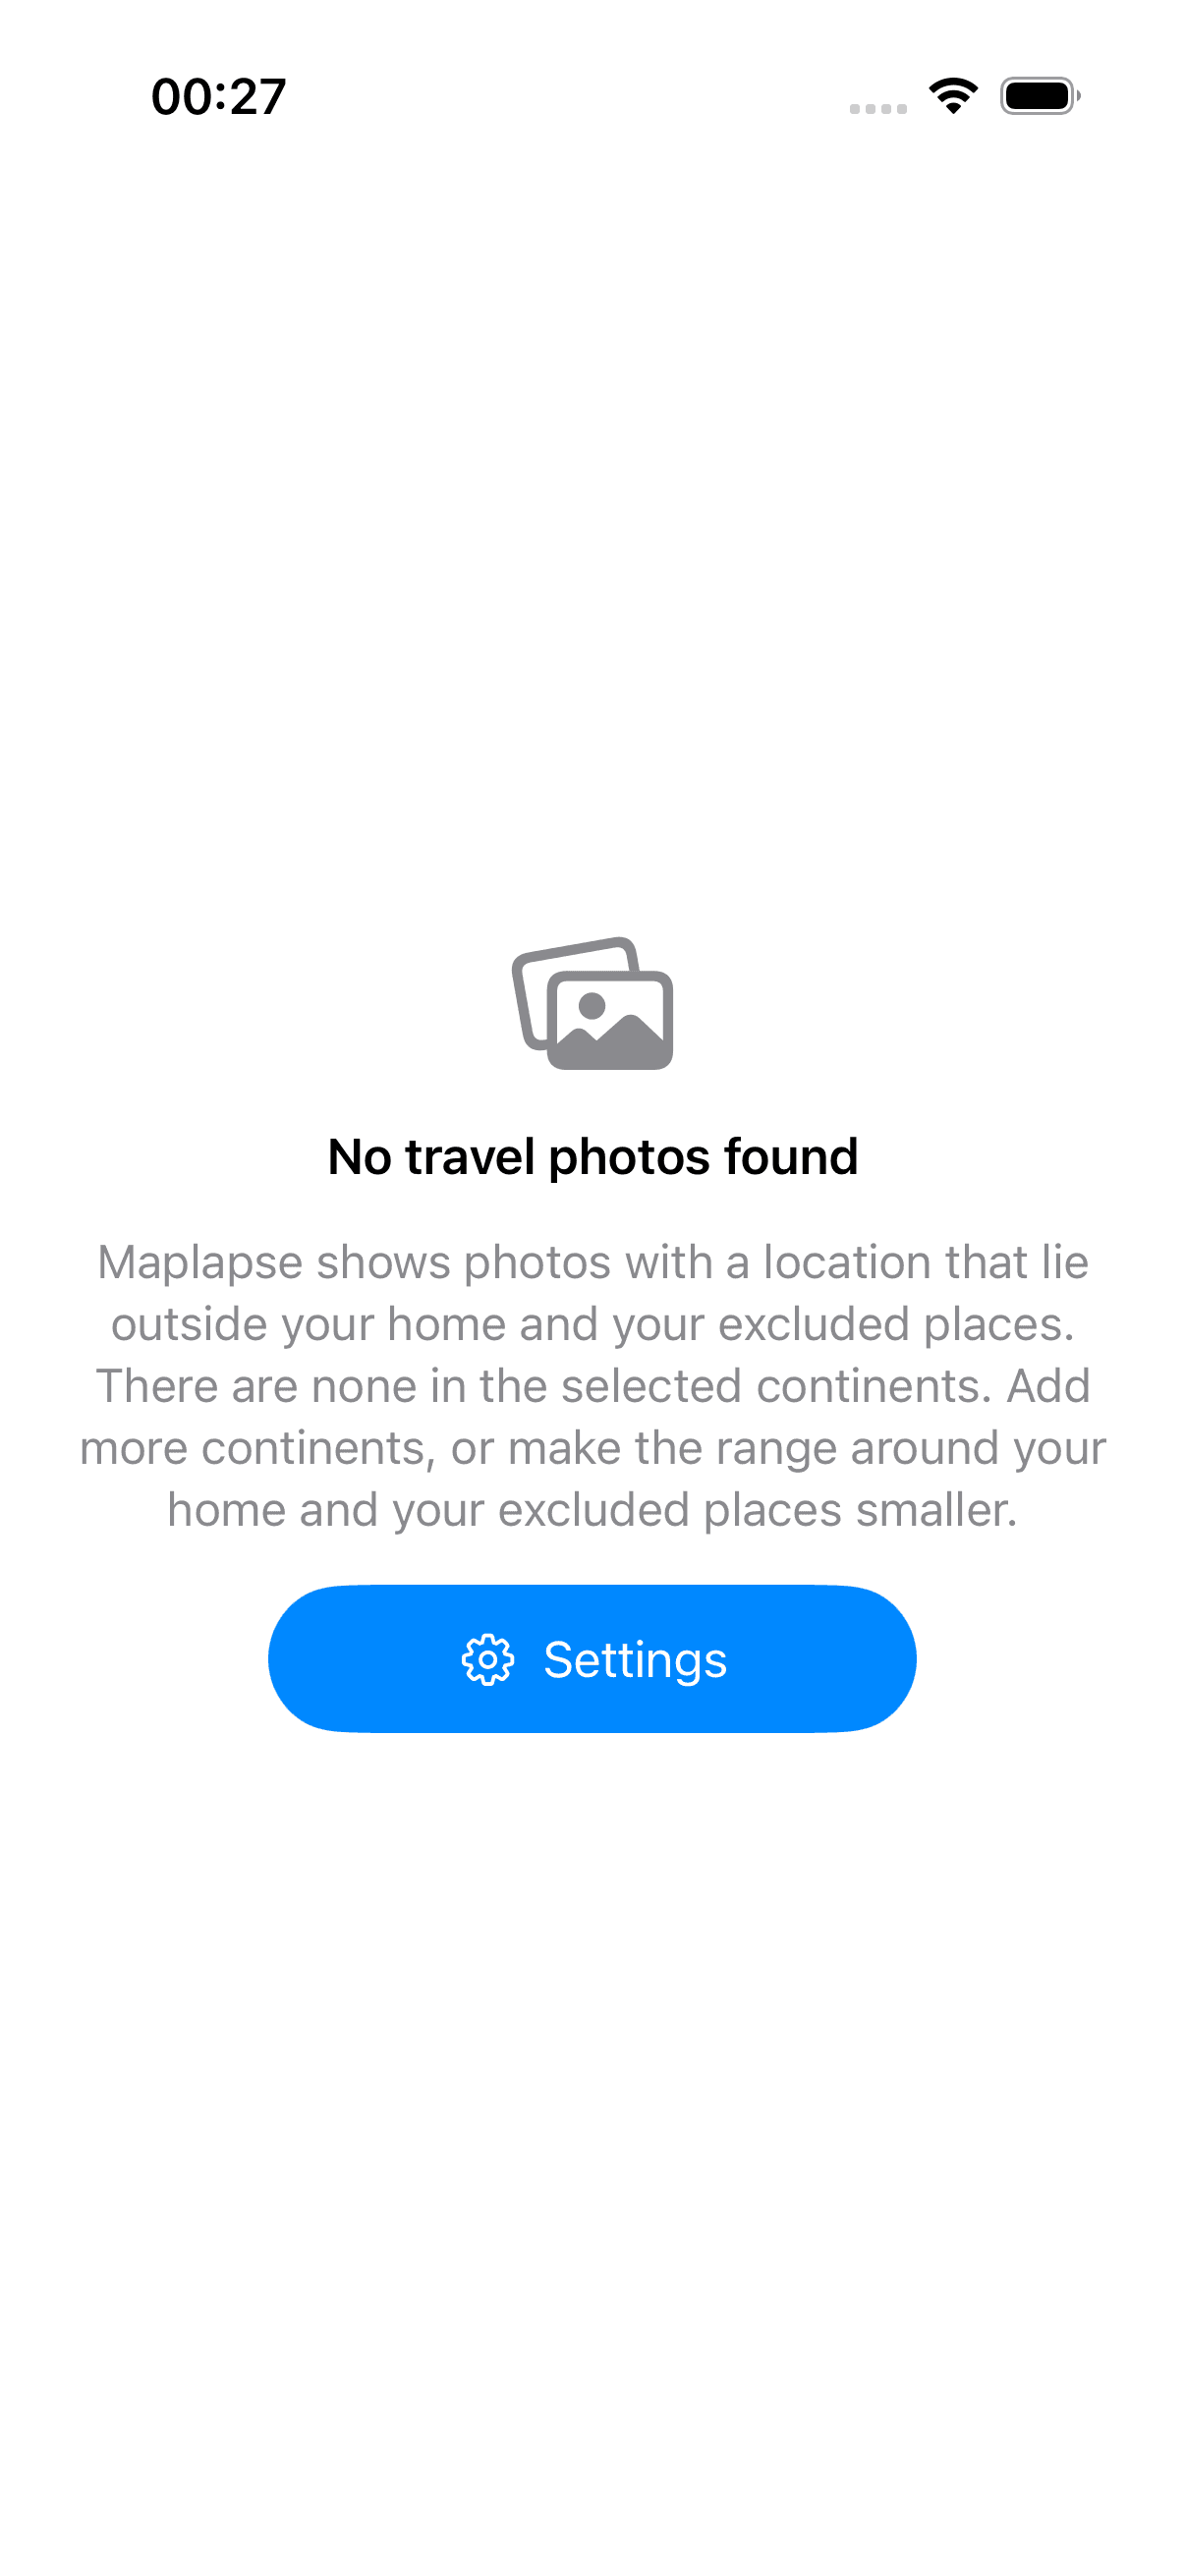
If Maplapse finds no photos, check your regions and excluded places. Maybe the area is set too tight. If photo access was denied, you can allow it again in the iPhone Settings. Via “Settings” you can always go back and adjust everything. If you grant access later in the iPhone settings, Maplapse notices that by itself the next time you open it. If the app is sitting on the lock screen, “Check access again” re-checks right away.
Settings
Open Settings
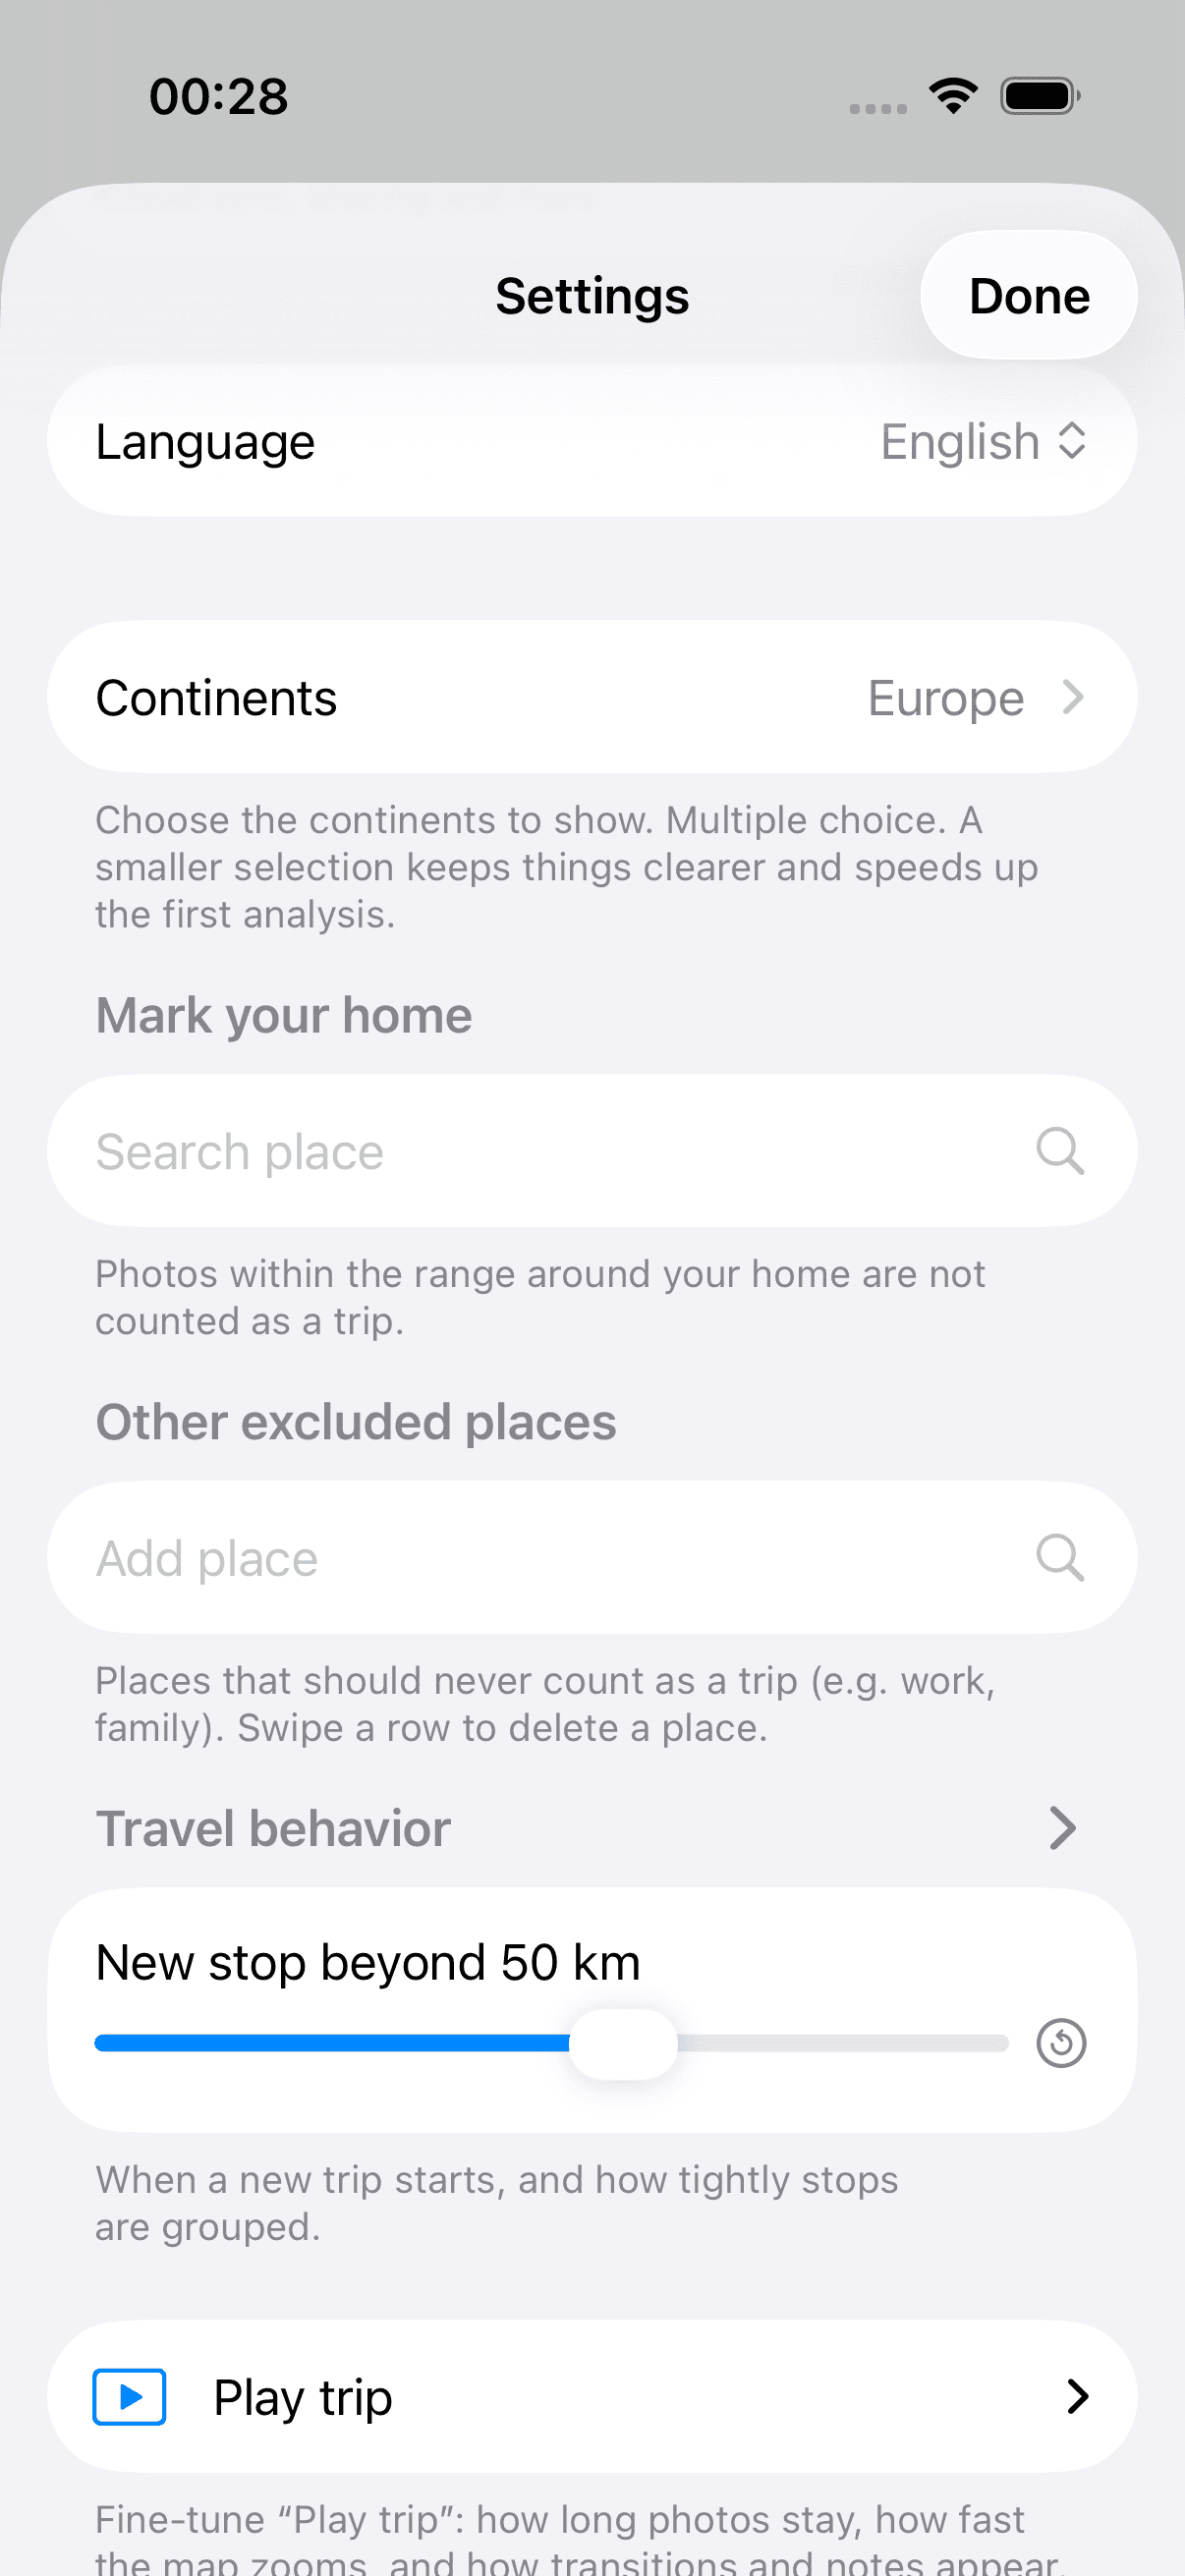
Tap the gear icon at the top right to open Settings. There you control the language, which regions Maplapse considers, your home and further excluded places, “Travel behavior” (how photos become trips and stops), “Play trip”, the map service for shared locations, photo access, iCloud sync and sharing, and under “More data” the photos Maplapse changed, the hidden photos and notes without photos.
Language
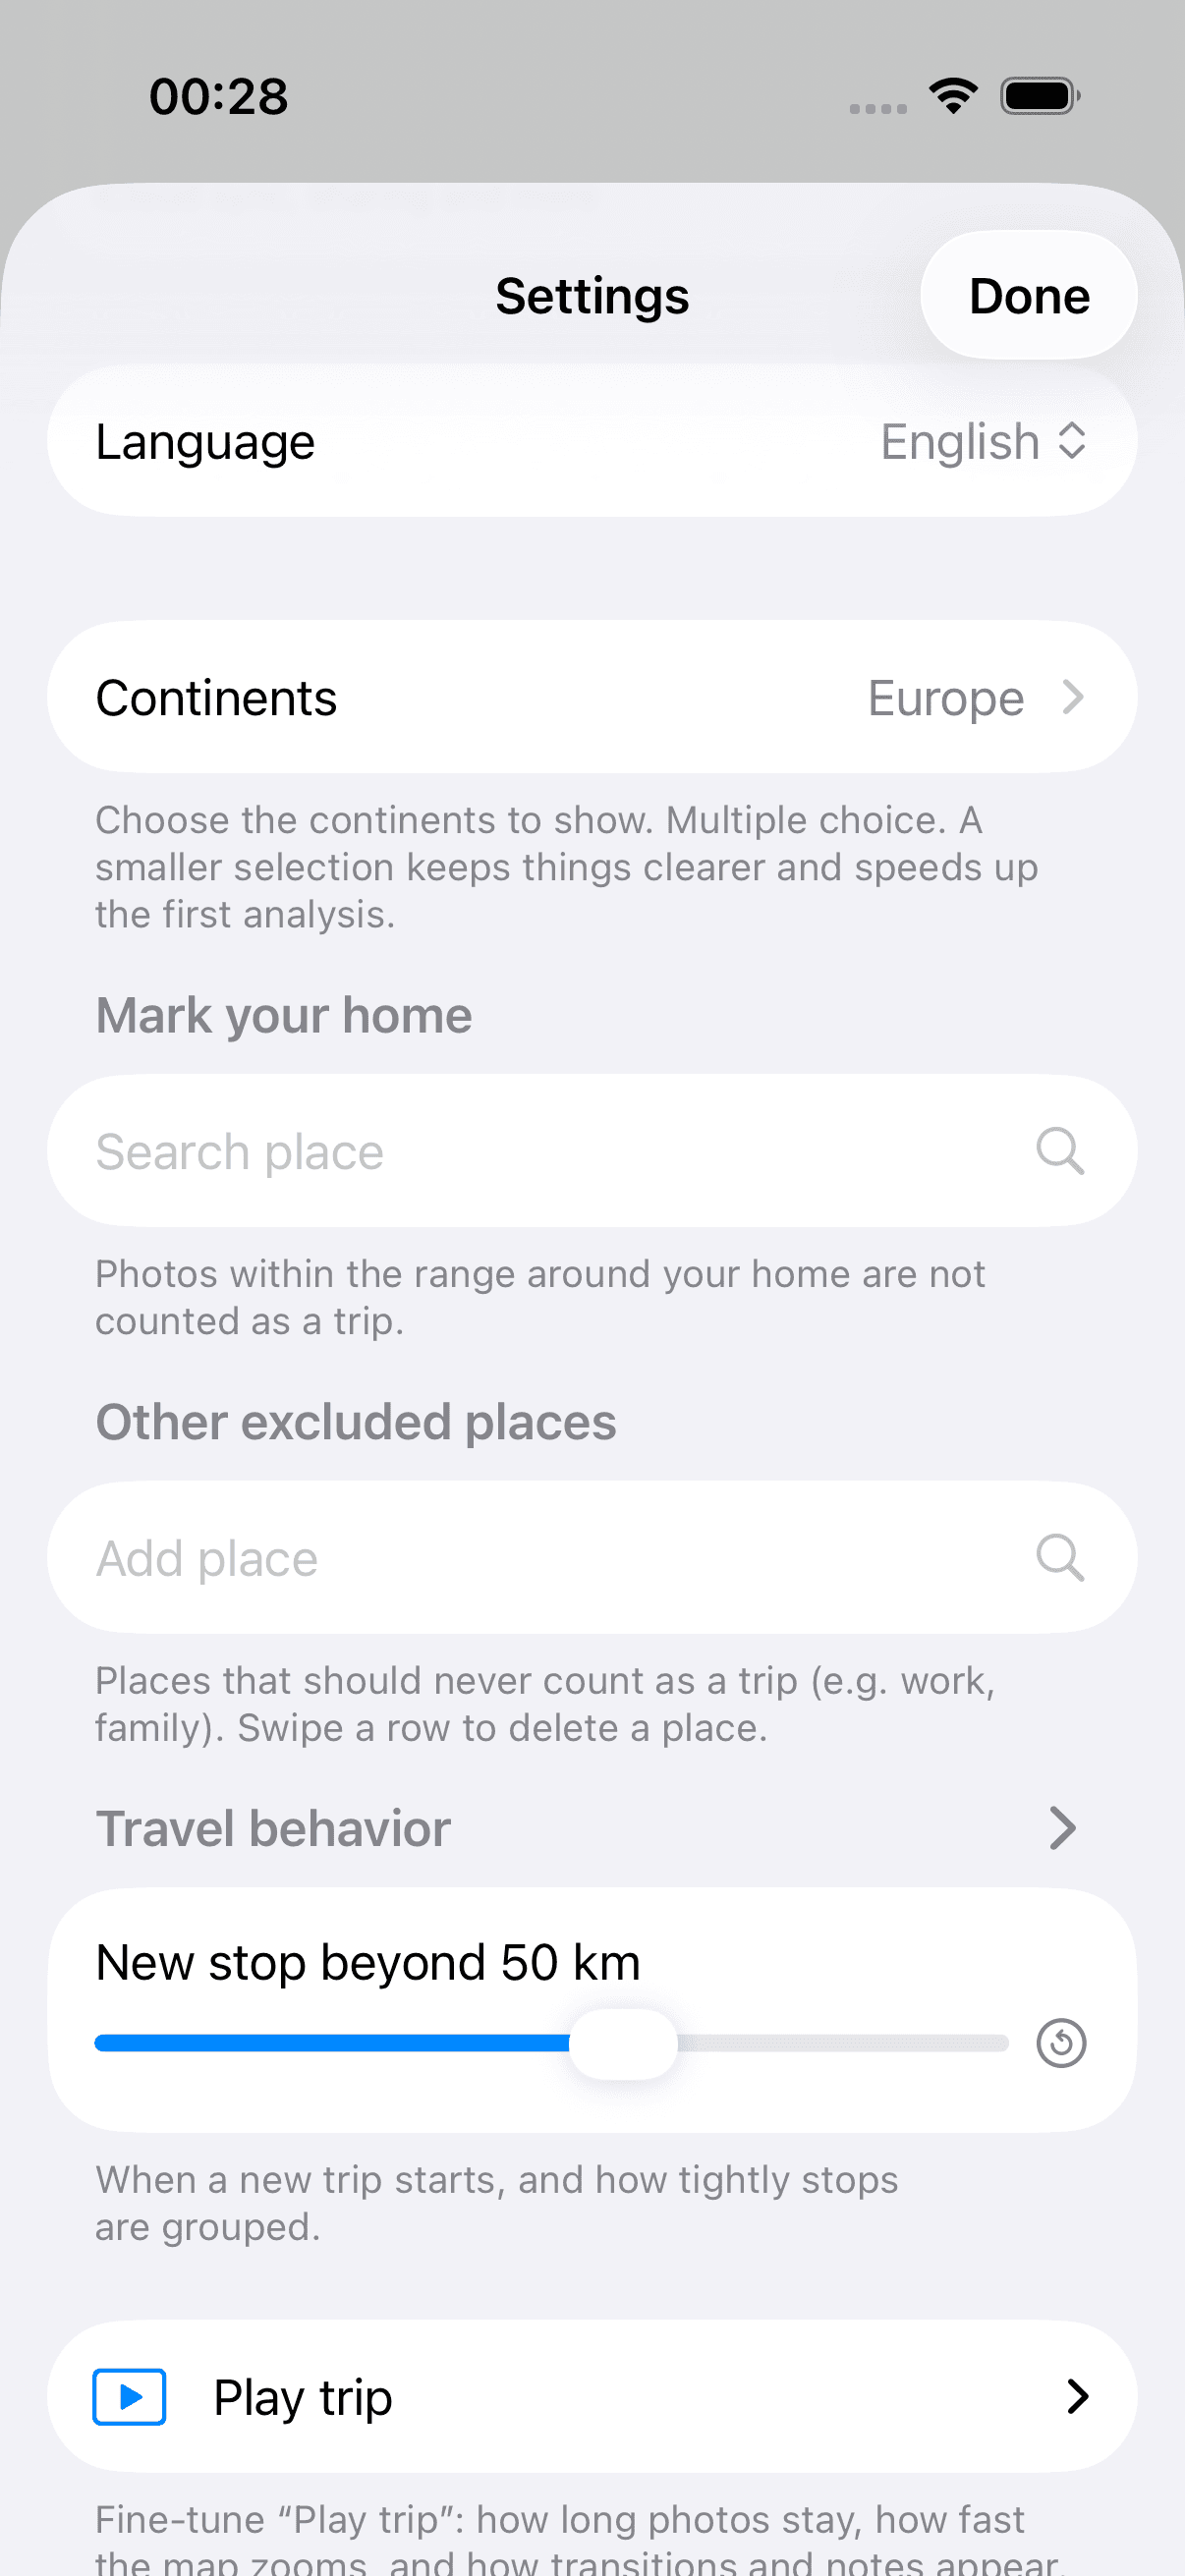
Choose the app's language. Eight languages are available, or “System” so Maplapse follows your iPhone's language.
Choose regions
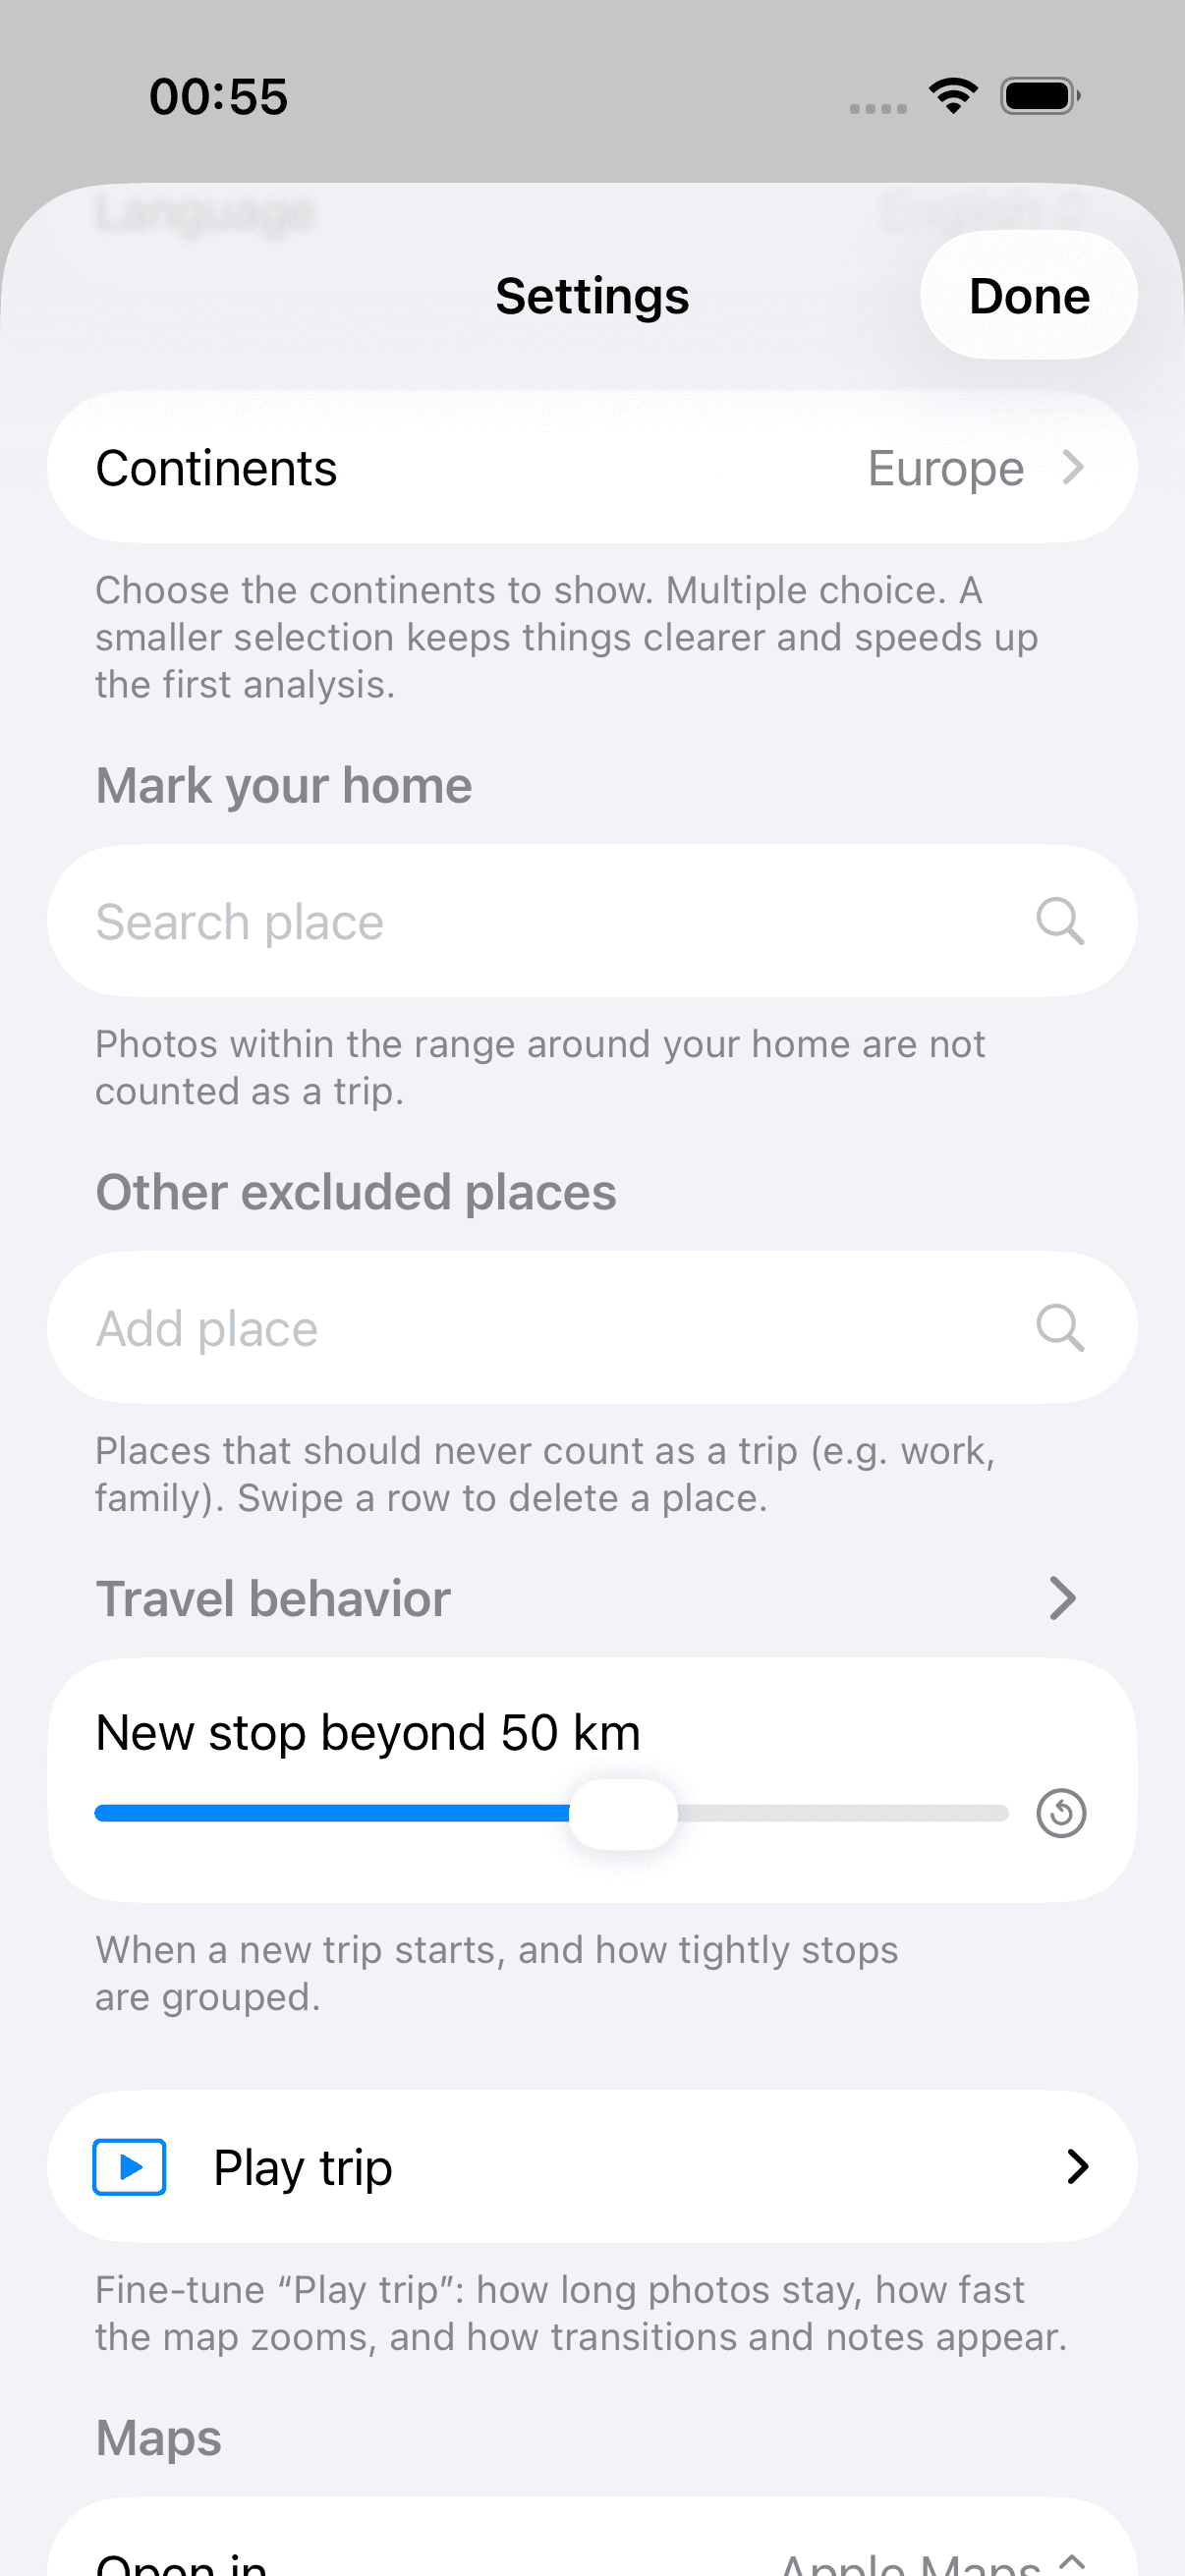
Set which world regions Maplapse considers. With the continent switches (and “All”/“None”) you narrow down where your trips are. With a small selection Maplapse finishes the first setup faster and the map stays tidy.
Exclude home
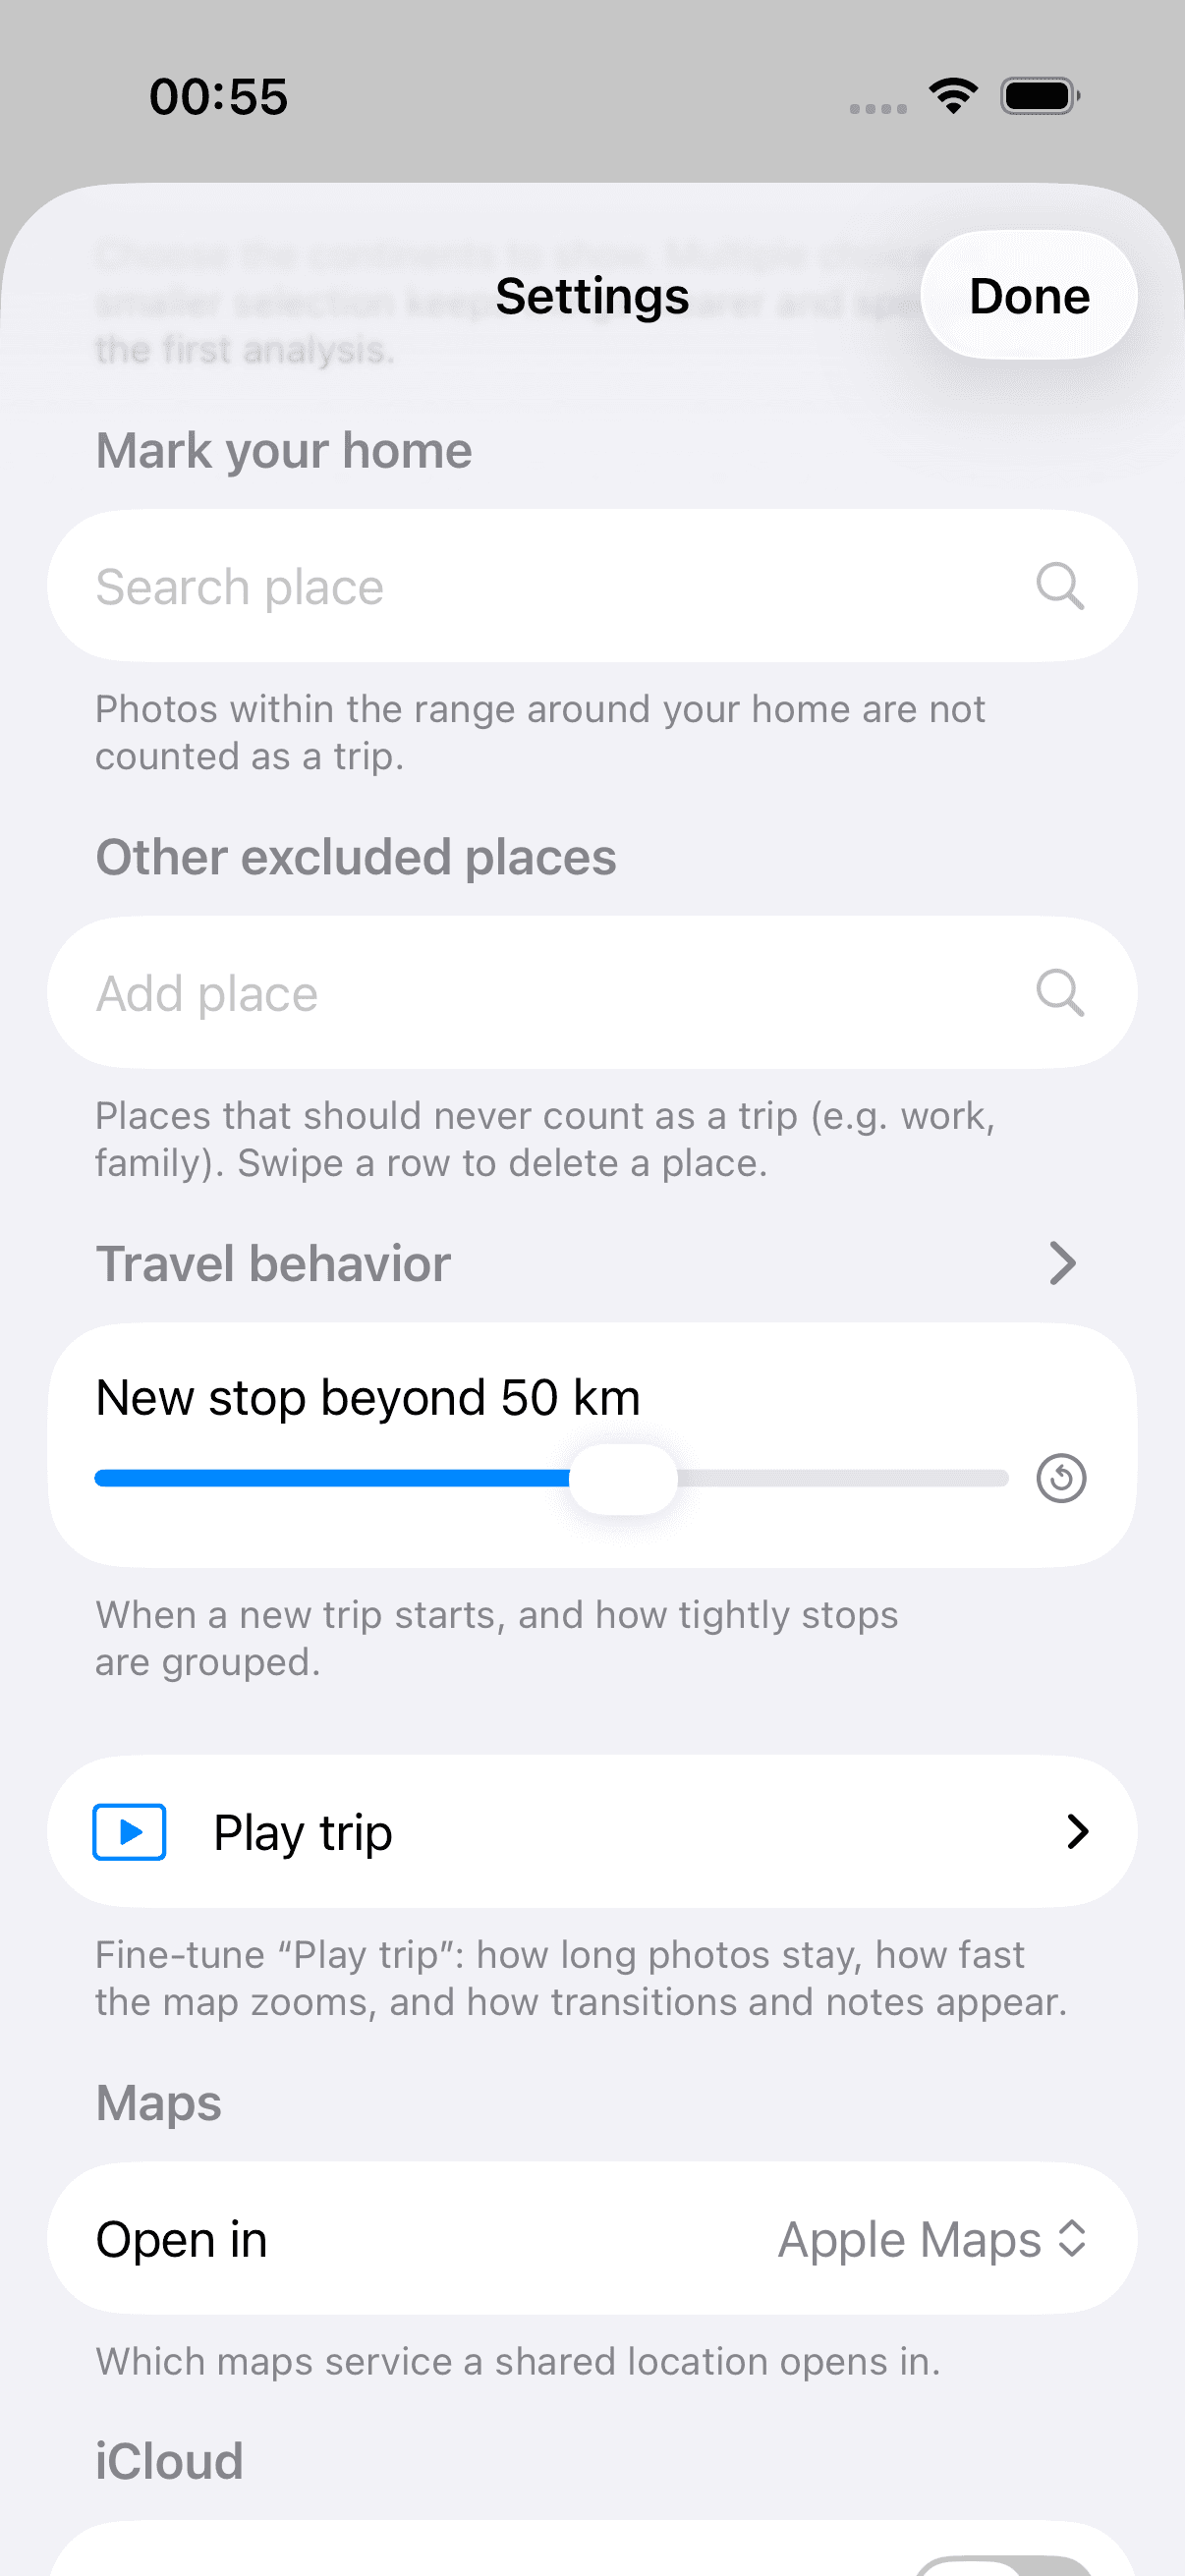
Enter your home address and set a range with the slider (15 to 100 km). Maplapse leaves out photos from this area so everyday photos don't overlay your trips. There is a second, more important reason to set it: Maplapse spots a new trip mainly by you having been home in between. Without a home address that separator is missing, and only the time gap from “New trip after X” is left. Consecutive trips then easily merge into one, so you will most likely see fewer trips than you actually took. More on this under “How Maplapse spots a new trip”.
Exclude more places
You can exclude further places the same way, such as work or family. Each place gets its own range so only what really looks like a trip remains.
Pro features
Maplapse Pro
Everything described so far is free. The following features are part of Maplapse Pro and marked with the “Pro” badge. The slideshow and sharing a trip as a link are listed here too, because Pro lifts their limit: three trips and three links are free without Pro, and with Pro there is no limit. Maplapse works fully without Pro; Pro simply adds extras. Pro is a subscription you take out monthly or yearly, with a free period to try it out and Family Sharing for up to five people. The app shows you the current price before you buy. You can cancel any time in the iOS Settings under Apple Account › Subscriptions; and anyone viewing a shared trip from a link needs neither Pro nor a purchase anyway. If someone in your family shares their subscription through Family Sharing, Maplapse recognizes it and shows it that way in Settings. And when you are offline, your last known Pro state stays. Pro does not drop out just because the connection is missing.
Share and mark up a photo
ProOpen a photo full screen and tap the share sign at the top. Maplapse hands the photo to the iOS share menu. From there it goes on to Messages, Mail, AirDrop or any other app you have set up there. If you want to highlight something first, an arrow pointing at the house you stayed in or a circle around the detail nobody else would spot, you can mark the photo up and then share it. One rule always holds: the drawing happens on a copy. Your original in the photo library stays untouched, however much you scribble on it. For videos the share sign does not appear. Not to be confused with “Trip as a link”: here a single photo leaves the app, there a whole trip with map and notes.
Name a trip
ProYour trips are normally labeled by their dates, for example “May 8–10, 2026”. With Pro you can give one a name of your own: in the trip list, tap the three dots next to a trip and choose “Name this trip”; if it already has one, that entry reads “Rename trip”, with “Remove name” beside it. The name then appears everywhere instead of the date, and the search finds it. Searching for “Alsace” takes you to your Alsace trip even when no photo is called that. Only dated trips can be named: every photo without a date is collected in one single trip, “No date”, where a name would apply to all of it, which is why the entry is missing on that one trip. The name is tied to the trip’s date range rather than to individual photos, so if a boundary later shifts by a few hours it still stays with the right trip. With sync switched on it travels to your other devices, and anyone you share your map with sees it too. In search, part of the name is enough: matching trips appear as you type, and with Pro even when you mistype. Filter by a trip name and the places of that trip stay visible; when nothing matches, Maplapse tells you so instead of showing an empty list.
Place photos that have no location
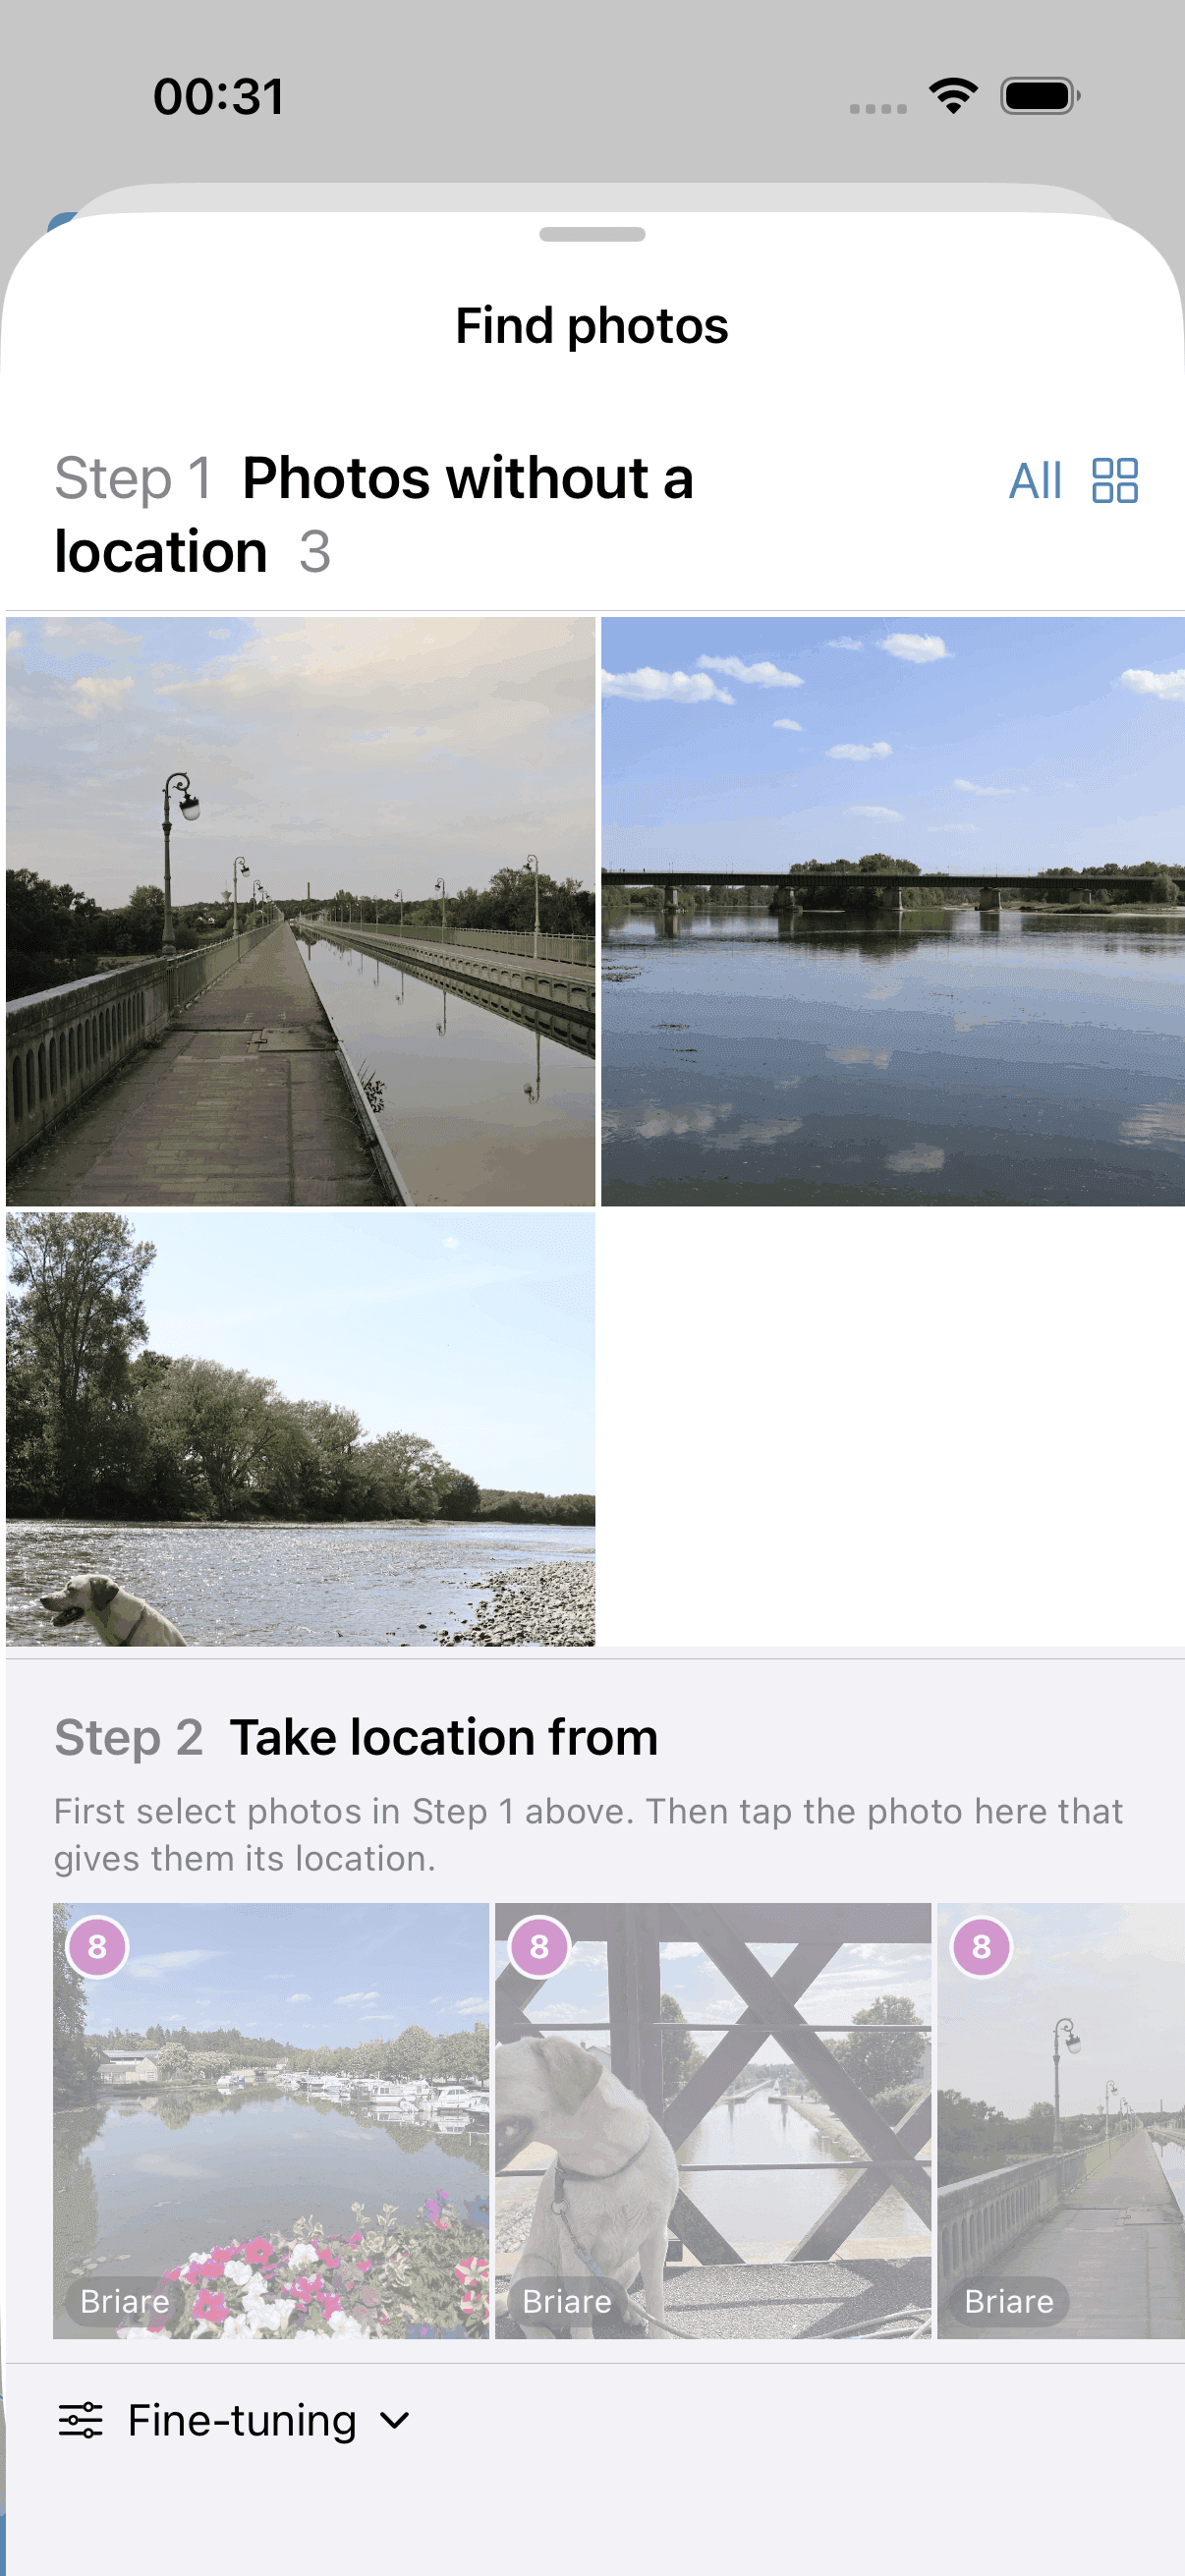
ProNot every travel photo knows where it was taken: photos from a DSLR carry no GPS, location may have been switched off on your phone, and photos someone sent you by messenger arrive without a place. Those photos would never reach the map. With Maplapse Pro you bring them in: open a stop and let it show you the location-less photos from the same time. The time window starts out as the length of the stop; two sliders widen it, at a stop in one-hour steps up to twelve hours either side, at a sub-stop in half-hour steps up to two hours. Screenshots and chat graphics are hidden at first, because they are rarely travel photos; a filter brings them back. Then you choose the photos that belong, and pick a source photo from this stop, whose location the selected photos take on. Two things are worth knowing before you do this the first time. First: the location is written into the photo itself, not just into Maplapse. Afterwards it is an ordinary photo with a location. It shows that location in the Photos app and in every other app, and the change travels through your iCloud photo library to your other devices. Maplapse asks you once whether that is fine. Second: this needs full access to your photos. With limited access no app is allowed to write. If you change your mind, “Undo location” removes the location again from every photo Maplapse set. Photos that already had a location are never touched. And one point of honesty: the same time does not automatically mean the same place. So Maplapse does not guess. It shows you the candidates, and you decide.
On all your devices
ProWith Maplapse Pro your trips and notes appear automatically on iPhone and iPad, through your own iCloud account. Only your travel map syncs: the places, the dates, your notes, your trip names, the hidden photos and your settings; photos are not transferred. It runs through your own iCloud account, never a server of ours. Once sync is on, “Restore from iCloud” brings your state back on a new device. Sync is off by default. You decide. Only when you share a trip does Maplapse upload downscaled copies of that trip’s photos to your own iCloud, so the recipients can see them.
Play your trip
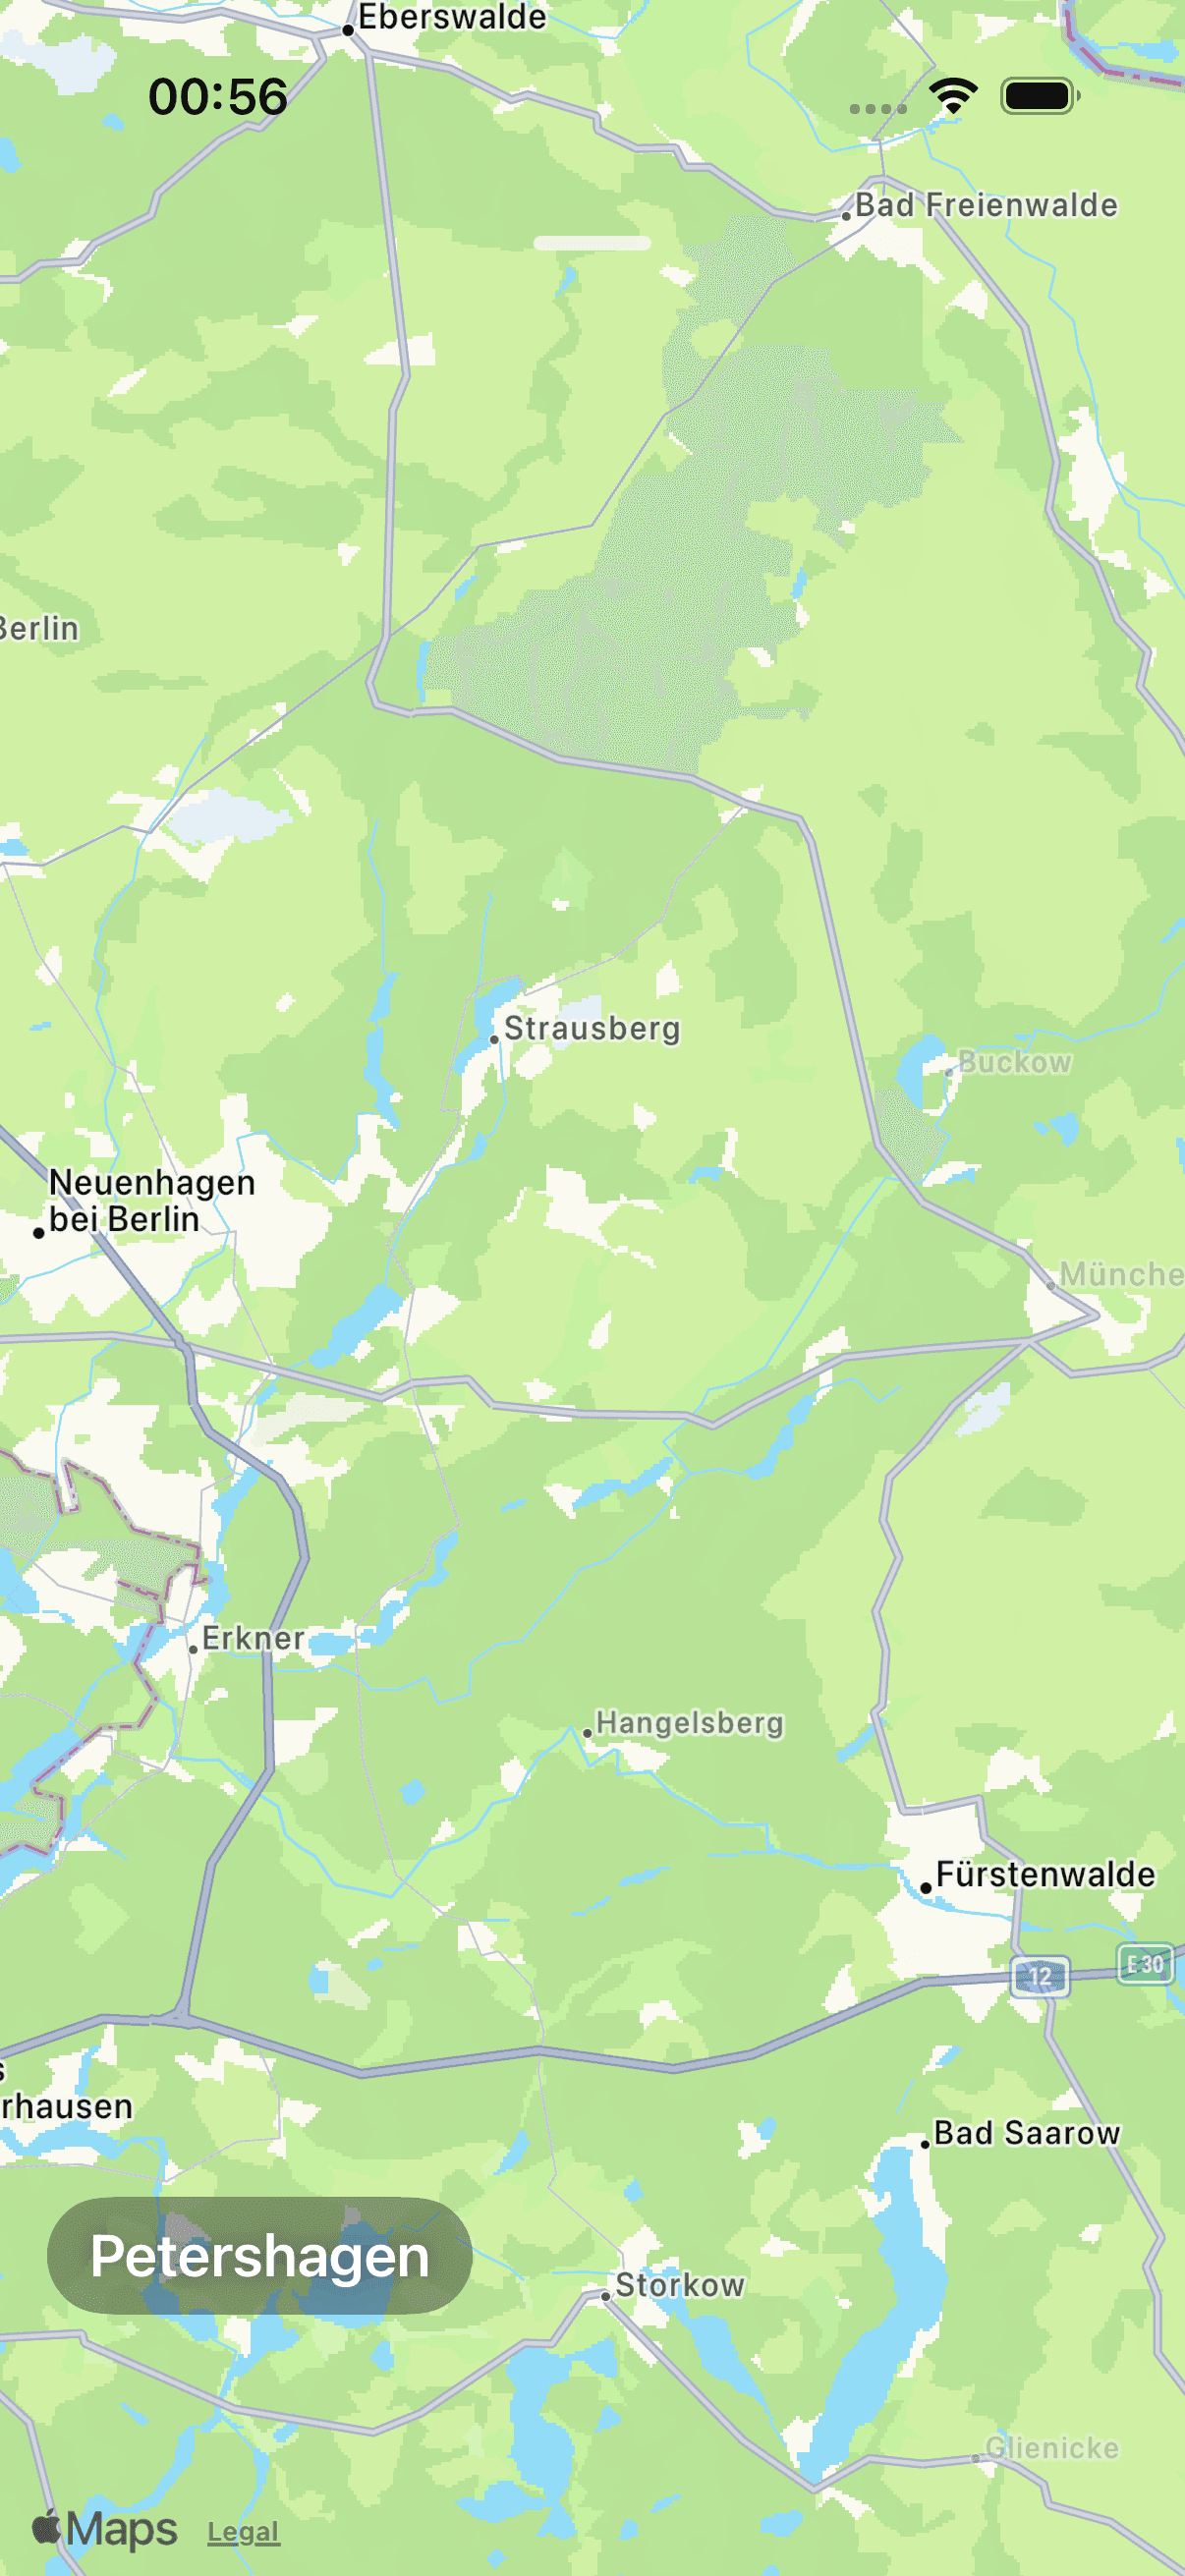
ProThree trips freeOpen a trip and tap play. Your trip becomes a slideshow. The map flies from stop to stop, your photos appear as if by themselves, and your notes tell the story alongside. Automatically and at the right pace: nothing to assemble, nothing to cut, nothing to pick. Playback runs on your device, inside the app. The slideshow plays from start to finish without Pro as well: three trips are free, and with Pro there is no limit. A trip counts as watched once most of its photos have been shown. The slideshow of the whole trip and the slideshows of its individual stops count together. If you stop before that, none of your three trips is used up yet; what has already been shown still counts for as long as the app is running. Playing the same trip again costs nothing, and a trip you received as a link does not count. Once three trips have been watched, Maplapse asks about Pro before the first photo of any further trip. If you want to show your trip to someone rather than just watch it yourself, “Trip as a link” is the way. The recipient sees it with the free app, without buying anything. Photos that are not on the device are skipped during playback; in the gallery they stay visible as placeholders.
What you can adjust about playback
ProIn Settings under “Play trip” you fine-tune the flow without having to assemble anything. “Photo duration” sets how long a photo stays, “Map zoom” how long the flight to the next stop takes, and “Pause at place” the short moment after it, before the photos begin. “Transition” controls the cross-fade between two photos, “Video maximum” caps a single video clip, and “Note maximum” limits how long a note stays readable at most. The switch “Move photos” is on: each photo then drifts slowly across the screen so a landscape shot is seen whole instead of cut; switched off, photos hold still and are shown whole, with bars if need be. “Reset to defaults” brings every value back. You find the area once the first analysis is through.
Trip as a link
ProThree links freeOpen a trip and share it as a link, by message or email, for example. Whoever opens the link sees exactly that one trip as a slideshow: the map flies from stop to stop, with the photos and your notes along the way. The best part: viewing works with the free app. It works without Maplapse Pro and nobody has to buy anything. So the photos reach the recipients, Maplapse uploads downscaled copies of that trip’s photos (longest edge 2048 px, no videos) to your own iCloud; from there the recipients’ app pulls them onto their device. Anyone holding the link can view the trip, so only pass it to people who should see it. The copies stay in your iCloud until you delete them there. You do not need Pro to share either: three links are free without Pro, and with Pro there is no limit. Every newly created link counts, even if you delete it later, so deleting a link does not give you a free one back. Sending an existing link again or replacing it costs nothing, and your links stay visible and usable without Pro, and you can still delete them. A trip can have several links. Give a link a name of its own when you share, for example “Family” or “Friends”, and choose for each link which photos go with it. Without a name of its own, the link is named after the trip. The recipients see the name too. Whoever opens the link lands straight in the trip, with no detour through a list. From that guest view, “Use Maplapse with your own photos” leads to their own map. You can send an existing link again later from Settings › “More data” › “Trips you shared”, and delete it there by swiping the row.
Share your map
ProWith Maplapse Pro you open up your whole map to friends, travel companions or family: you see and edit all your trips together: places, times, notes. You invite the others by their iCloud address and grant each person “Read only” or “Read & write”; whoever may write writes notes and helps keep the map up to date. In the app you find this under Settings › iCloud › “Invite people”. The two lists there tell you which way a map is going: under “Maplapse shared with” are the people you opened your map to, under “Maplapse shared by” are the maps others share with you. One thing is worth knowing: sharing always covers all your trips. You cannot select individual trips for it. It works best with Apple's Shared Photo Library: then your photos already sit on both sides, and Maplapse brings them together into one shared trip. Every stop shows the photos from all of you, no matter who took them. Without a shared photo library, everything else still arrives in full; only where a photo is not on your device does a placeholder appear. On top of that, only people who have Maplapse installed and use Maplapse Pro can join. What travels along: places, times, notes, the trip names you gave and which photos you hid. The photos themselves do not; they only appear for the others if you additionally use a Shared Library in Apple Photos.
Accepting, declining, leaving
Pro“Decline invitation” is the deliberate no; simply closing the purchase prompt leaves the invitation standing. If you accepted without Pro, you can leave the share again in Settings. Before you remove someone, Maplapse asks first. And when you switch iCloud account, Maplapse removes the shared content of the previous account and asks you again for your home and excluded places.
Trip as a link, or your whole map?
ProBoth are called “sharing”, but they mean different things. Trip as a link: exactly one trip, with photos, for anyone holding the link, with no Pro and no purchase. The right way when you want to show someone a trip. Share your map: all your trips at once, without being able to select individual trips, for the friends, travel companions or family you invited by their iCloud address and who use Maplapse Pro themselves. You share places, times, notes, trip names and which photos you hid; it works best with Apple's Shared Photo Library, because then Maplapse brings all your photos together into one shared trip. The right way when you keep the same travel collection together over time. You can create a link without Pro, and three links are free; sharing your map takes Maplapse Pro. Either way, Maplapse sends the data only to your own iCloud. There is no Maplapse server.